Overview#
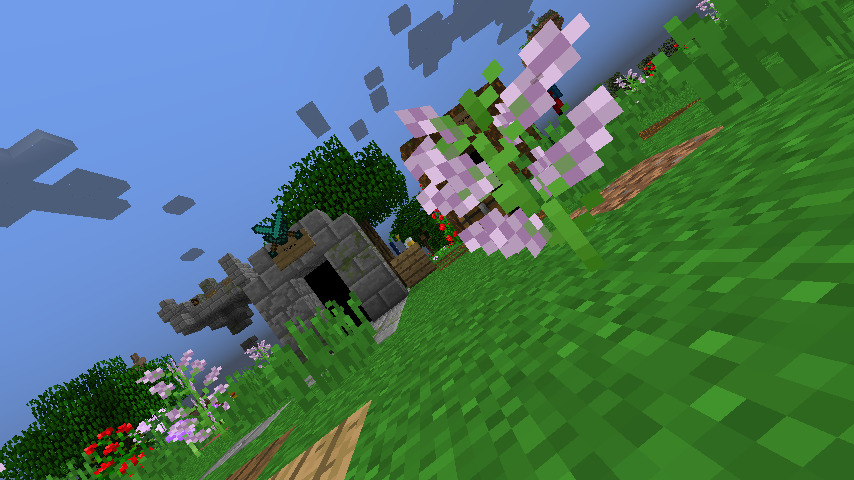
The Replay Mod is a game-changing tool for Minecraft content creators, allowing for the recording, reliving, and sharing of gameplay experiences. Unlike traditional screen recording software, the Replay Mod records the world data itself, enabling you to fly around a recorded scene in a spectator-like mode long after the session has ended. This allows for the creation of complex cinematic camera paths, time-lapses, and high-resolution renders that would be impossible to capture in real-time.
Key features include a lightweight recording format (averaging 10MB per hour), a built-in video editor with keyframe support, and advanced rendering options including 360-degree and stereoscopic 3D video. As a client-side mod, it does not need to be installed on servers to function, though it records all loaded chunks within the player's render distance.
Installation and FFmpeg Setup#
Mod Installation
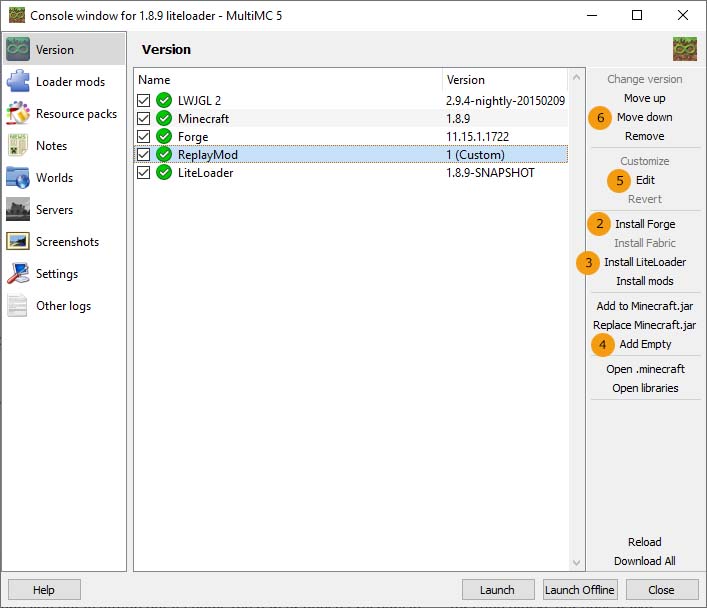
To use the Replay Mod on modern versions of Minecraft (1.14+), the Fabric Loader is required. For older versions (1.12.2 and below), Minecraft Forge is the standard requirement. Once the appropriate loader is installed, the mod file is placed directly into the /mods folder of the Minecraft directory.
FFmpeg Configuration
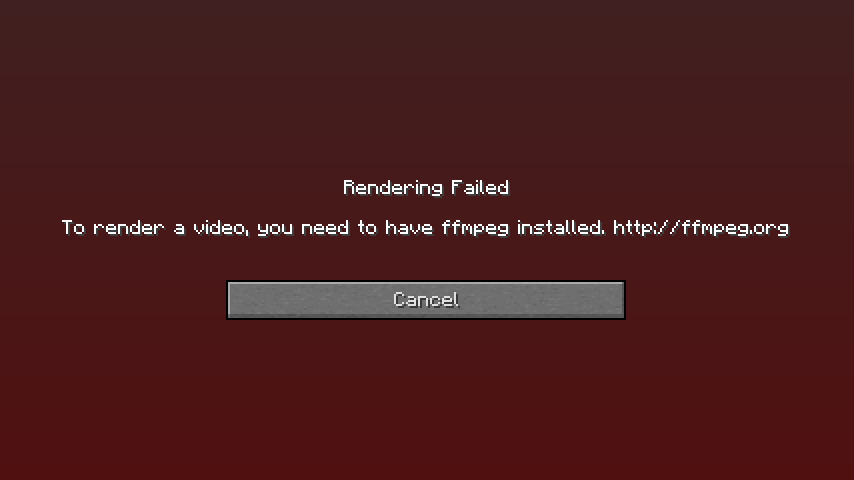
FFmpeg is a critical external framework required by the Replay Mod to encode and export video files. Without it, you can record and view replays, but you cannot render them into MP4 or other video formats.
- Windows: Download the FFmpeg release and extract the
ffmpeg.exefile into your.minecraftfolder. While historically it required a specific subfolder, modern versions can detect it anywhere within the main directory. - Mac OSX: Install via Homebrew using the command
brew install ffmpegor manually place the executable in/usr/local/bin. - Linux: Use the system package manager (e.g.,
sudo apt install ffmpeg).
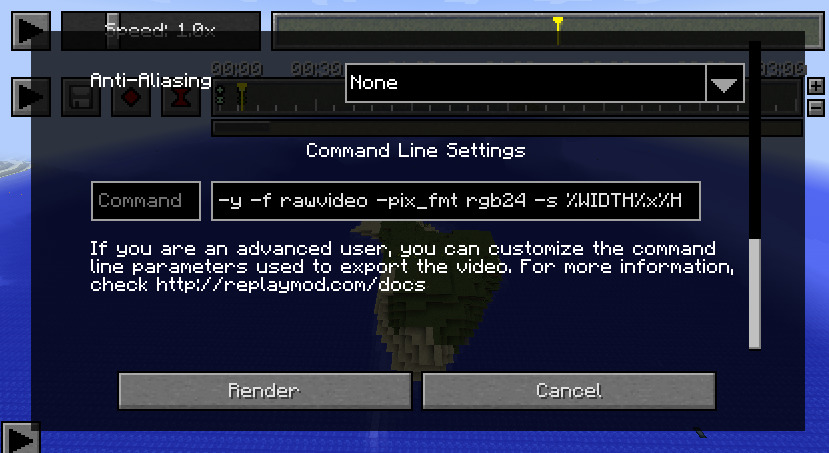
If the mod fails to find FFmpeg, you can manually specify the path in the Command Line Settings section of the Render Screen.
Recording Mechanics#
Recording is the core function of the mod. By default, the mod is set to automatically record all Singleplayer and Multiplayer sessions.
Recording Indicators
When a recording is active, a "Recording" indicator appears in the top-left corner of the screen. This can be toggled in the settings. Upon joining a world or server, a chat message will confirm that the recording has started.
Event Markers
While recording, you can press the M key to set an Event Marker. These markers act as bookmarks, allowing you to easily find specific moments (like a boss fight or a build completion) when you later open the Replay Viewer. Markers save your current coordinates and the exact timestamp.
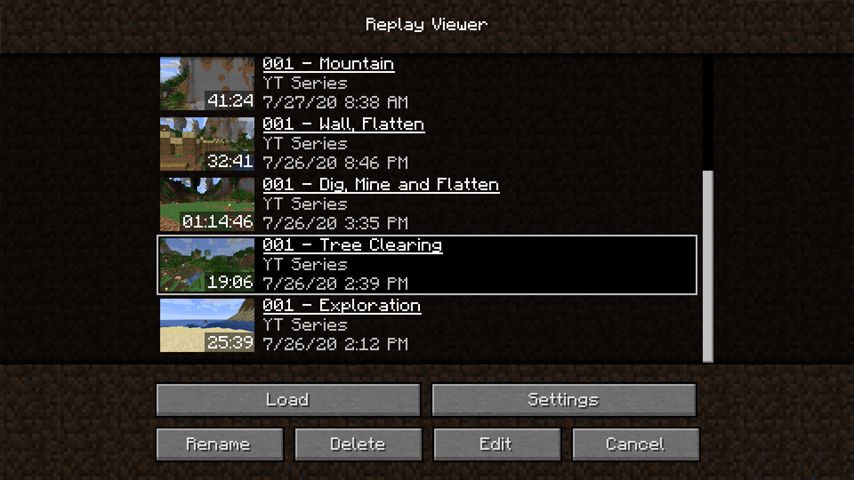
Saving Replays
Replays are saved as .mcpr files. When you leave a world or server, the mod will finalize the file. Larger sessions may take a few seconds to save. These files are stored in the /replay_recordings folder within your Minecraft directory.
Camera Path System (Keyframes)#
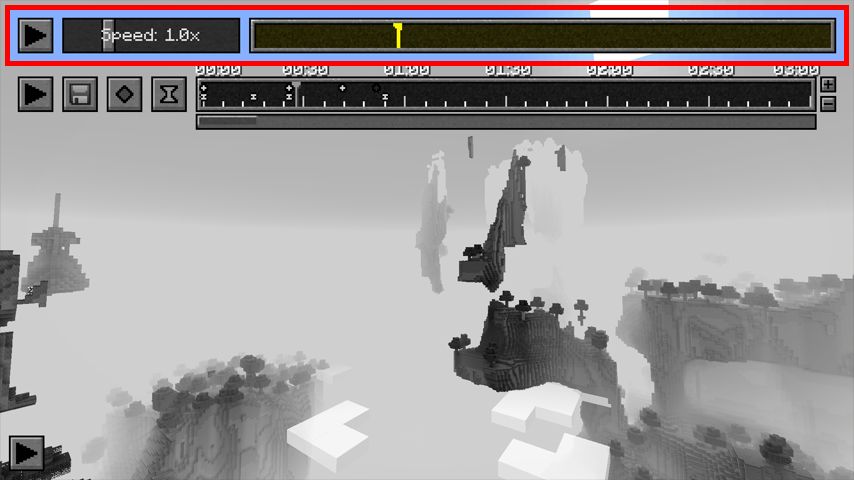
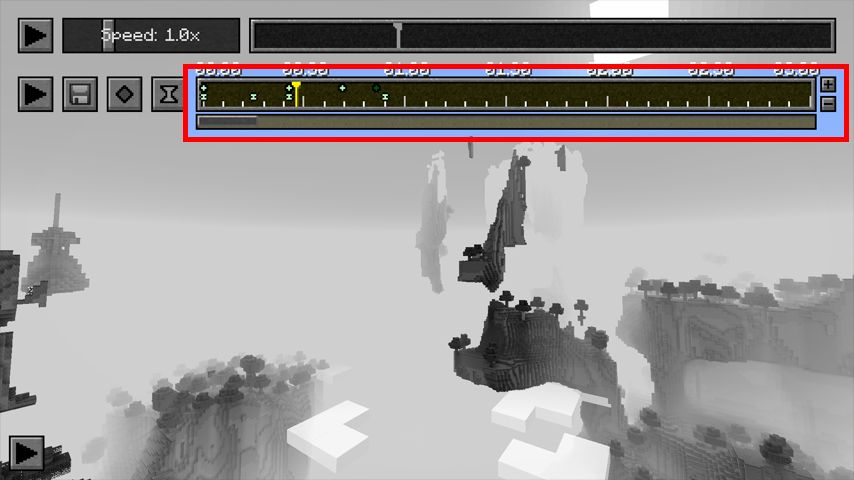
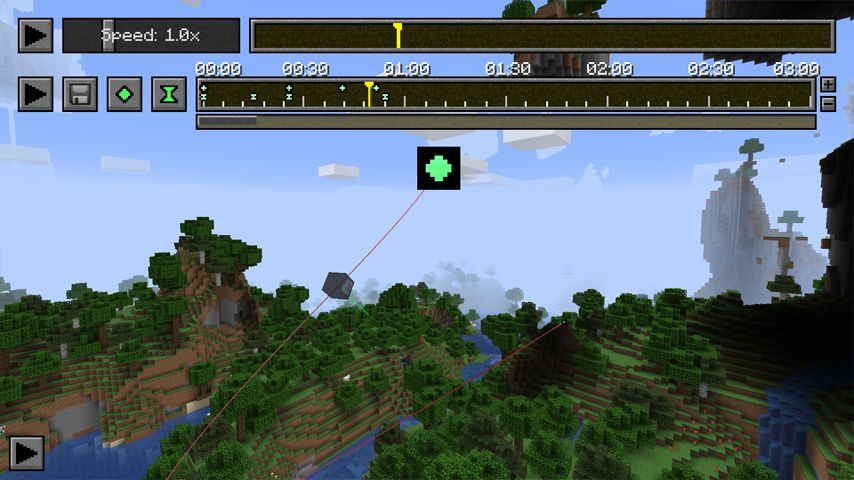
The Keyframe System allows you to design smooth, cinematic camera movements. These paths are defined on the Keyframe Timeline (the bottom timeline).
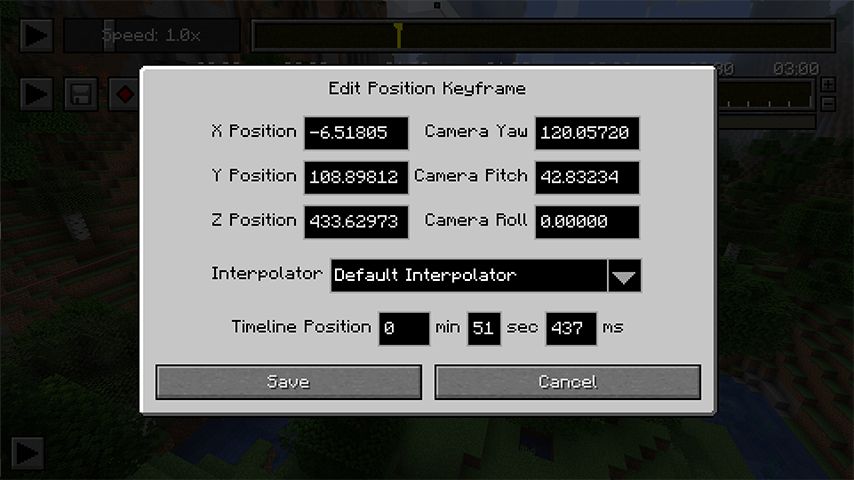
Position Keyframes
These store the camera's spatial data (X, Y, Z, Yaw, Pitch, Roll). By placing multiple position keyframes at different points on the timeline, the camera will smoothly interpolate between them.
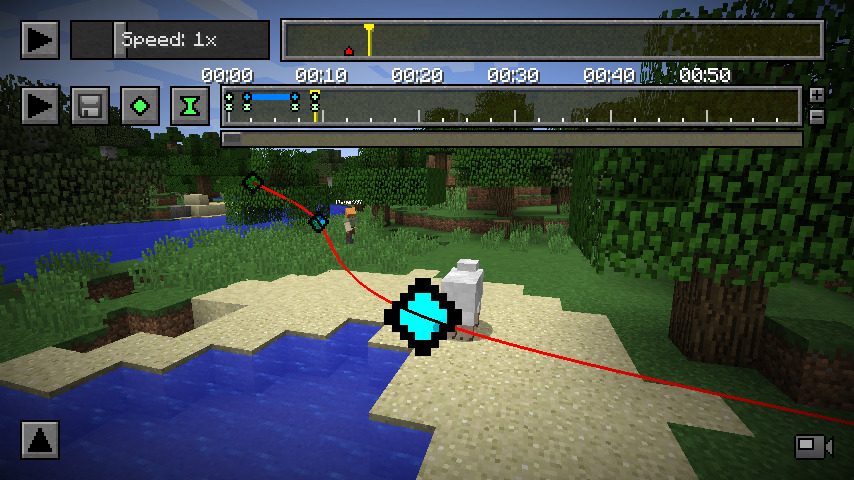
Time Keyframes
These control the flow of time within the camera path. A time keyframe maps a point on the Keyframe Timeline (real-world time) to a point on the Replay Timeline (in-game time). This allows for slow-motion or fast-forward effects within a single cinematic shot.
Interpolation Methods
- Cubic Interpolation: The default setting. Creates smooth, curved paths between points.
- Linear Interpolation: Moves the camera in straight lines between keyframes. Toggle this using the O key.
Spectator Keyframes
If you right-click an entity to spectate it, the "Add Position Keyframe" button changes to "Add Spectator Keyframe." This allows the camera path to perfectly follow a player or mob's perspective.
Path Preview
Press H to toggle the visual path preview. This displays a red line in the world showing exactly where the camera will travel.
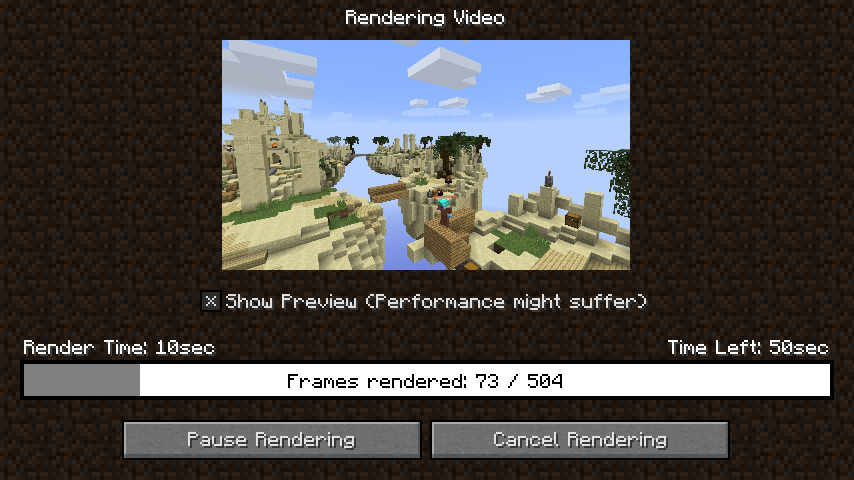
Rendering and Video Export#
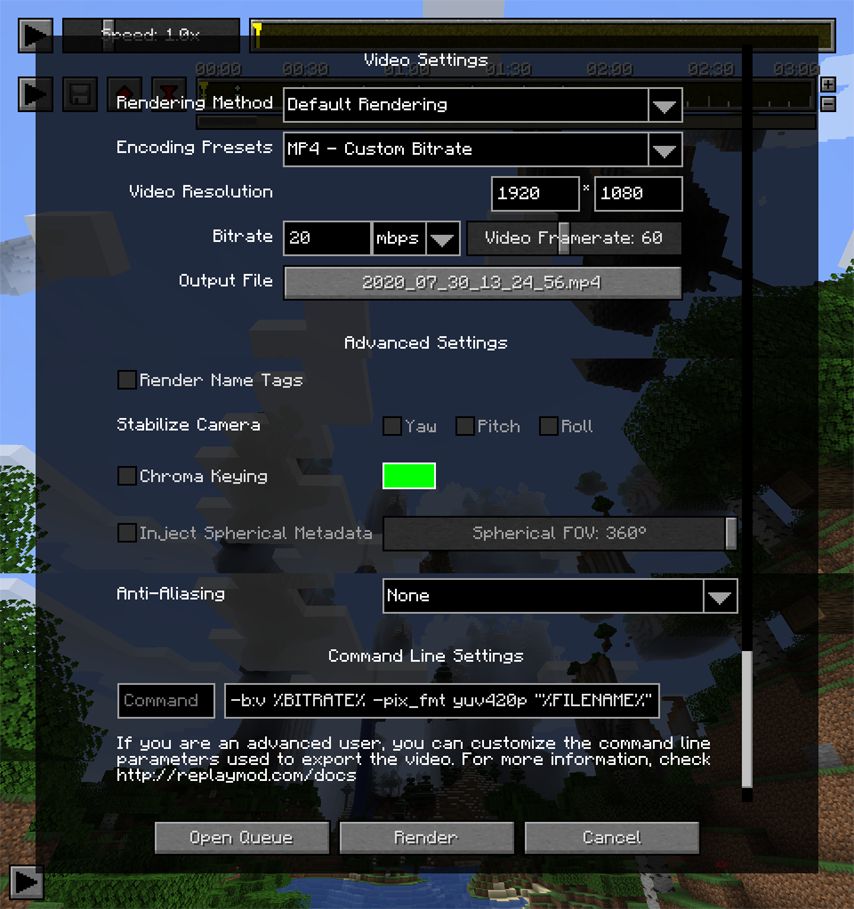
Rendering transforms your camera path into a high-quality video file. Click the Render Camera Path icon (floppy disk) to open the settings.
Rendering Methods
- Default: Standard video rendering.
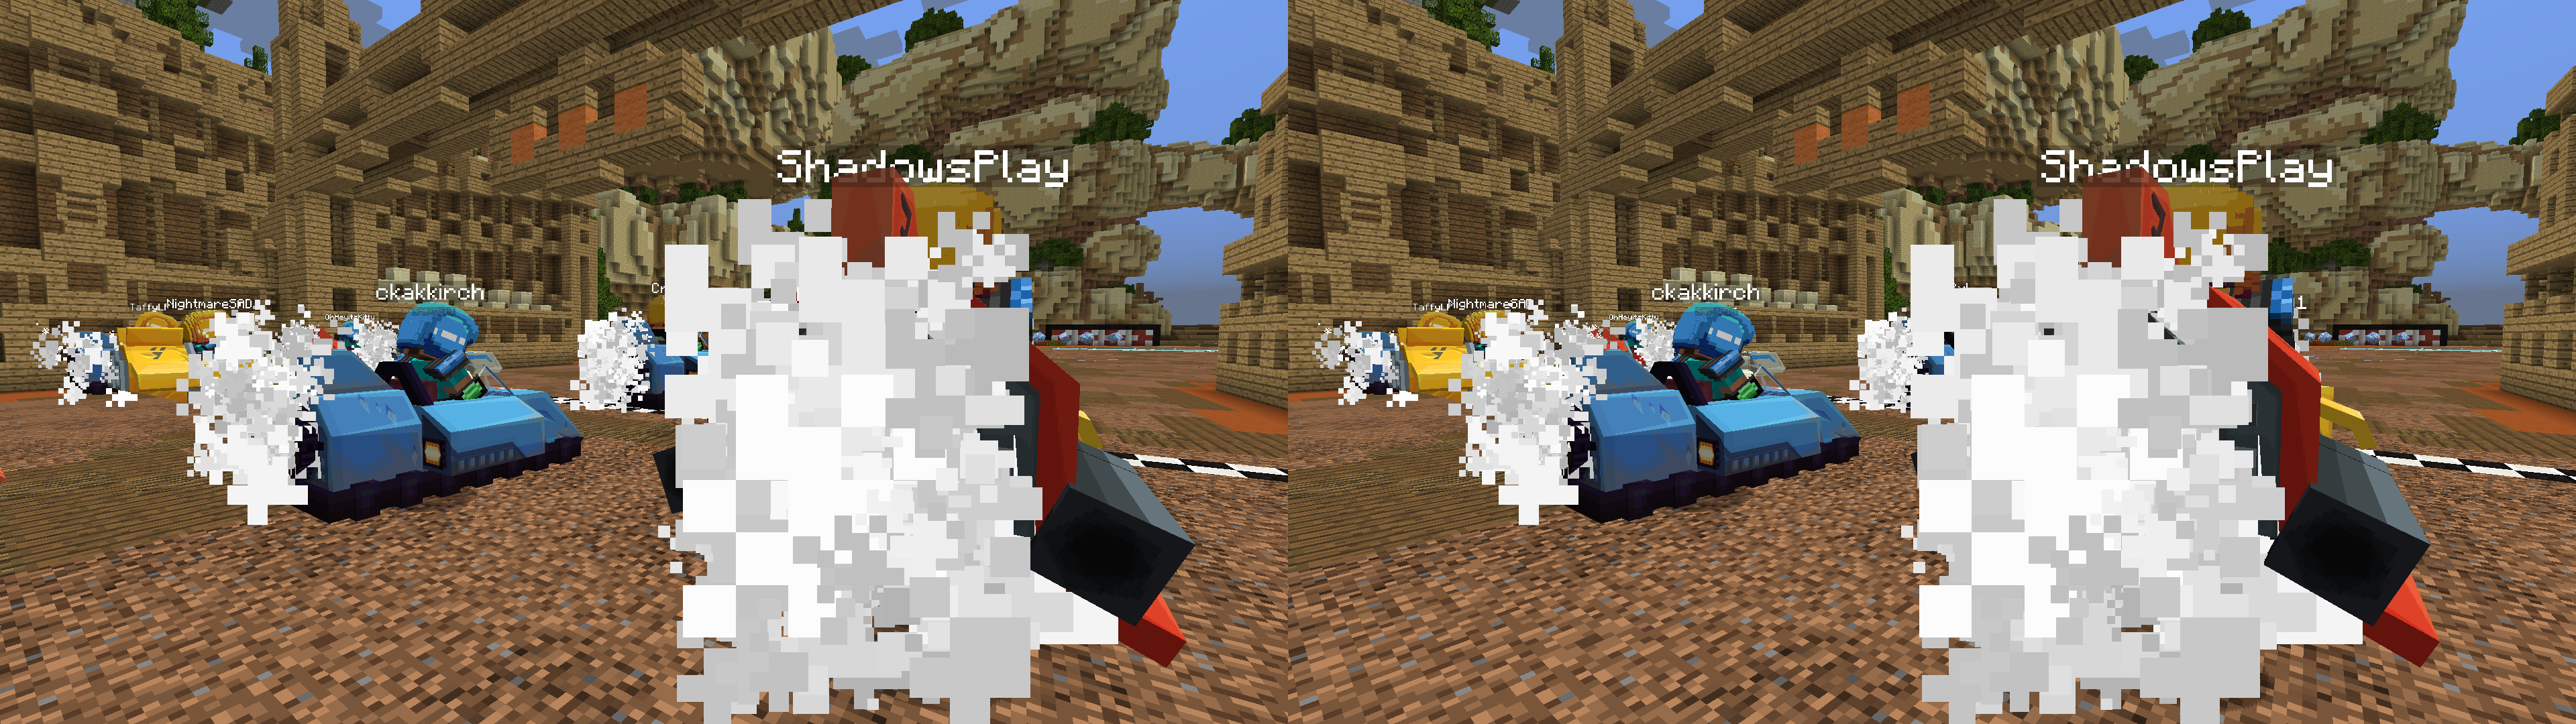
- Stereoscopic: Side-by-side 3D video.
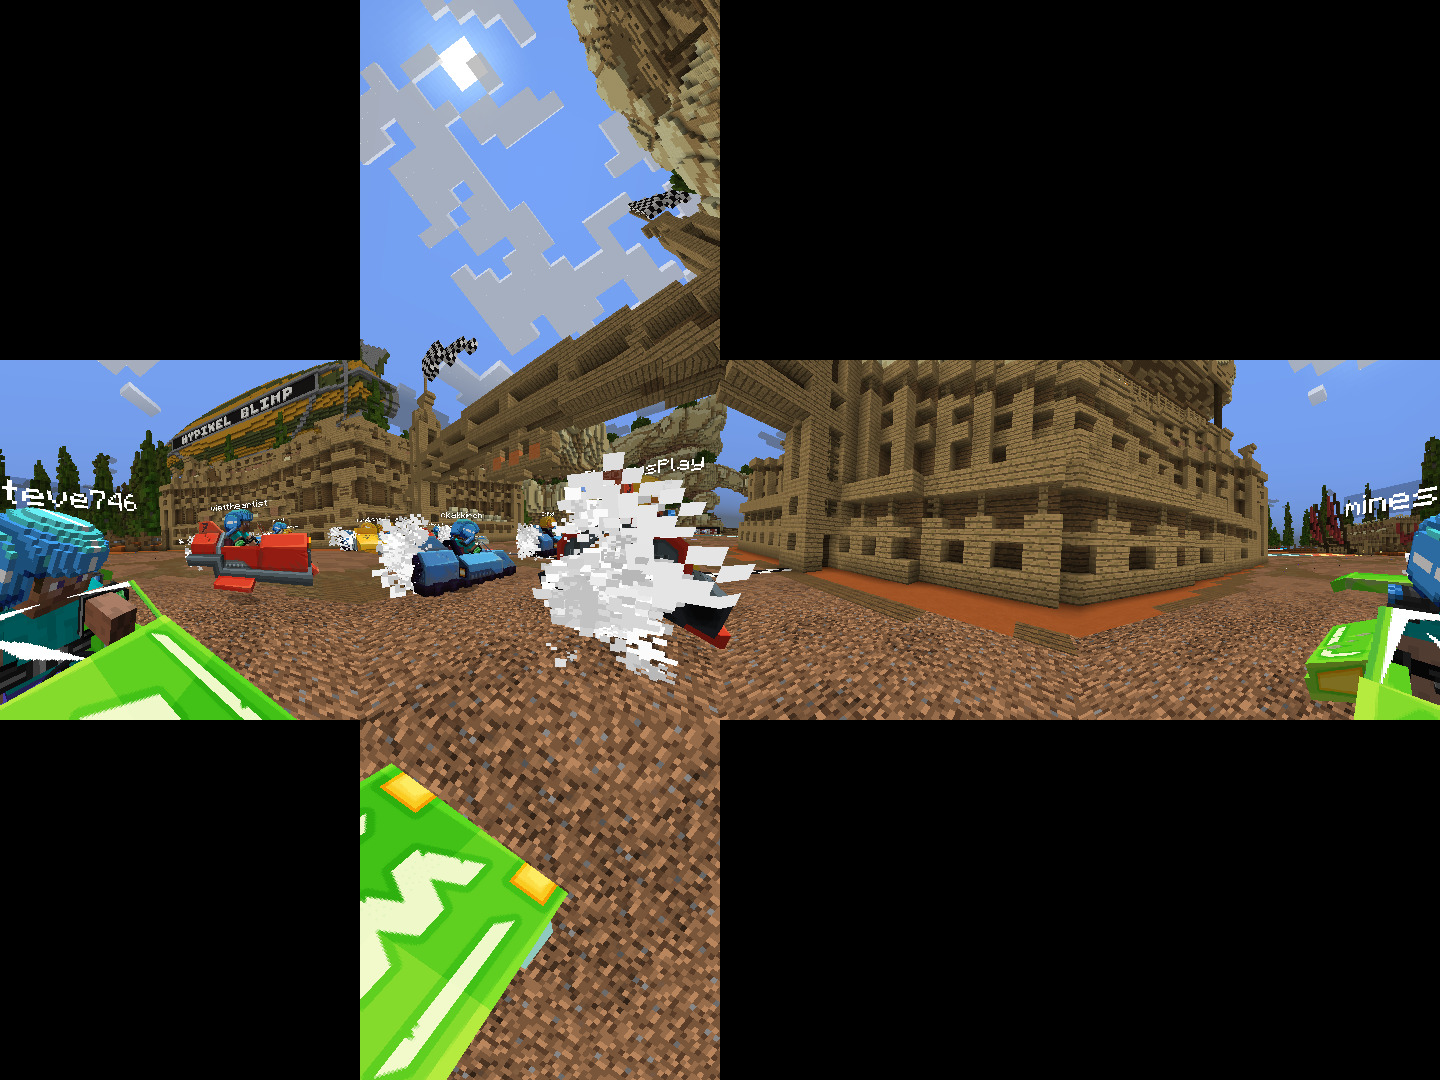
- Cubic: 360-degree panoramic view using cubic projection.
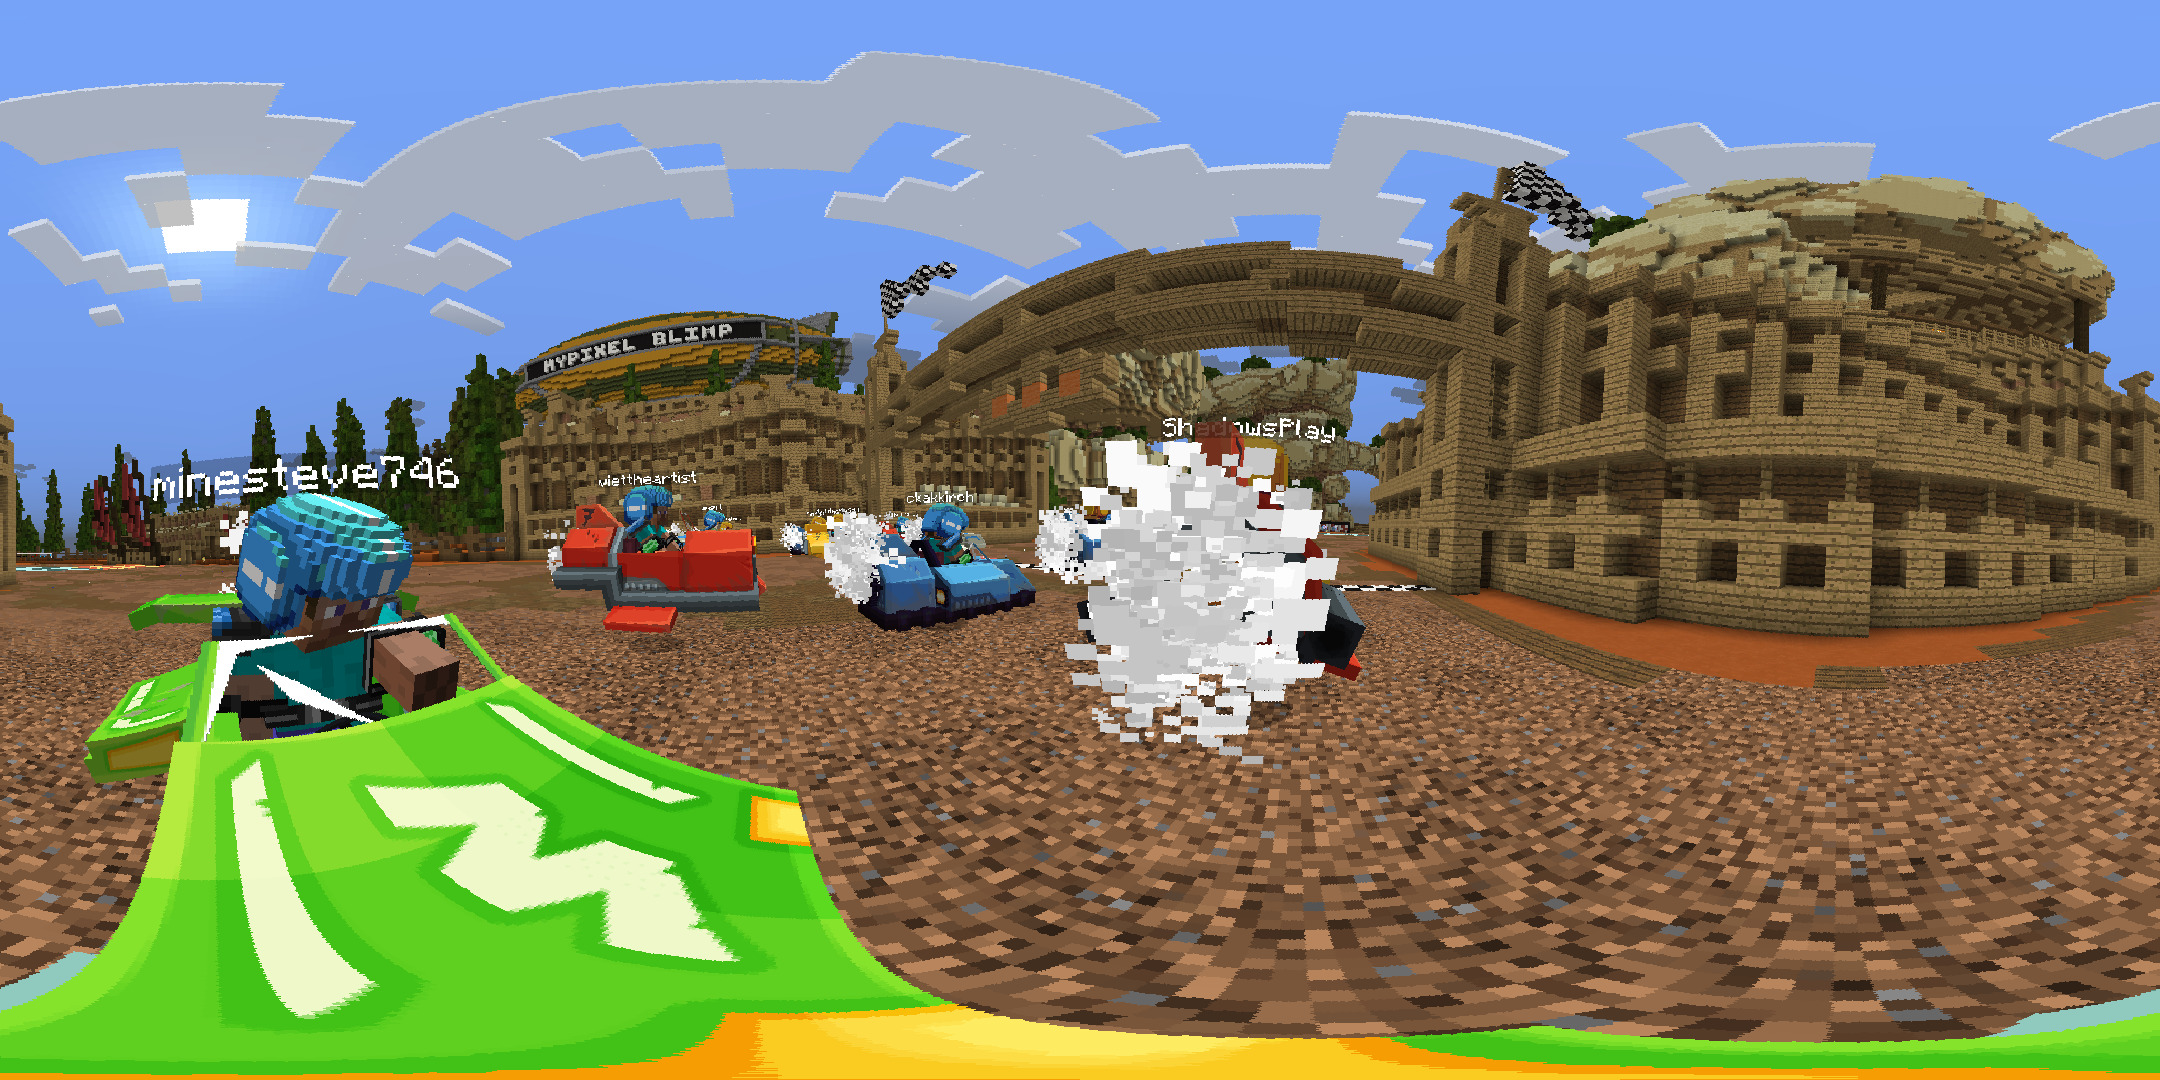
- Equirectangular: 360-degree view compatible with YouTube's VR functions.
Encoding Presets
| Preset | Description |
|---|---|
| MP4 - Default | Balanced quality and file size (x264 codec). |
| MP4 - High Quality | Near-lossless quality for professional editing. |
| MKV - Lossless | Perfect quality, but very large file sizes. |
| PNG Sequence | Exports every frame as an individual image. |
| OpenEXR | High-dynamic-range format that can include depth map data. |
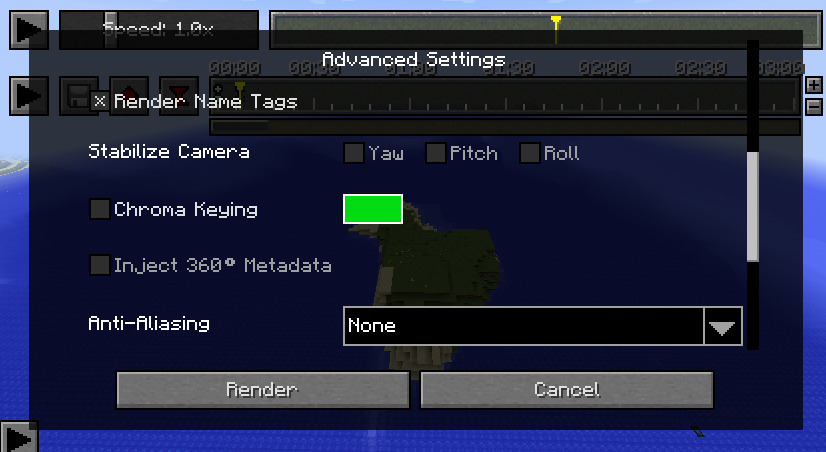
Advanced Render Settings
- Render Nametags: Toggle the visibility of player and mob names.
- Stabilize Camera: Prevents the camera from tilting during 360-degree renders, ensuring a better VR experience.
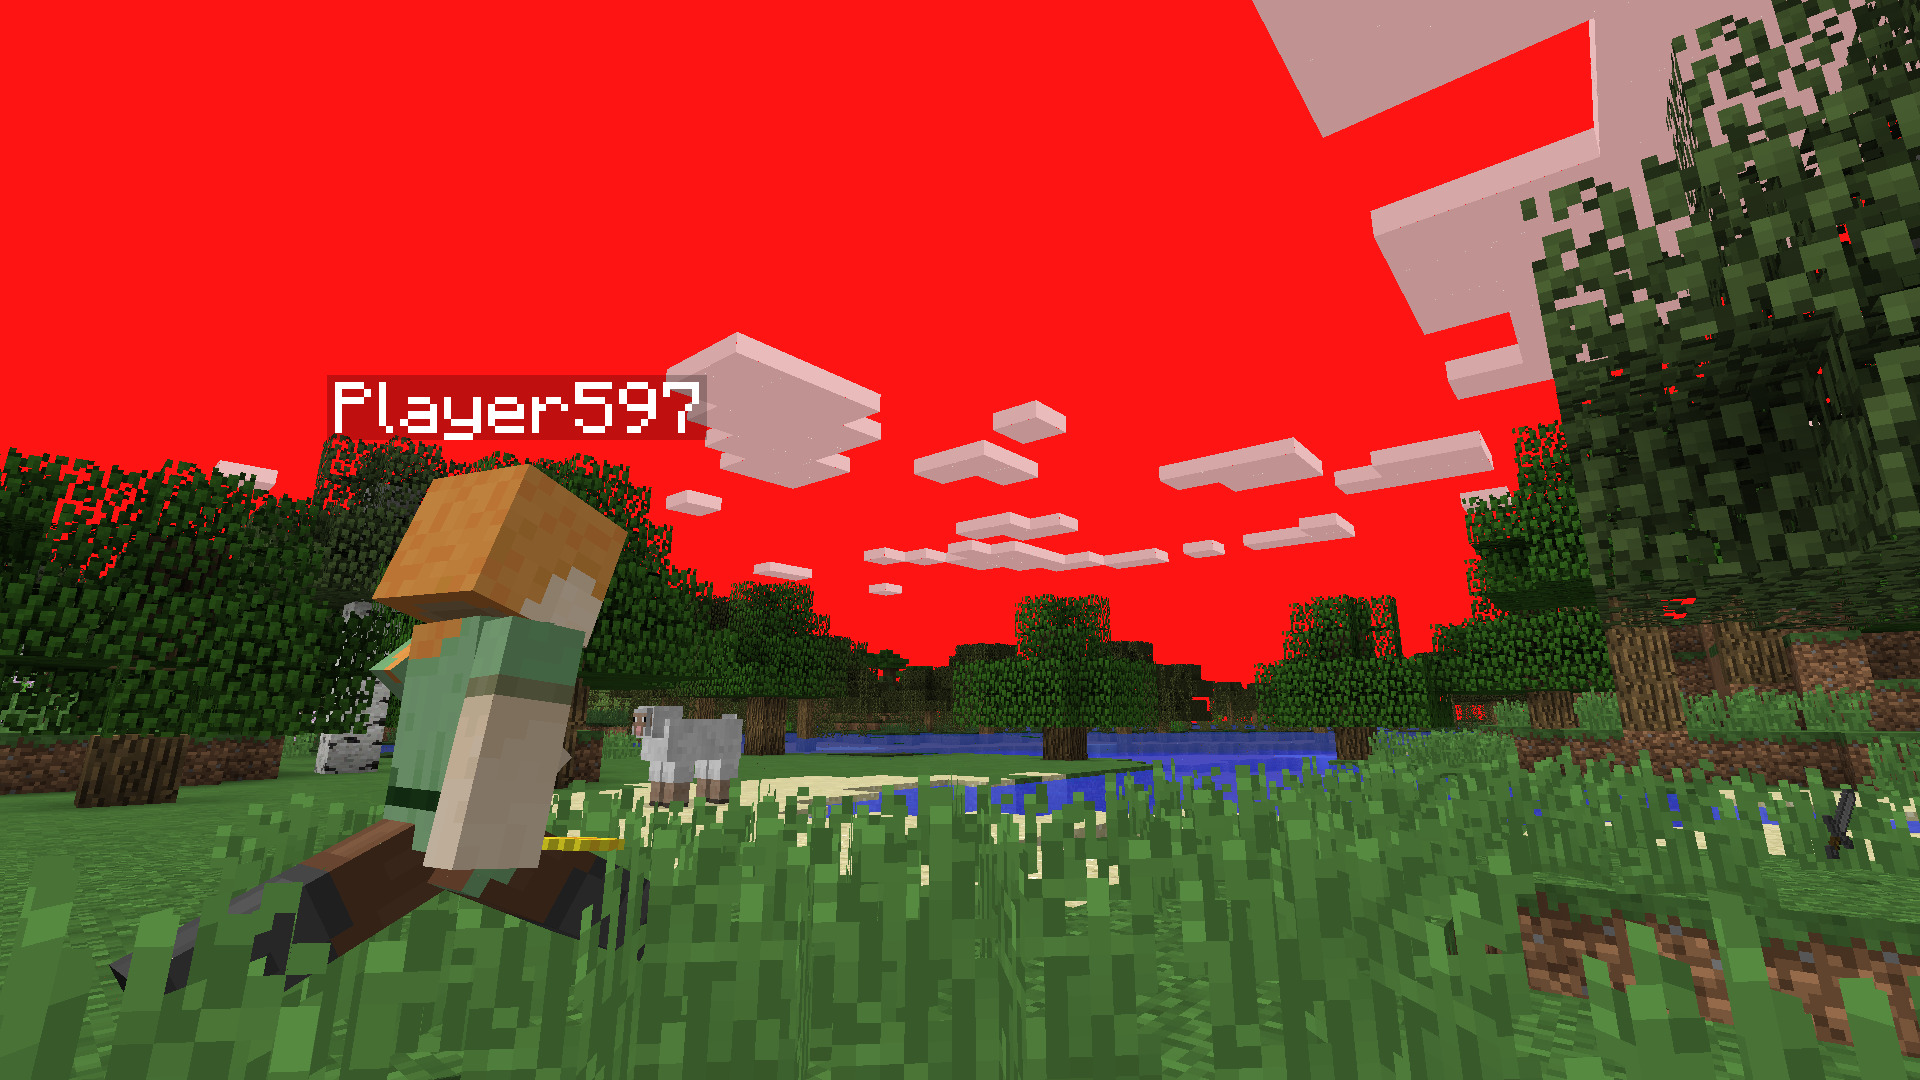
- Chroma Keying: Replaces the sky with a solid color (e.g., green or blue) for post-production compositing.
- Depth Map: Exports depth information, allowing for advanced 3D effects in software like Blender or After Effects.
Utility Features#
Ambient Lighting
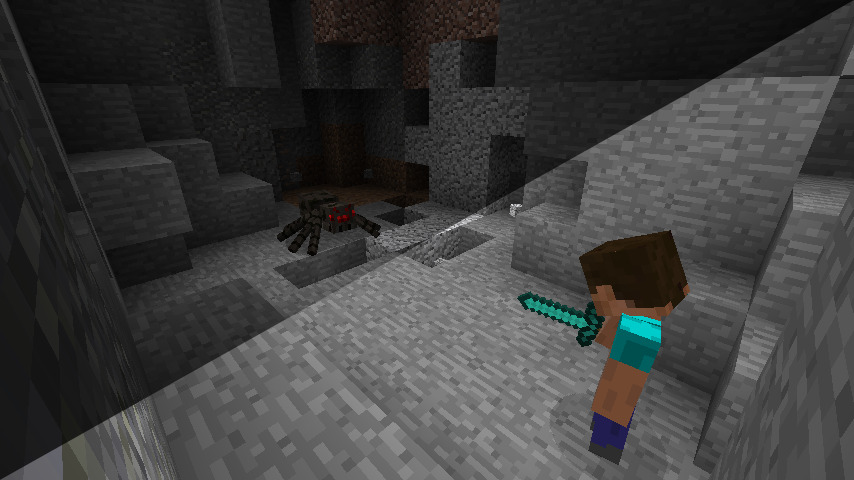
Press Z to toggle Ambient Lighting. This illuminates dark areas (caves, night scenes) without changing the sky color or requiring Night Vision potions. An eye icon in the bottom-right indicates when this is active.

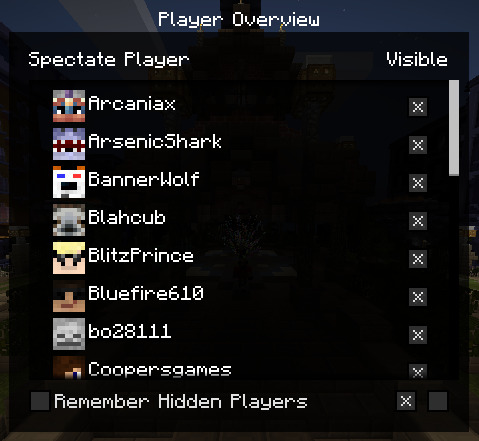
Player Overview
Press B to open the Player Overview menu. Here you can see a list of all players in the recording. You can toggle their visibility individually or hide all players to focus on the environment.
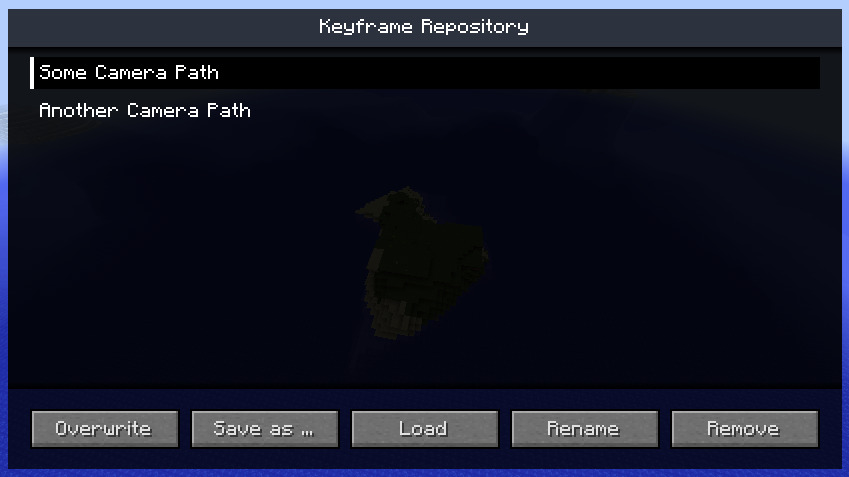
Keyframe Repository
Press X to open the Repository. This allows you to save and load camera path presets. Every replay file has its own repository, making it easy to manage multiple different shots for the same recording.
Troubleshooting and FAQ#
Common Issues
- No FFmpeg installation found: Ensure
ffmpeg.exeis in the.minecraftfolder. If using a custom launcher (MultiMC, GDLauncher), place it in the specific instance's.minecraftfolder. - Crash while rendering: This is usually caused by invalid Command Line Arguments or unsupported resolutions. Reset to "MP4 - Default Quality" and try again.
- Shaders Compatibility: Replay Mod is compatible with Iris and Sodium. If using shaders, ensure they are enabled before starting the render process.
Frequently Asked Questions
- How long can I record? Theoretically up to 24 days of continuous footage.
- Does recording cause lag? Recording world data is significantly less taxing than recording video. Most players will notice zero impact on FPS.
- Can I record on servers? Yes. The mod records all data sent by the server to your client. It does not record chunks that the server hasn't sent to you (outside your server-side view distance).
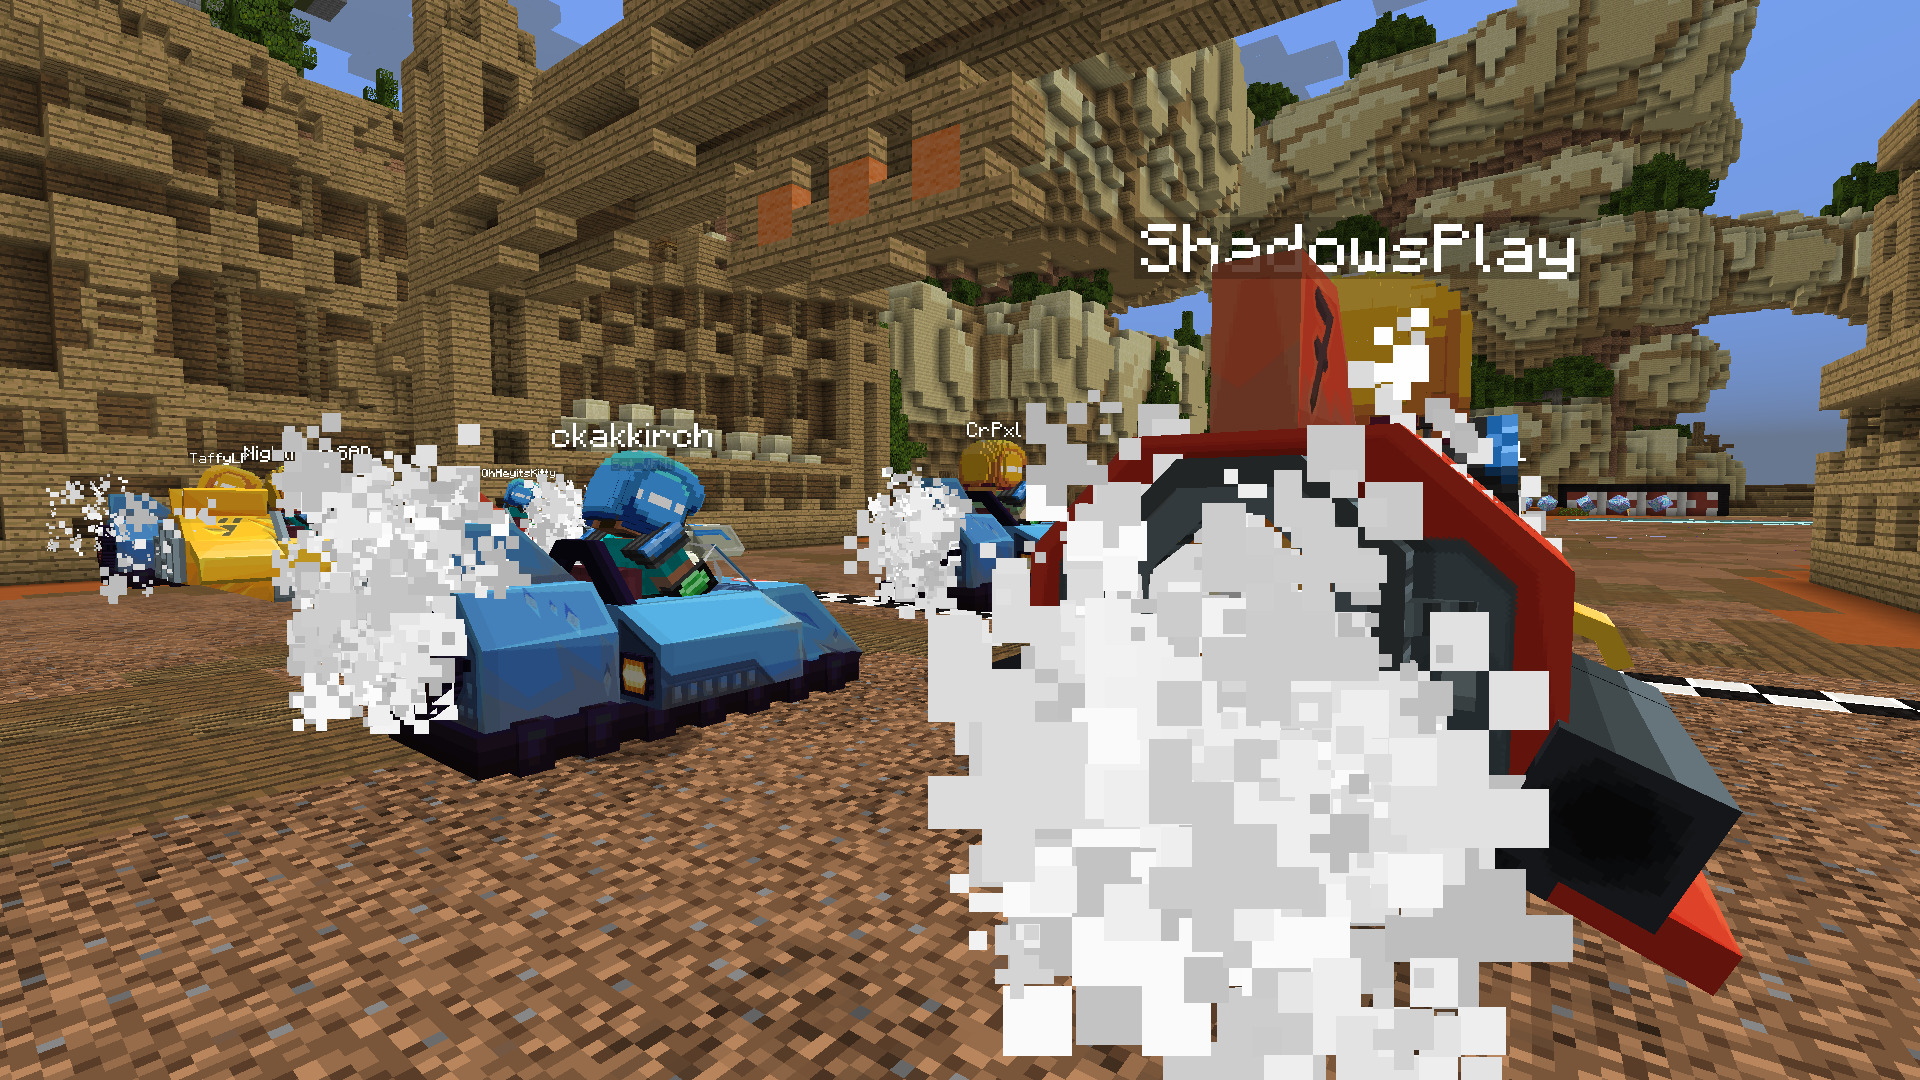
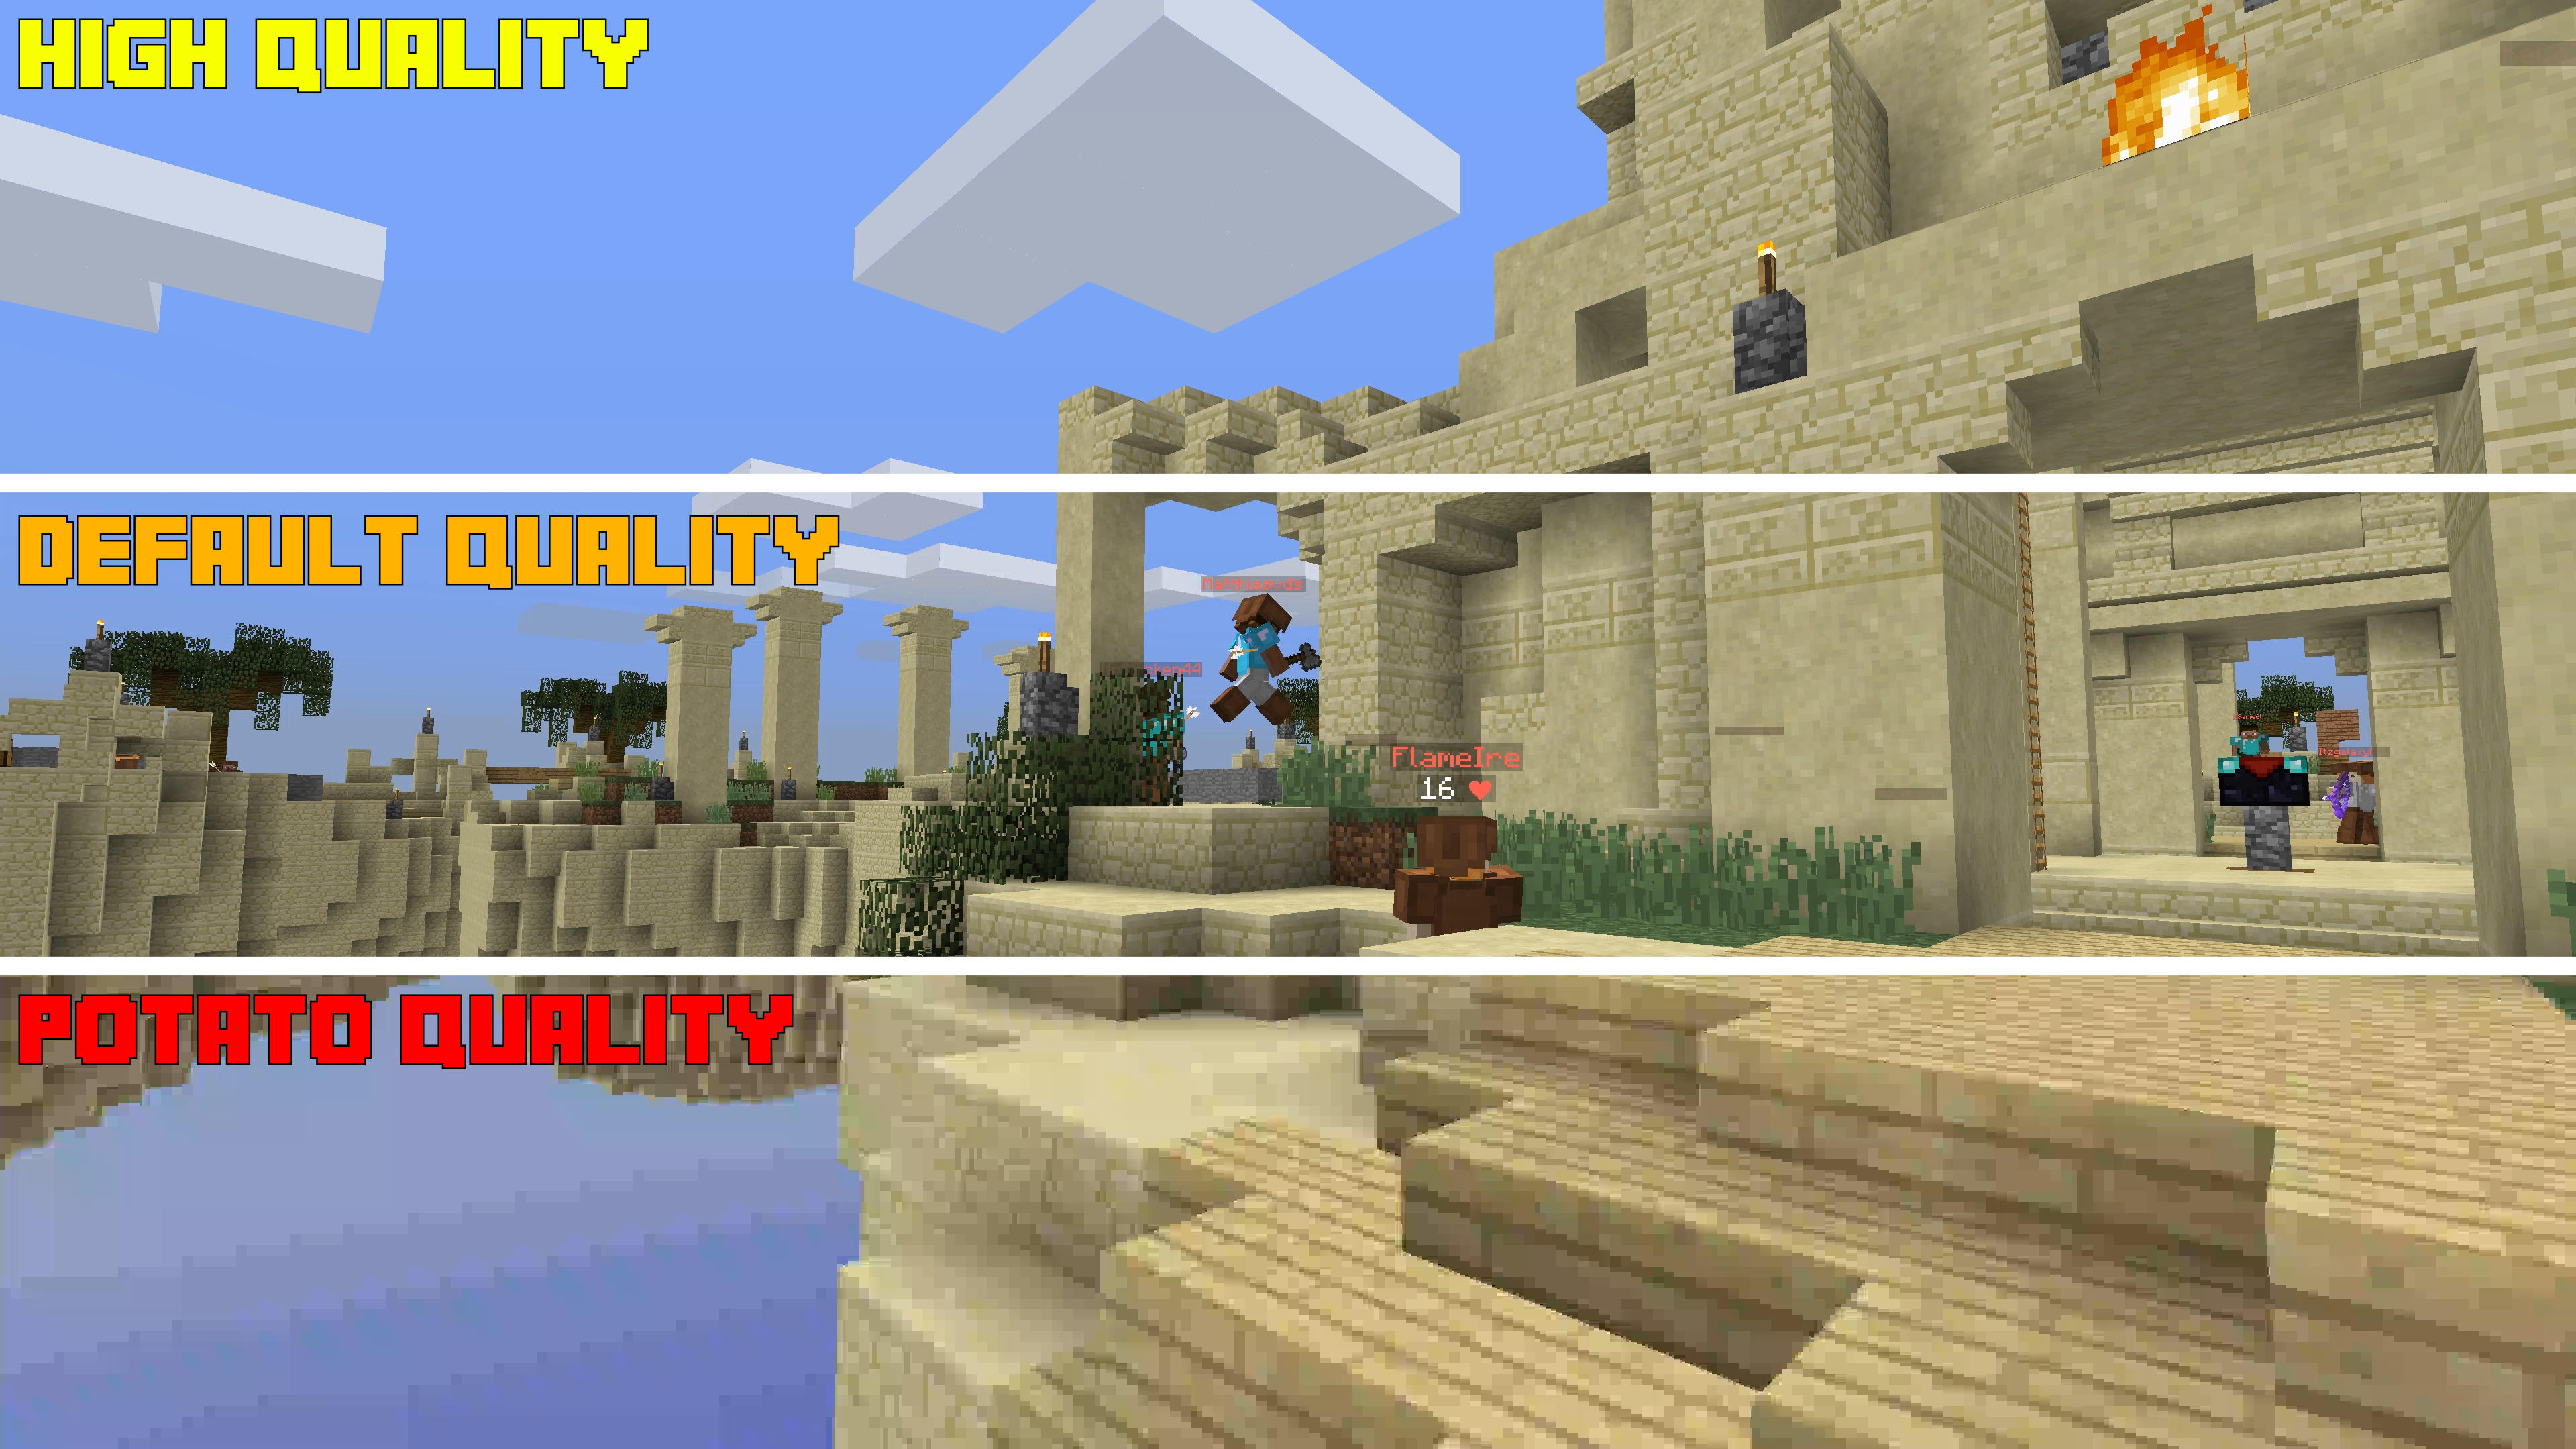
Gallery#