MCreator Tool (1.20.5, 1.20.1) – Create Minecraft Mods Without Coding
MCreator Tool (1.20.5, 1.20.1) is a program for modding Minecraft without programing knowledge. It’s very simple to use, and the program’s concept is easy to learn. With this mod, you can customise Minecraft as you wish. Making new blocks, items, achievements, new types of existing blocks, mobs, biomes, foods, tools, plants, machines (and more!) is possible with MCreator.
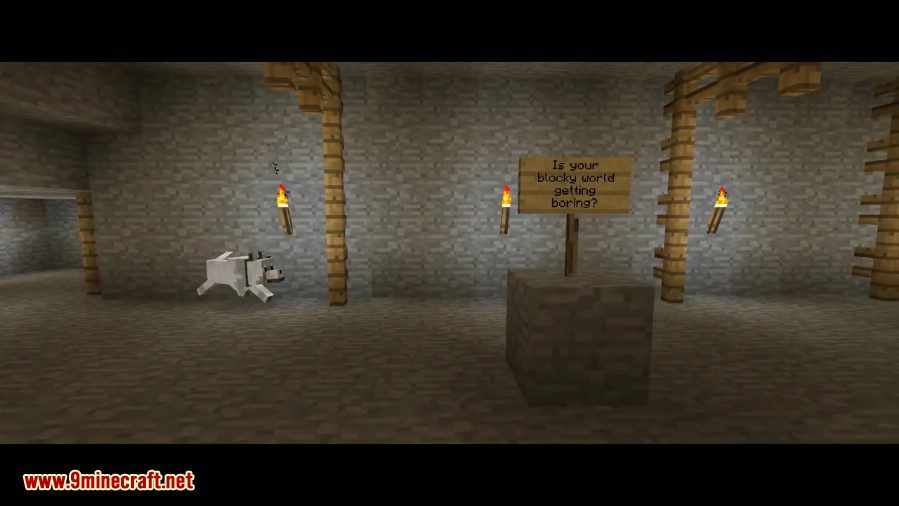
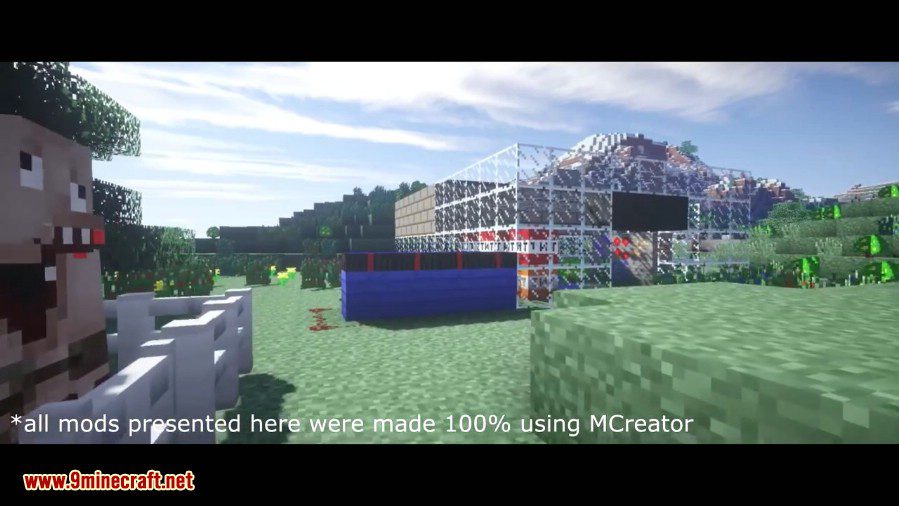
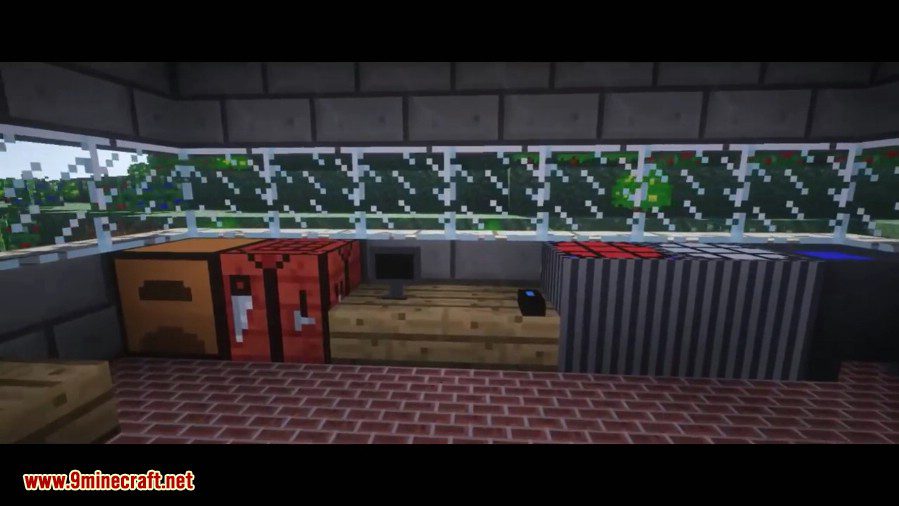
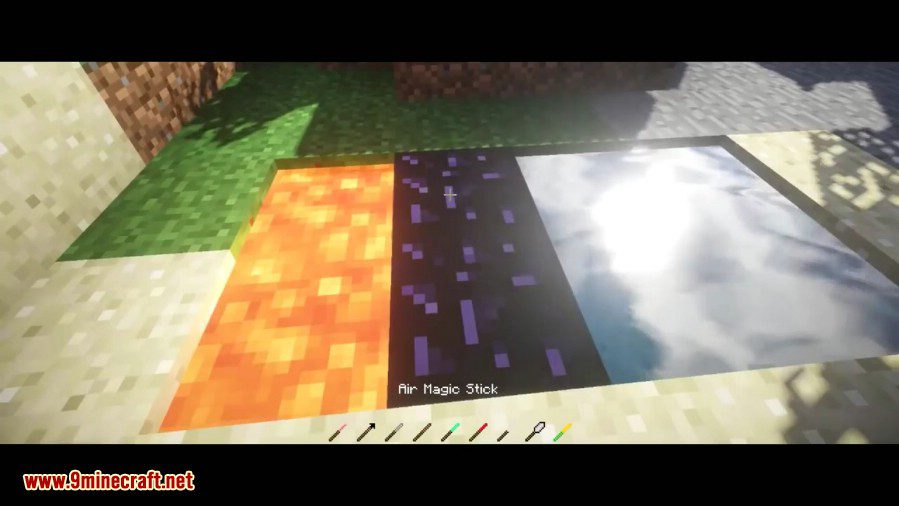
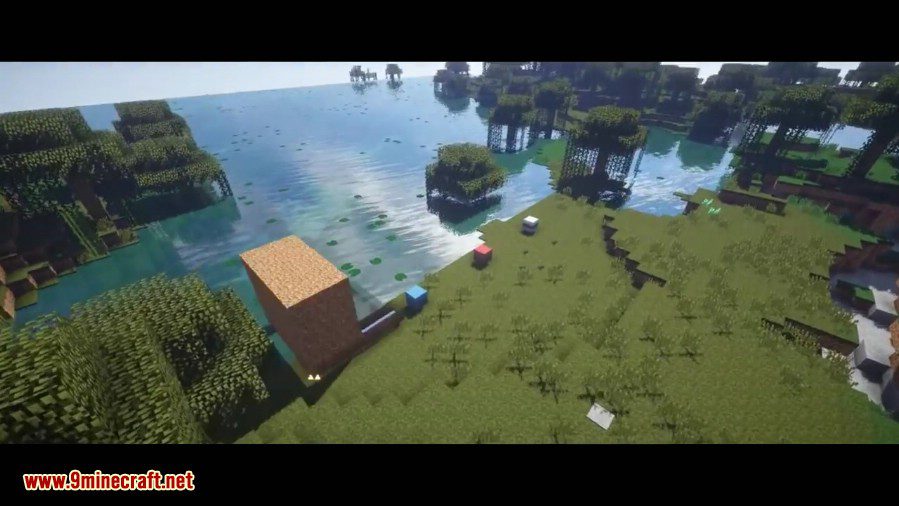
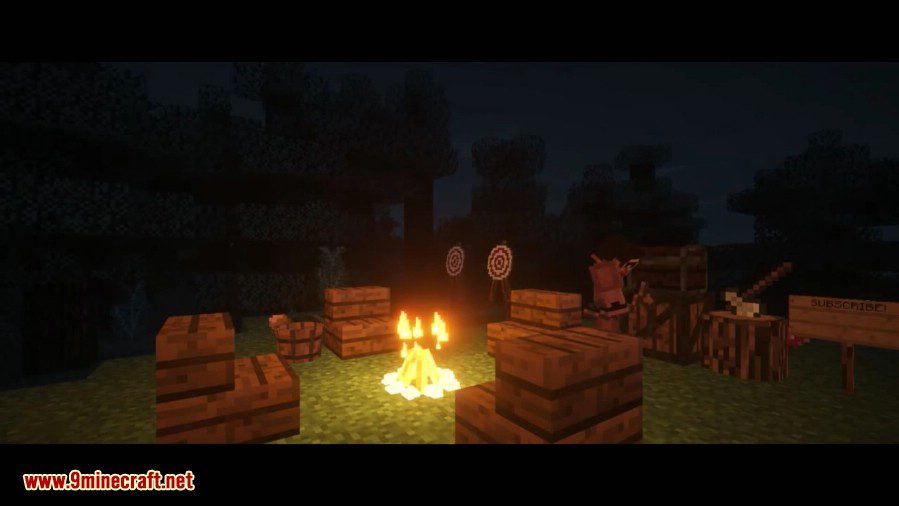
Screenshots:
How to install:
Windows:
Step 1
Download MCreator and run the installer
Step 2
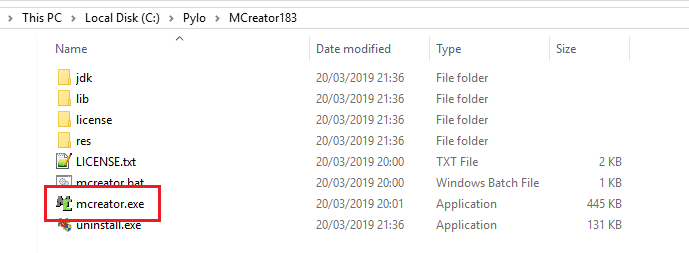
Go to the C:/Pylo/MCreator(version) and run MCreator.exe. You might need to run it as administrator if you get stuck on Building forge or if MCreator setup is complete in less than a minute. In such case, remove MCreator, reinstall it and open with admin rights (right click – > Run as admin).
Step 3
For the first time, you might need to allow the firewall to allow Java to access the internet. Setup procedure will start. Wait till it is done (even after you see all ticks, it might take a while before the setup is actually complete) and enjoy using MCreator. You need to have internet access in order to use MCreator.
NOTE: You can install MCreator anywhere, but make sure that there are only numbers, English alphabet characters, characters .,-_ and whitespaces in the name of the file path. Other characters from other languages might cause unpredictable errors and problems so avoid them!
High DPI screens:
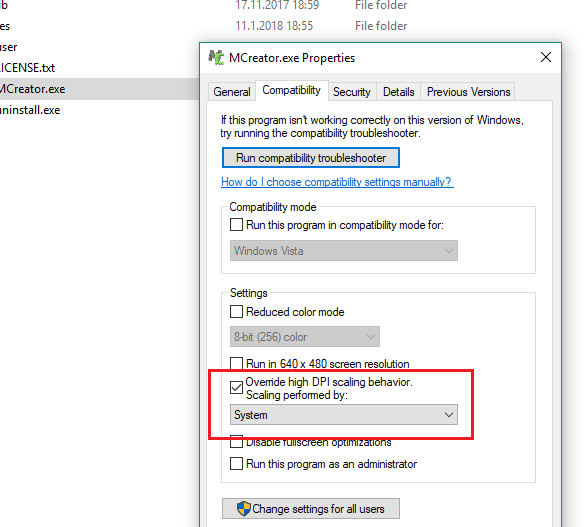
If you have problems with High DPI screens, you can override high DPI scaling behavior and set it to System option. To do so, right-click on MCreator.exe, open Compatibility tab and select options highlighted in the red square.
OSX (macOS):
Step 1
Download the latest MCreator version for Mac and open the DMG image.
Step 2
Copy the MCreator### (where ### is the latest version number of MCreator) folder inside DMG to a preferred folder with the write permissions of the current user (Applications folder is one of the folders that should not be used as it is not writable by the current user).
NOTE: You can install MCreator anywhere, but make sure that there are only numbers, English alphabet characters, characters .,-_ and whitespaces in the name of the file path. Other characters from other languages might cause unpredictable errors and problems so avoid using them!
Step 3
Click on the mcreator.command file inside the folder you extracted from the DMG image to launch MCreator. You might get the following warning:
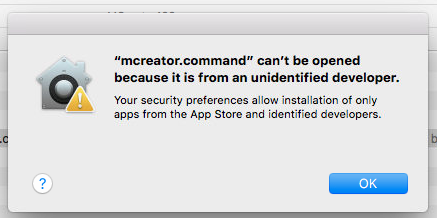
If you see this message, Ctrl + click on the file mcreator.command and click the Open menu item from the dropdown menu. A message like this will open:
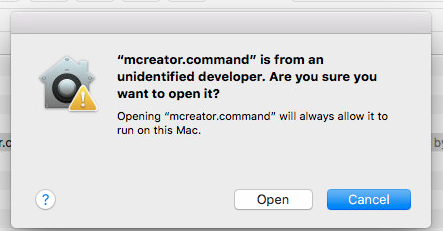
Click the Open button to launch MCreator. MCreator log terminal and MCreator window will open. You only need to do this the first time. On later launches, you won’t see this error again once you allow MCreator to launch for the first time.
Troubleshooting:
Terminal opens, but MCreator doesn’t
If a terminal opens and there is an error in it after you click the Open button, you might need to run the following command in a terminal:
brew reinstall libpng
After the (re)installation of a missing library is complete, open MCreator again and it should launch this time.
If you get a message that brew command is unknown, install Homebrew on your Mac first.
MCreator gets stuck on Initializing workspace system
If MCreator gets stuck on Initializing Workspace System, do the following:
- Right click on the folder in which you installed MCreator (usually MCreator###) and click Get Info
- Info window opens. Under Sharing & Permissions, set the Privilege of the current user to Read & Write
Linux:
MCreator Tool (1.20.5, 1.20.1) Download Links
MCreator for Windows (Supported All Versions)
64 bit EXE installer: Download from Server 1 – Download from Server 2
64 bit ZIP archive Download from Server 1 – Download from Server 2
MCreator for Mac (Supported All Versions)
x86 – 64 bit DMG image: Download from Server 1
AArch – 64 bit DMG image: Download from Server 1
MCreator for Linux (Supported All Versions)
x86 – 64 bit TAR archive: Download from Server 1
Tags:
YOU MAY ALSO LIKE...