MCA Selector Tool (26.2, 1.20.1) – Clear Unwanted Chunks

 0
0 

MCA Selector Tool is an external tool to export or delete selected chunks and regions from a world save of Minecraft Java Edition. MCA Selector modifies and deletes chunks in your Minecraft world. Please make backups of your world before using.
Screenshots:
How to use:
Navigation
Show More
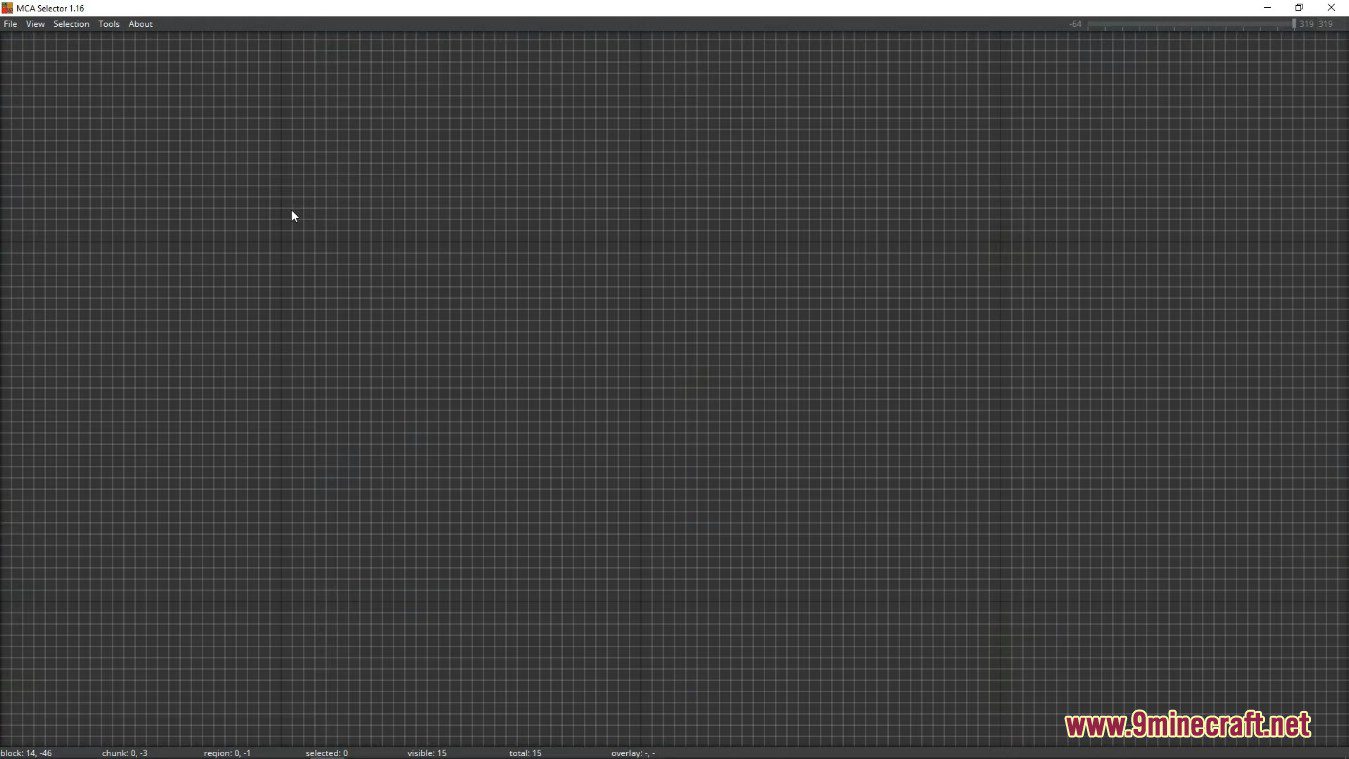
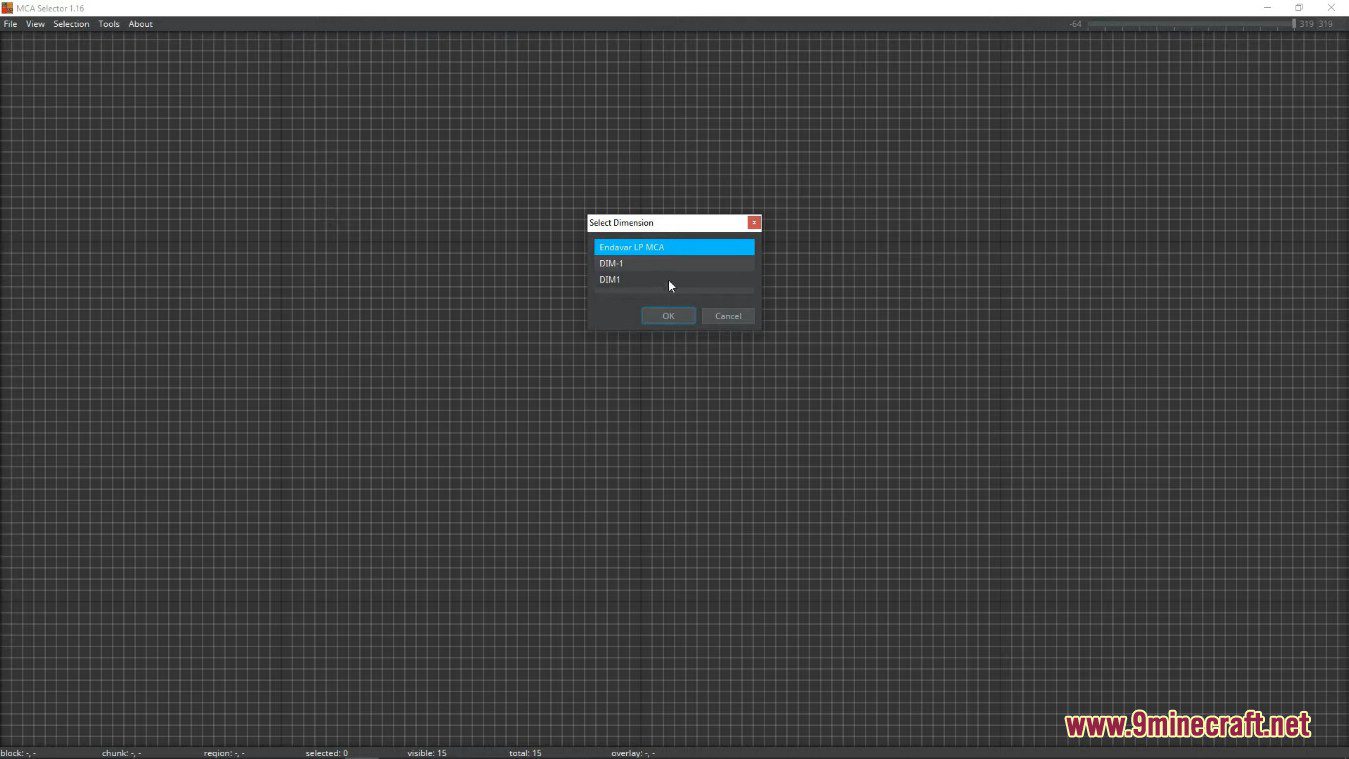
Opening a World
- When opening MCA Selector, it at first shows an empty map with a region and chunk grid. To see a world, use File –> Open World and select the world folder of the world you would like to open. The world folder always contains a region folder (and some other folders, e.g. a poi and since Minecraft 1.17 an entities folder). If the world is a single player world and the Nether and / or the End have been explored, it will ask for which dimension to be opened.
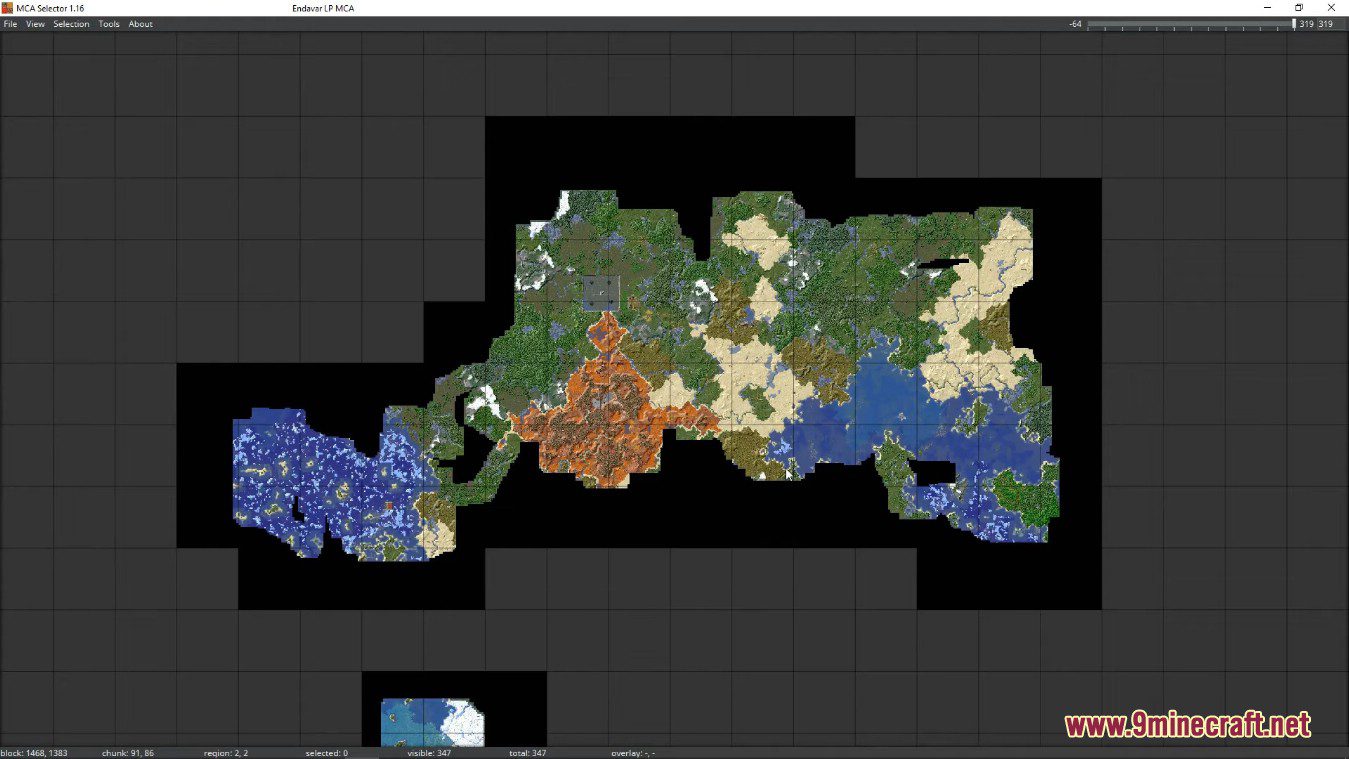
Navigating the Map
As soon as a world or dimension has been opened, the map can be navigated using the following methods:
- Pressing and holding the middle mouse button and dragging the map (On Mac and Windows).
- Pressing and holding Cmd and the left mouse button and dragging the map (On Mac).
- Using WASD or the arrow keys to move the map (hold Shift to go faster).
- Using the Scroll wheel of the mouse or the “zoom” gestures of the trackpad to zoom in or out of the map.
- Using the + and – keys to zoom in or out of the map. The zoom level can be reset using Ctrl+0 (or Cmd+0 on Mac).
- Using View –> Goto to jump to a specific location.
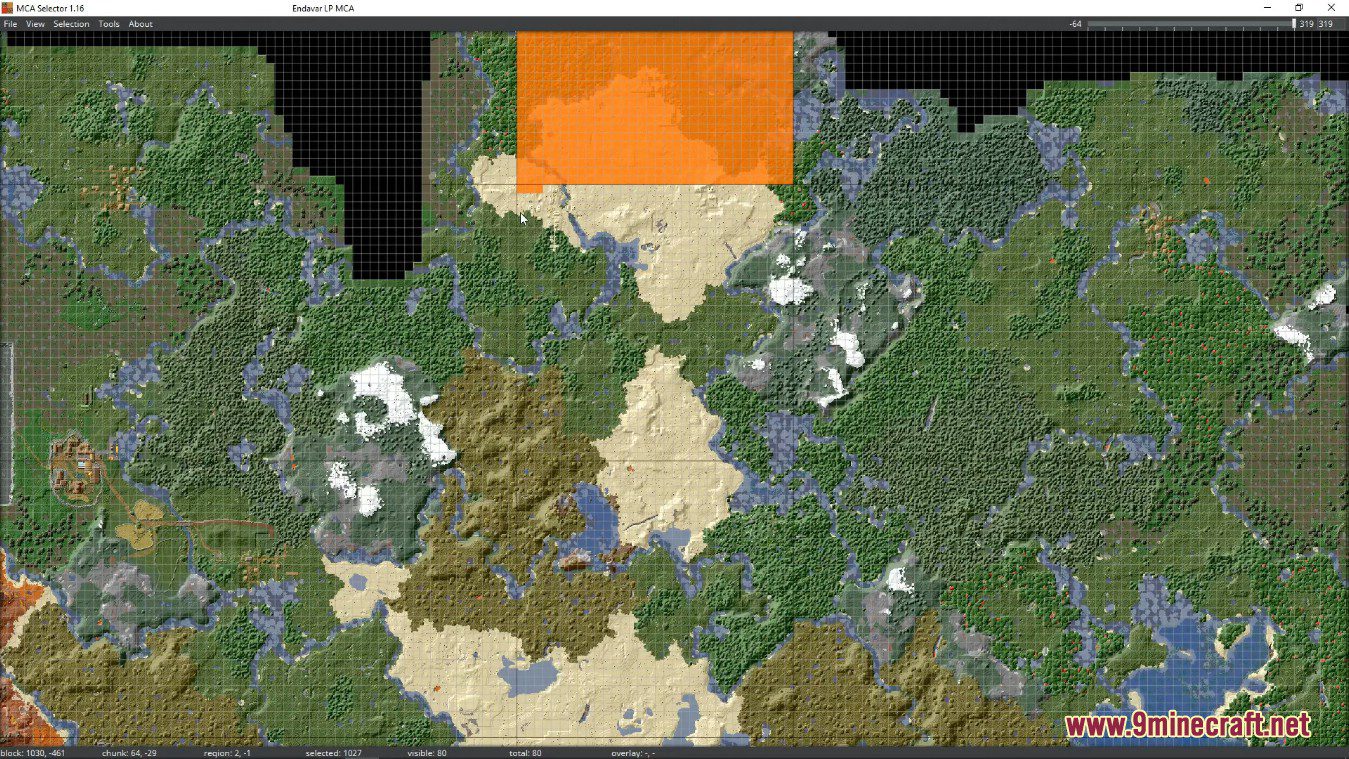
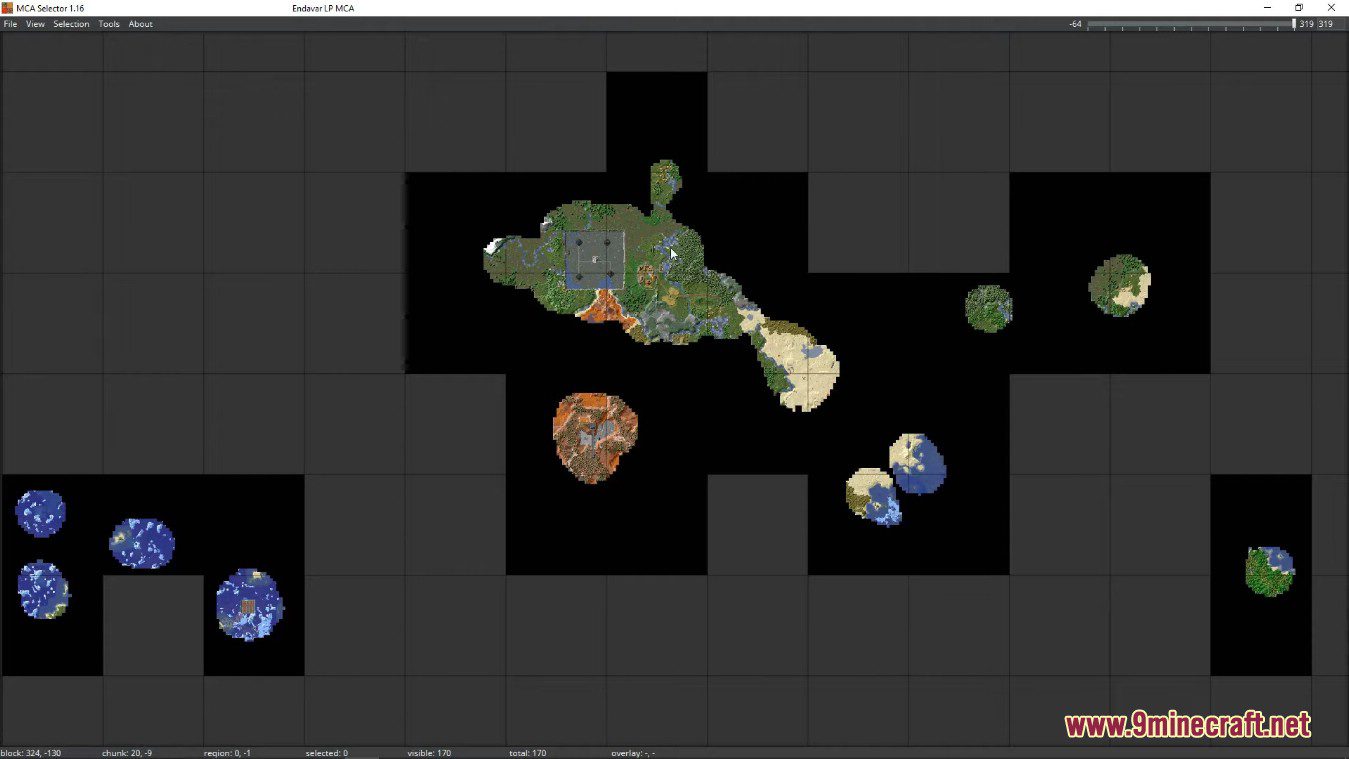
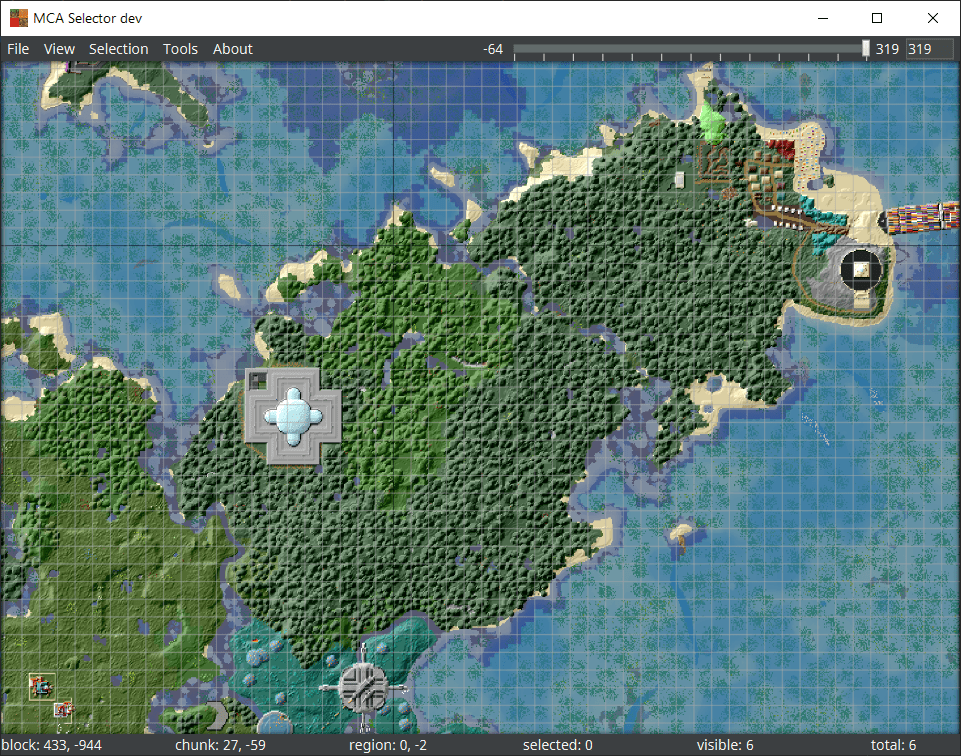
Grids and Layers
When zoomed in, MCA Selector shows the chunk grid and enables chunk selection. A chunk contains all blocks in a 16×16 area.
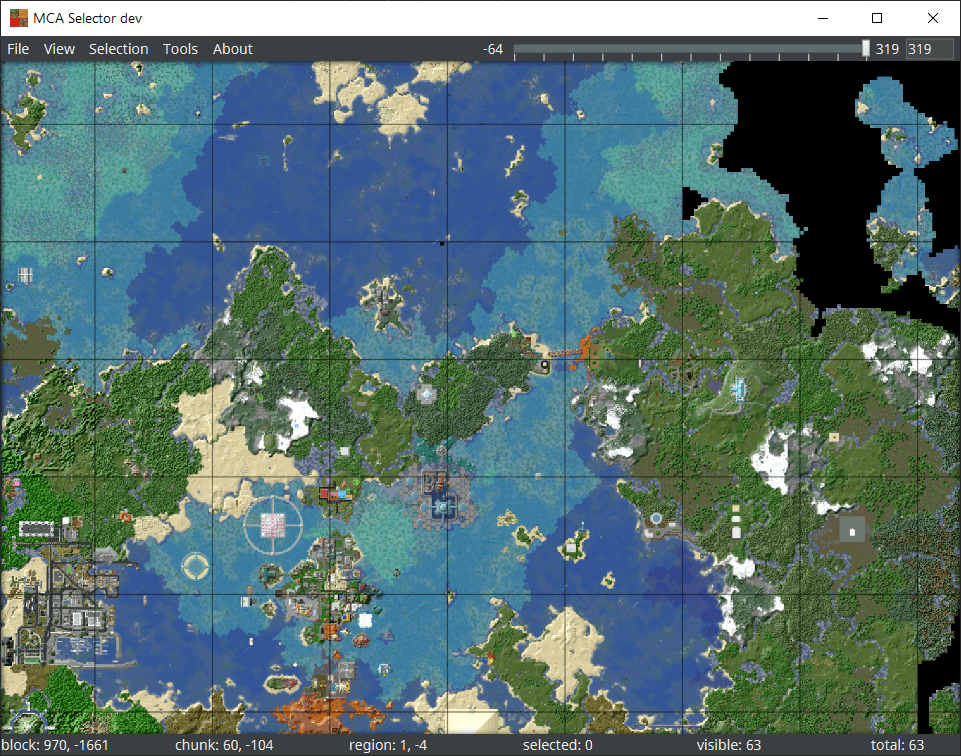
When zoomed out, MCA Selector switches to region selection mode. A region is an area of 512×512 blocks (32×32 chunks).
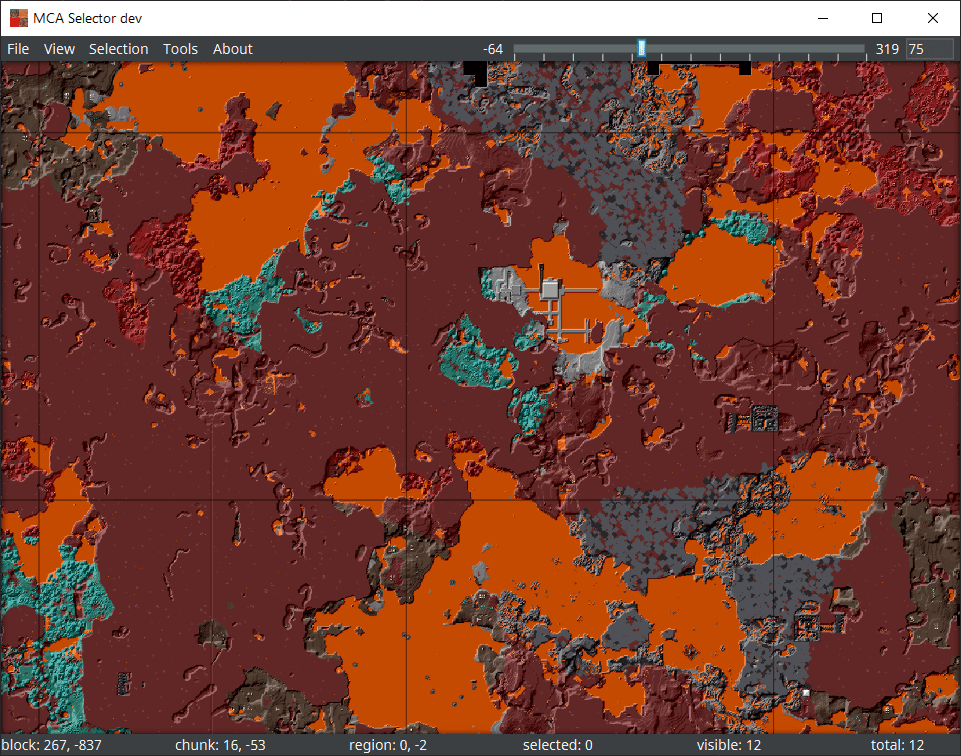
MCA Selector renders the topmost block by default. In The Nether, this is usually the Nether ceiling which is not particularly helpful. To start rendering at a lower Y-level, the height slider at the top-right corner can be adjusted to start rendering below the Nether ceiling. Additional options for rendering can be found in File –> Render Settings (Shortcut E), e.g. for changing the background pattern, cave mode and different kinds of shading.
Selections
Show More
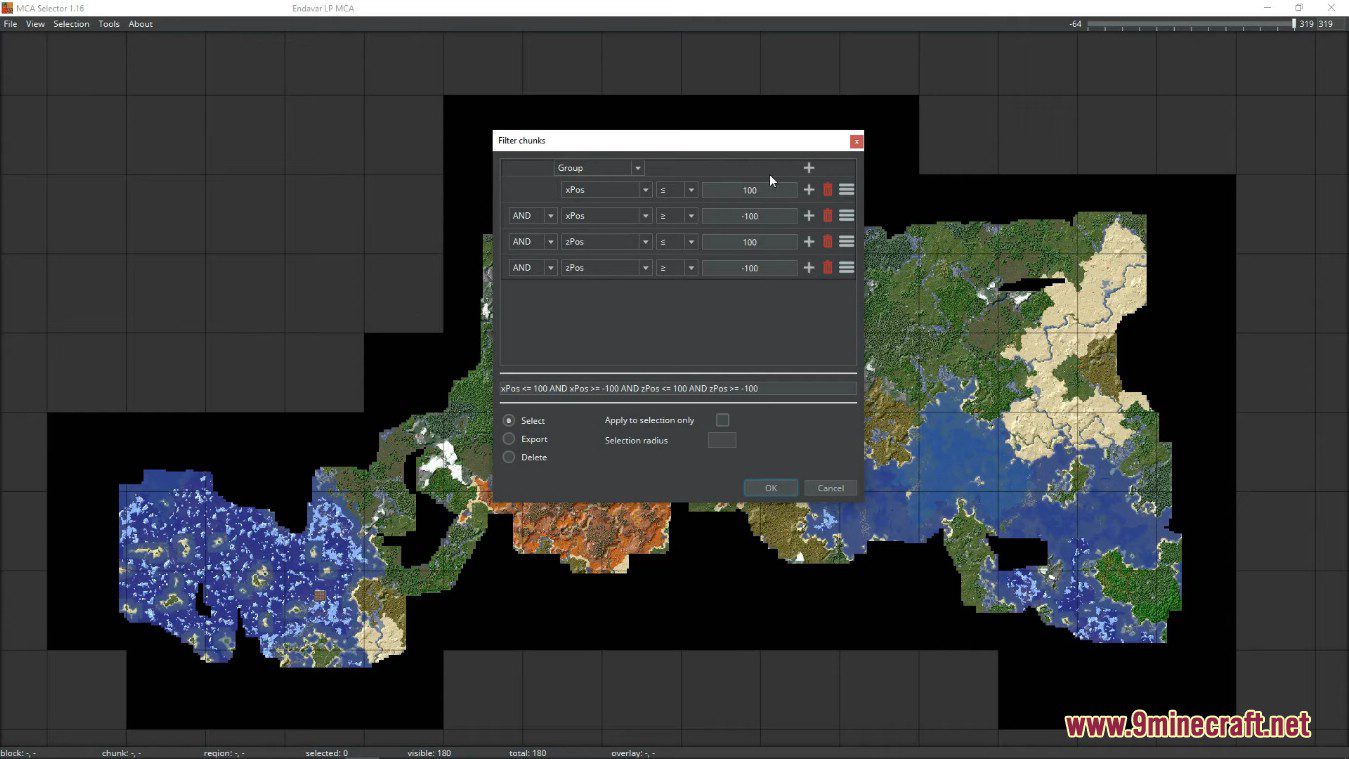
Create a selection
- A selection can be created in multiple ways.
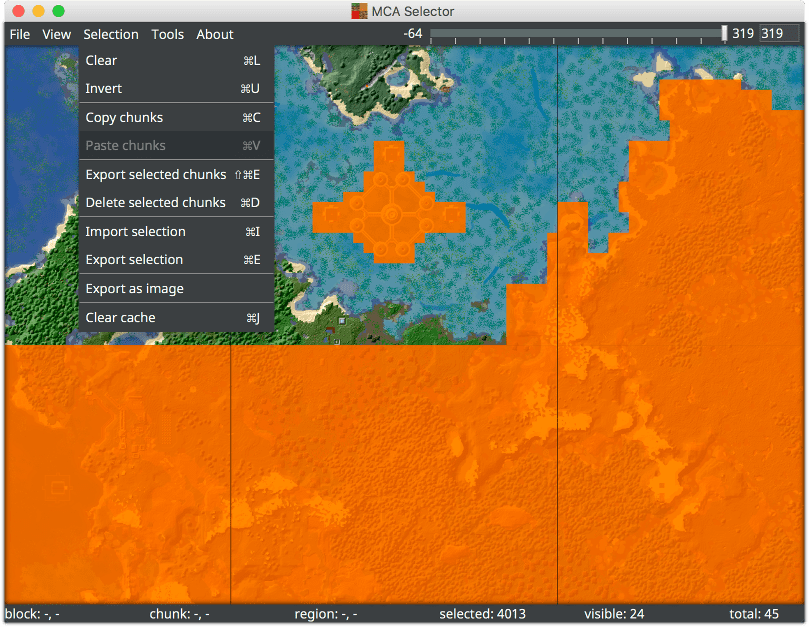
Using the mouse buttons
- There are two selection modes. When zooming in until the chunk grid can be seen, individual chunks can be selected or deselected. When zooming out until only the region grid can be seen, entire regions can be selected or deselected.
- Click the left mouse button to select a chunk or region. Hold and drag to select multiple chunks or regions. To deselect, click the right mouse button. Hold and drag to deselect multiple chunks or regions.
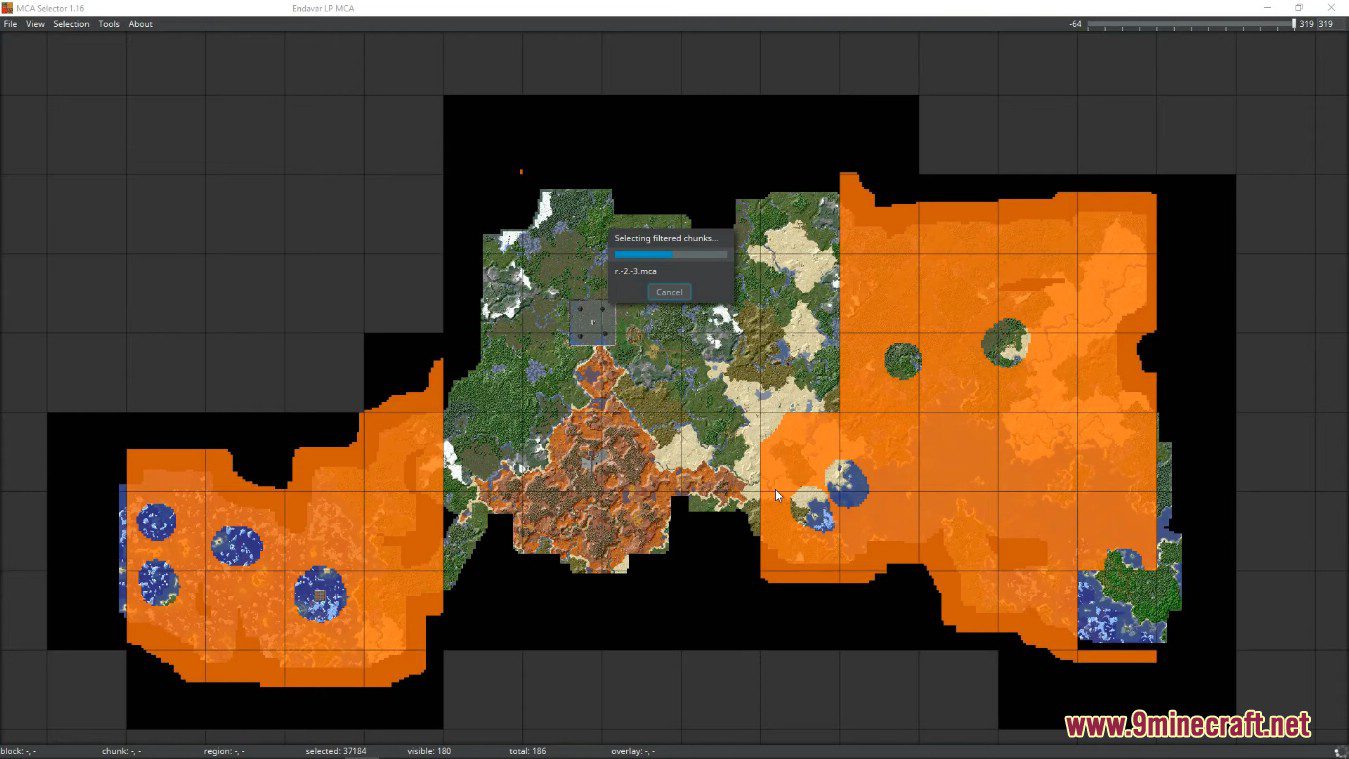
Inverting an existing selection.
- Use Selection –> Invert to invert a selection.
- A selection can also be inverted on a per-region basis only if a region contains any form of selection (either the entire region is selected or at least one chunk in the region is selected). Use
- Selection –> Invert selected regions to achieve this. This is not a toggle though, so inverting a fully selected region will fully deselect it, and it will not be reselected after inverting selected regions again.
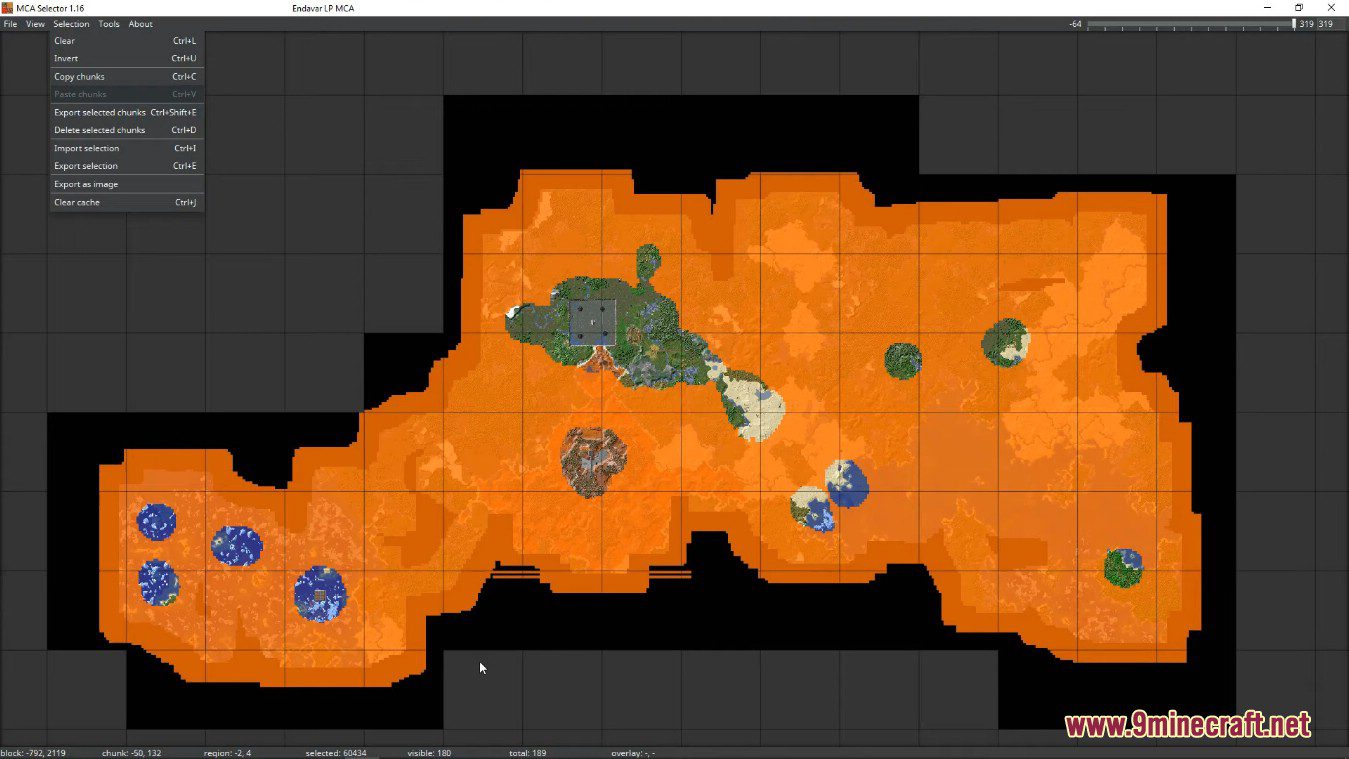
Save and load selections
- A selection can be saved using Selection –> Export selection. It can be loaded using Selection –> Import selection.
MCA Selector Tool Download Links
For All Versions of Minecraft
Windows Installer version (Exe file): Download from Server 1 – Download from Server 2
Universal version (Jar file): Download from Server 1 – Download from Server 2
You May Also Like


This post has no comments yet. Be the first — your comment will appear here.