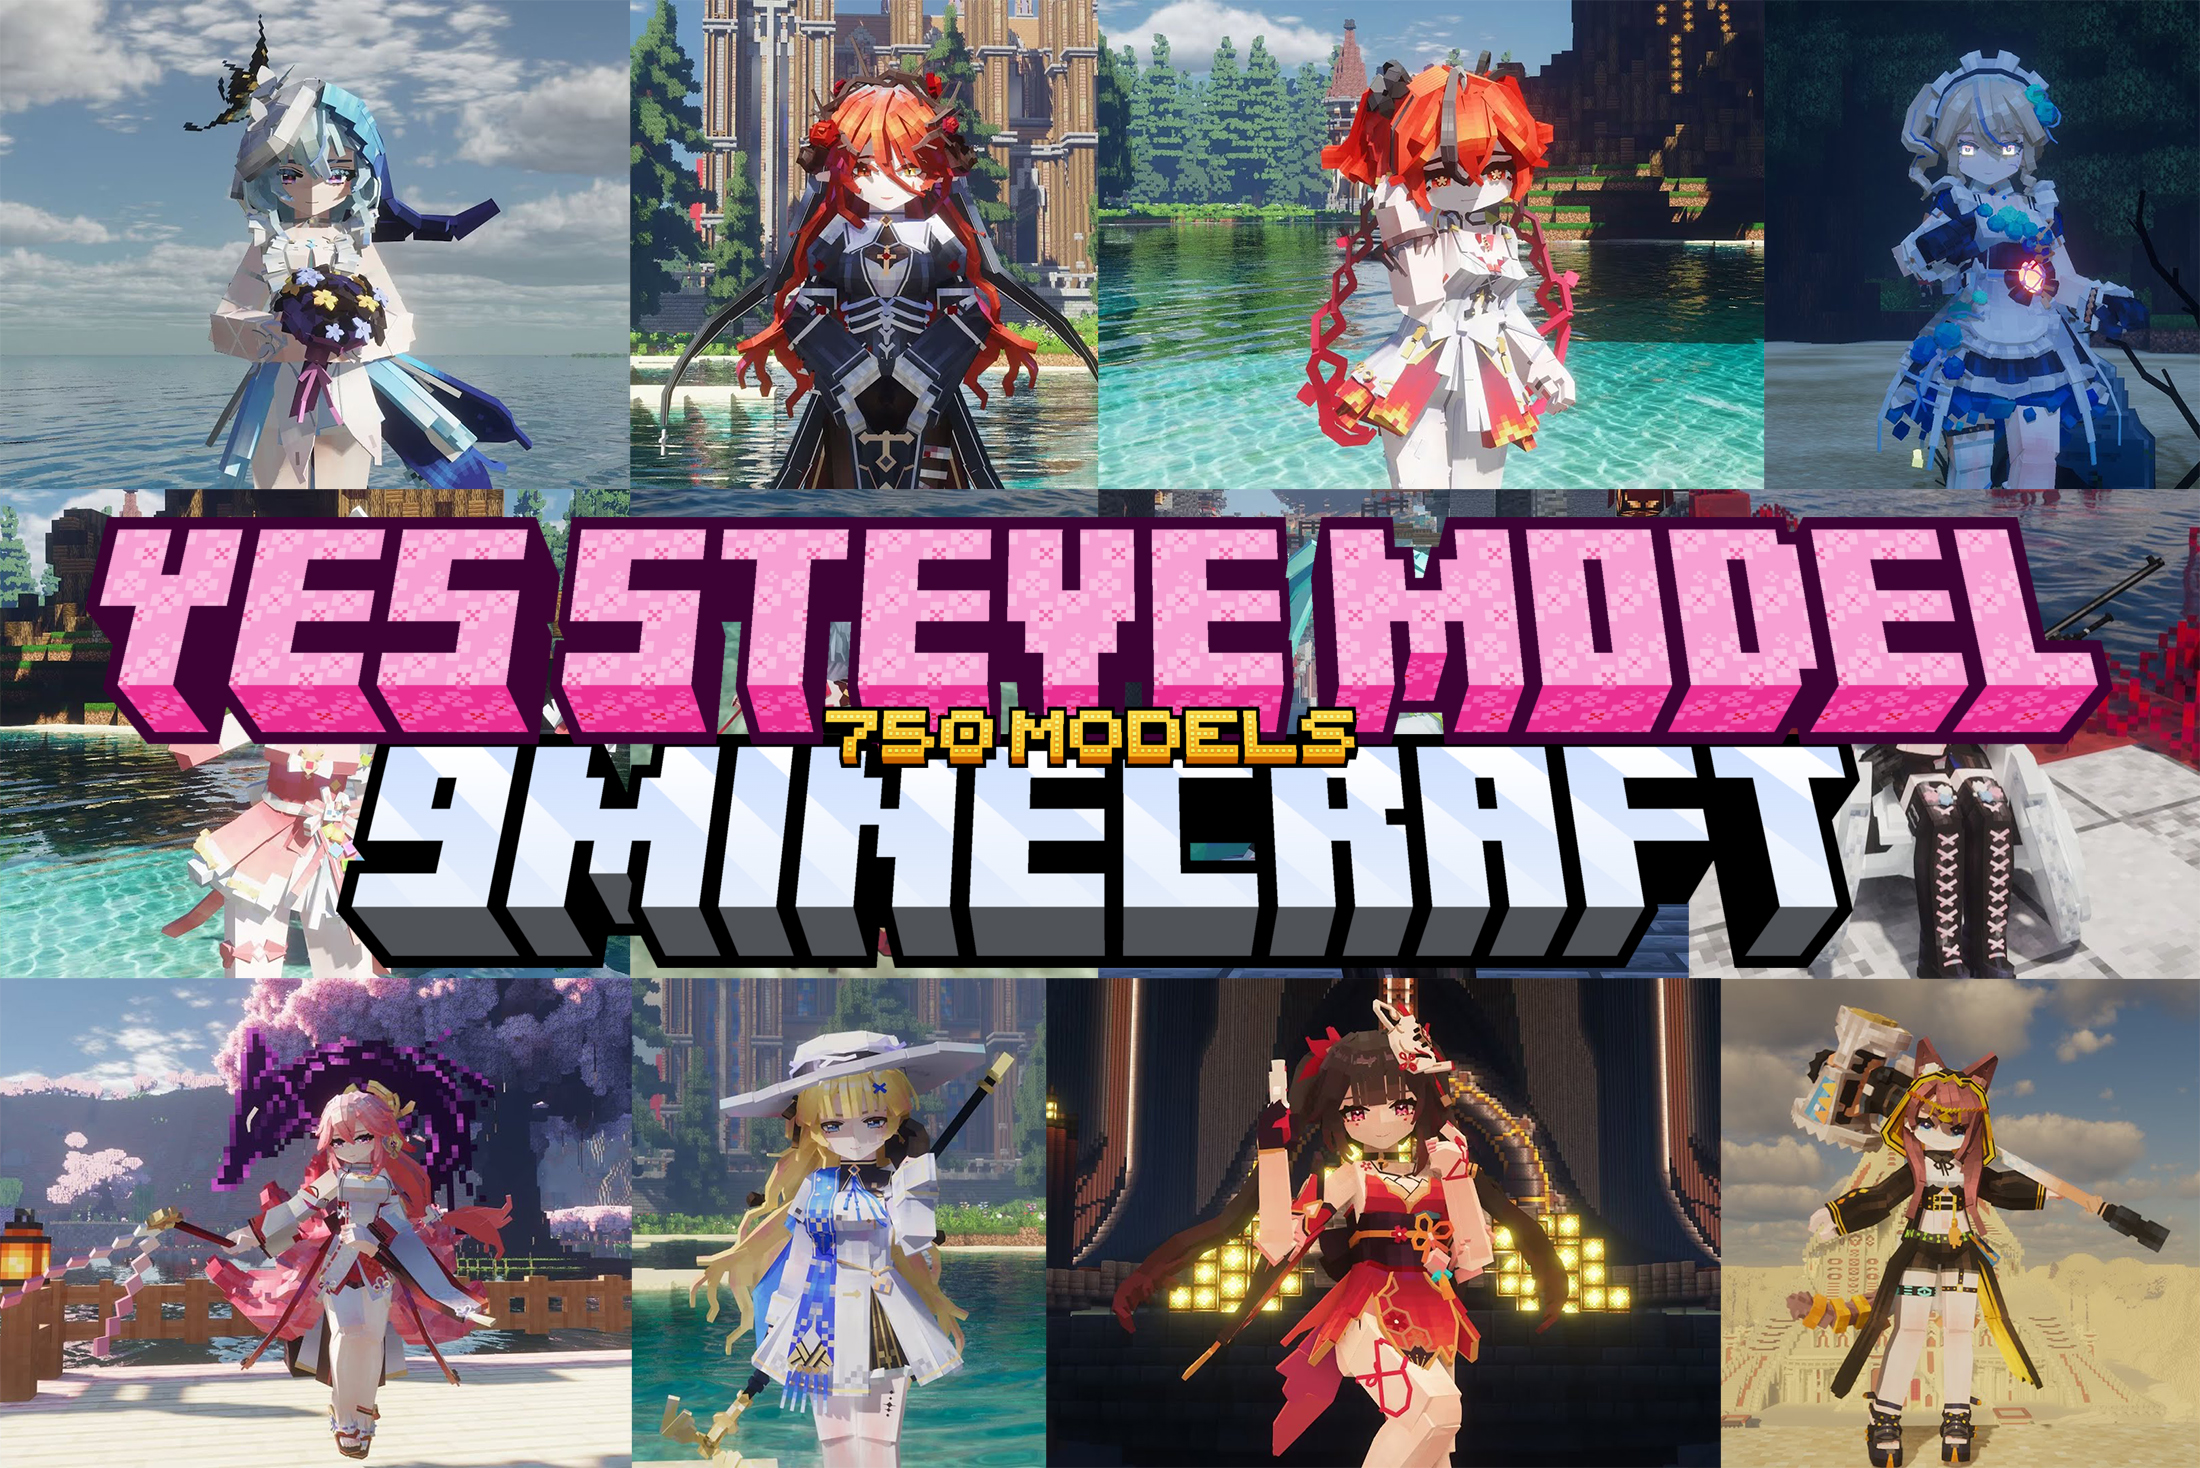
750 Models Addon for Yes Steve Model Mod
 42,203
 2
2
 3 weeks ago
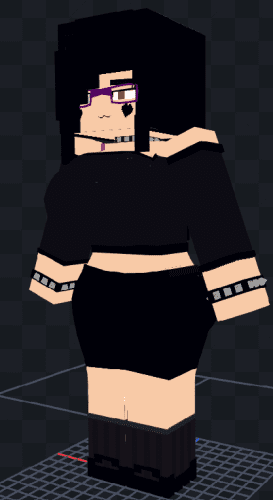
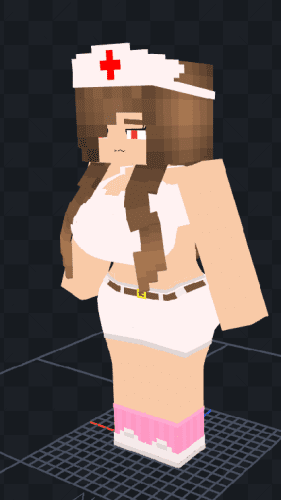
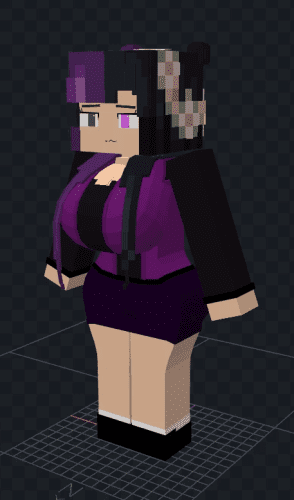
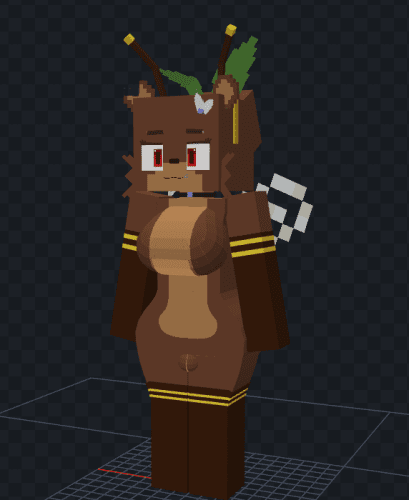
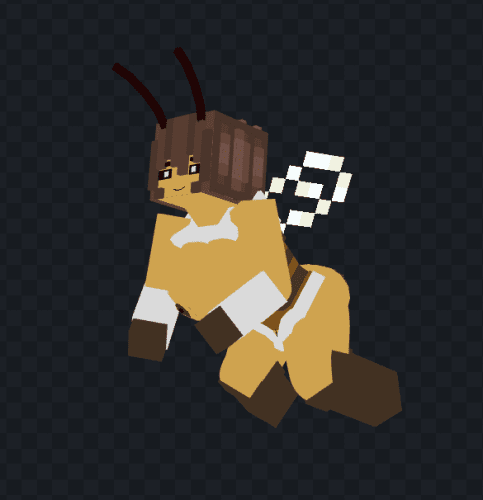
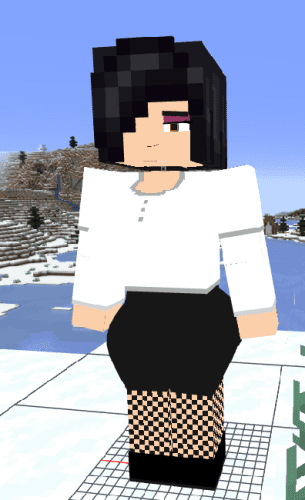
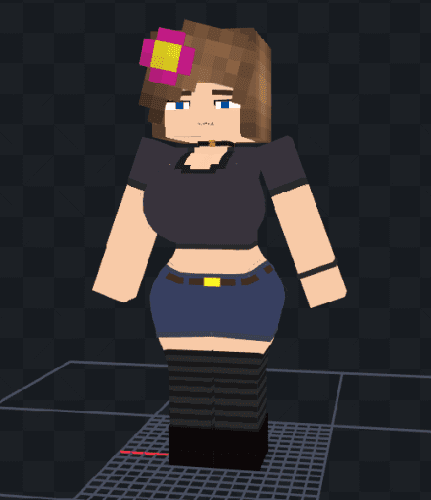
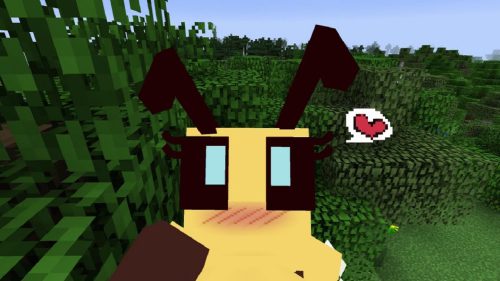
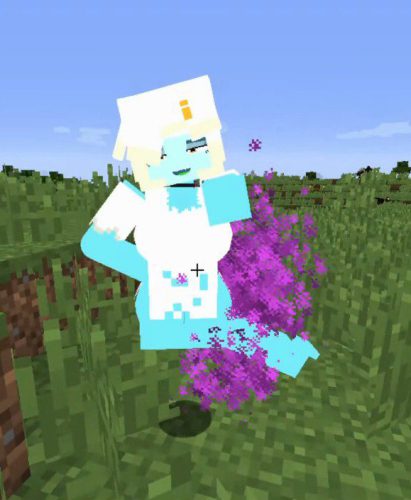
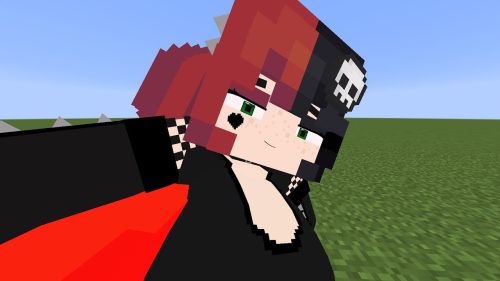
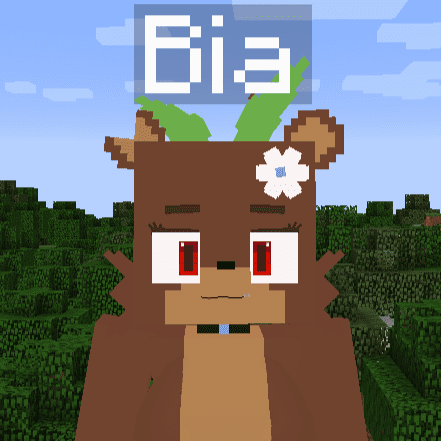
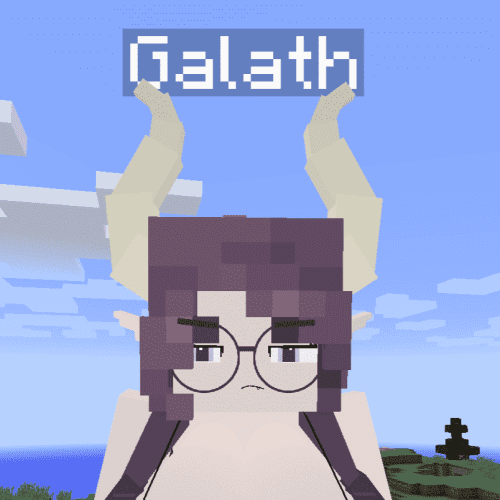
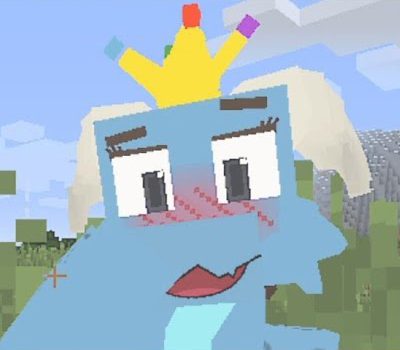
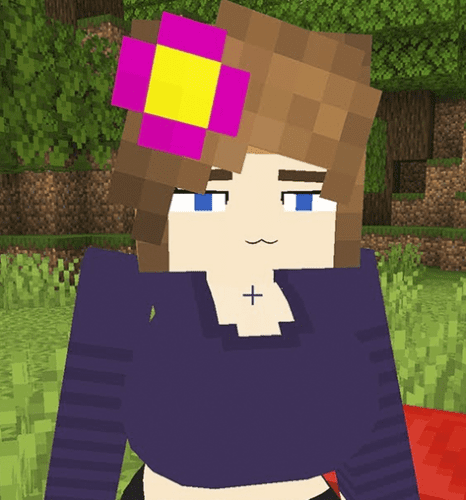
750 Models Addon for Yes Steve Model Mod is a “.ysm” collection with over 750 stunning models for the Yes Steve Model Mod. This collection is incredibly diverse, featuring a wide range of themes, from famous characters in anime and video games to cultural icons from various countries, allowing players to transform their in-game characters into beautifully designed versions of their favorite figures.
Features:
Examples of some of the most famous and popular models:
- Naruto: Based on the main character of the renowned anime/manga series, this model attracts fans with its distinctive ninja outfit and dark technique details.
- Overwatch: Featuring characters like Tracer or Reaper, this model appeals to the gaming community with its vibrant combat design.
- Touhou Little Maid (from the MinecraftMob folder): Combined with the Touhou Little Maid mod, this model allows players to turn maids into unique Touhou characters, making it highly popular within the Minecraft community.
- HonkaiStarRail: Inspired by the popular gacha game, characters like Seele or Bronya in this model stand out with their stunning appearance and special effects.
- DemonSlayer: Featuring characters like Tanjiro or Nezuko, this model shines with its swordsmanship style and authentic anime design.
- And there are countless other models for you to explore!
Requires:
How to install:
Ensure that you have installed the Yes Steve Model Mod in the game first.
Add .ysm files to Minecraft
- Step 1: Locate the Yes Steve Model folder: Launch Minecraft at least once with the Yes Steve Model Mod installed to generate the configuration folder. Open the
.minecraft\config\yes_steve_model\customfolder: Access%appdata%\.minecraft\config\yes_steve_model\customon Windows. If the custom folder does not exist, create it. - Step 2: Add .ysm files: Copy the .ysm files you have into the
.minecraft\config\yes_steve_model\customfolder. Note: Ensure that file or folder names for the model contain only lowercase English letters or numbers, with no spaces or special characters. If the .ysm file is in .zip format, you can extract it to check the contents (usually containing .json and texture files), but typically, you only need to place the .ysm file directly into the custom folder. - Step 3: Reload models in-game: Start Minecraft and enter a world or server. Open the chat window (press T) and type the command:
/ysm model reload. This command will reload all models in the custom folder, including the .ysm files you just added.
Use and manage models
- Step 1: Open the model management interface: Press the key combination Alt + Y (default) to open the Yes Steve Model management interface. In this interface, you can: Select a model from the list of added models (including .ysm files). Change textures if the model supports it. Browse through model categories.
- Step 2: Apply a model: Select the model you want to use from the interface and apply it. The model will instantly change your character’s appearance. If playing on a server, the model will automatically sync with other players (if the server supports Yes Steve Model).
- Step 3: Use commands for management (optional): If you are a server administrator or want to manage models in more detail, you can use the following commands:
/ysm auth add <player> <model_id>: Grant a specific player permission to use a model./ysm auth remove <player> <model_id>: Revoke a player’s permission to use a model./ysm export <model_id>: Export a model to .ysm format (note: .ysm files are encoded and cannot be edited directly).
750 Models Addon for Yes Steve Model Mod Download Links
Part 1: Download from Server 1 – Download from Server 2
Part 2: Download from Server 1 – Download from Server 2
Part 3: Download from Server 1 – Download from Server 2
Part 4: Download from Server 1 – Download from Server 2
Part 5: Download from Server 1 – Download from Server 2
Part 6: Download from Server 1 – Download from Server 2
Part 7: Download from Server 1 – Download from Server 2
Part 8: Download from Server 1 – Download from Server 2
Part 9: Download from Server 1 – Download from Server 2
Part 10: Download from Server 1 – Download from Server 2
Part 11: Download from Server 1 – Download from Server 2
2 Comments
What do you think? Your opinion means a lot — we'd love to hear from you.
You May Also Like


This is so good I want this
Please deixar a baixar o mod