Zelda Sword Skills+ Mod (1.8.9, 1.7.10) – Items, Mobs, Dungeons, Quests
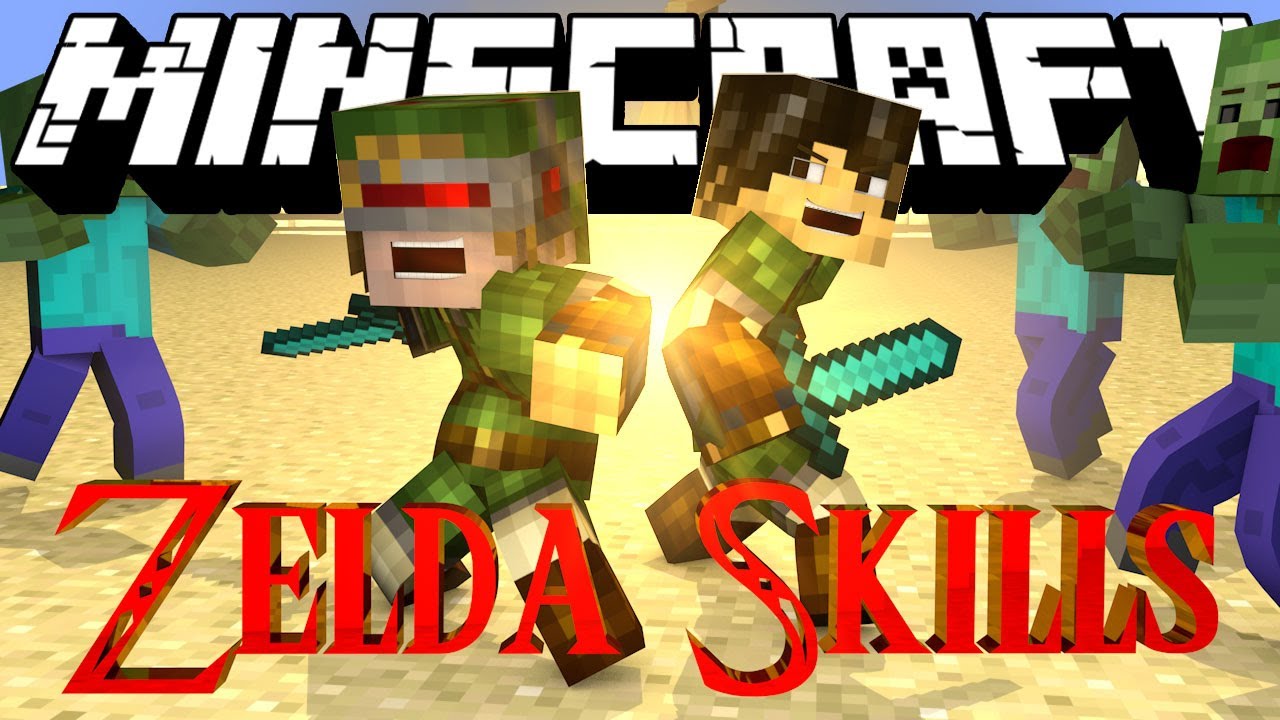
If you love Zelda and you love Minecraft, then you’ll for sure love this mod. Zelda Sword Skills+ Mod (1.8.9, 1.7.10) provides a full-fledged Zelda-like experience in Minecraft, adding a plethora of exciting new sword skills that improve as you adventure, as well as a variety of the old favorites such as bombs and hookshots. In order to provide you with the kind of game you want.
Features:
List and description of all the different skills and items, along with default keys for activation.
Zelda Sword Skills+ Sword Skills
Basic Sword Technique
Activation: Default key is X; must be looking at a target and holding a sword
Effect: Locks view on to target, can no longer use mouse to free look
Exhaustion: None
Notes: While locked on to a target,
- Tab changes to the next target
- Rctrl blocks (or RMB in vanilla mode)
- Up arrow performs a basic attack (or LMB in vanilla mode)
- deactivate by pressing X once more, by switching to a non-sword item, or by killing everything
- Each attack contributes to your current Combo; as the Combo gets bigger, so does your damage!
Dash Attack
Activation: Attack while blocking (up arrow while holding Rctrl, or LMB while holding RMB in vanilla mode)
Effect: Charges towards target, inflicting minor damage and knocking the target back
Exhaustion: Moderate (1.0F minus 0.1F per level)
Notes: Damage inflicted is 4 (2 hearts) plus 1 (1/2 heart) per level; knockback also increases with skill level.
Dodge
Activation: Tap left or right arrow key (or movement key in vanilla mode); can be configured to require double-tap
Effect: Quickly dodge out of the way of incoming attacks
Exhaustion: Very Low (0.05F)
Notes: Timing is critical to avoid damage, but a dodge is never 100% guaranteed successful. Chance to dodge and timing improve with skill level.
Parry
Activation: Tap down arrow (or back [s] in vanilla mode; vanilla can be configured to require double-tap)
Effect: Parries an incoming blow when being attacked; cannot parry unarmed attacks.
Exhaustion: Low (0.3F minus 0.02F per level)
Notes: Much like Dodge, timing is critical to the success chance of Parry. There is also a chance that the attacker will be disarmed. Timing and chance to disarm improve with skill level.
Armor Break
Activation: Hold attack (up arrow or LMB in vanilla mode); will trigger when the charge is sufficient
Effect: This powerful blow ignores target’s armor value when inflicting damage
Exhaustion: Moderate (0.9F minus 0.075F per level)
Notes: Time required to charge decreases as skill level increases
Leaping Blow
Activation: Hold block and then jump (vanilla RMB then ‘space’, mod controls RCtrl then ‘space’)
Effect: Upon landing, unleashes a devastating AoE attack that damages all in its path in addition to temporarily causing weakness
Exhaustion: High (2.0F minus 0.1F per level)
Notes: Damage, weakness duration, range and area of effect all increase with level. Damage inflicted is based on the sword’s material plus one-half heart per level. Contributes only to Combo damage, not size.
Spin Attack
Activation: Hold left or right arrow key to charge up until spin attack commences
Vanilla Mode: Begin moving either left or right, then press the other direction to commence charging; both keys must be held to continue charging
Effect: Link’s signature move – hit every enemy as you spin 360 degrees!
Exhaustion: Very High (3.0F minus 0.2F per level)
Notes: Time required to charge decreases as skill level increases, and the speed at which you spin increases
Sword Beam
Activation: While at full health and locked on to a target, attack while sneaking to unleash a beam of energy
Effect: Shoots a beam of energy, inflicting the sword’s base damage +1 per skill level
Exhaustion: Moderate (0.9F minus 0.075F per level)
Range: Approximately 12 blocks plus one per level
Health Requirement: Link can be missing up to 0.3 hearts per level, up to 1.5 hearts at level 5
Notes:
- Unlike many sword skills, hitting a target with the beam counts as a direct strike for combos
- With the Master Sword, the beam is able to travel through multiple targets (not currently available)
Sword Break
Activation: Double-tap back while blocking
Effect: A fierce block that is capable of destroying the opponent’s blade
Exhaustion: High (2.0 minus 0.1 per level)
Damage: Up to 90 durability damage to the opponent’s held item (15 * (level + 1))
Duration: Time allowed before skill fails is 2 ticks at level 1, up to 8 ticks at max level
Notes:
- Only works when being attacked by an enemy holding an item
- Has no effect other than blocking the attack if the attacker’s held item can not be damaged
- Must release the block key in between uses
Zelda Sword Skills+ Blocks
Barriers
Barrier blocks cannot be destroyed or moved by any normal means, making them ideal for restricting access. They can be picked up by right-clicking on them with an appropriately powerful pair of Gauntlets, and the Megaton Hammer is capable of destroying barrier blocks, although one must also have the Golden Gauntlets in the inventory in order to destroy Heavy Barriers.
Ceramic Jars
Jars can be found all over the place and often yield an item when smashed. Right-click with an empty hand to pick one up, and right-click again to throw it. Right-clicking on a tile while sneaking will place the jar back down. They can also be broken by sword, arrow, hookshot, or explosion.
Any item dropped near a jar may be sucked into the jar, and breaking the jar is the only way to retrieve it. Empty jars have a chance to drop some random item, such as an arrow or rupee.
Jar Drop List* (in descending order of prevalence)
Emerald, arrow, small heart,deku nut, red potion, green potion, standard bomb.
* Note that the jar drops can be edited with tools like FatherToasts custom chest contents mod!
Dungeon Core (Fairy Spawner)
This block comes in two versions: one can be mined using normal tools such as a pickaxe, and the other is completely unbreakable. Both versions act as fairy spawners when placed, but do not currently provide any of the other functionality associated with the Zelda dungeons. In the same manner as Dungeon Stone, this block is able to assume different block textures by right-clicking on any simple cubic block while sneaking.
Dungeon Stone
Dungeon Stone is exactly like Secret Stone in all respects, except it has the additional ability to assume any cubic block texture simply by right-clicking on a block while sneaking. Whatever texture is assumed, that is the block that will drop should the Dungeon Stone be destroyed.
Do note that the block uses a tile entity to provide the texture, so restraint should be used in the quantity of Dungeon Stone blocks placed; too many will create significant lag when loading chunks, just like any other tile entity providing block.
Locked Chests
These chests can only be opened with a Small Key; once unlocked, they may be broken normally.
Locked Doors
Otherwise known as Boss or Dungeon Doors, these can only be removed by activating them with the appropriate key.
Wooden and Rusty Pegs
Another obstacle convenient for blocking off areas, pegs must be hammered into the ground with an appropriately powerful hammer, and can even be destroyed if the hammer is strong enough. If not destroyed, pegs will pop back up over time and must be hammered down again in order to pass.
Sacred Flames
There are three sacred flames: Din, Farore, and Naryu. These blocks cannot be removed normally; instead, the player must swing a Golden Sword through the flames, absorbing them into the blade. Unless disabled, sacred flames will rekindle after some number of days pass, though there is currently no way to move them to a new location.
Secret Stone
While Secret Stone appears to be a standard block, it can not be broken with normal tools and is the main building block of all secret rooms and boss dungeons. The standard version can be destroyed using any explosive, but the boss version can not be destroyed by any means. Typically, gaining entry to a boss dungeon will revert the unbreakable blocks back to normal stone.
Sword Pedestal
These blocks can contain any one sword at a time, though they require that the three Pendants of Virtue be ensconced within in order to remove the blade. When home to the Master Sword, sword pedestals put out a constant redstone signal.
Mobs
Fairies
Fairies are magical flying creatures with incredible healing powers. Just touching one will partially heal Link, and they can be captured in empty bottles by right-clicking on them with a bottle in hand, storing their powers for later.
Fairies only spawn in swamps at night, but may rarely spawn during the day in secret fairy pools. These pools are very precious, as the fairies make it their home and never stray far, making them perfect for healing up in a time of need or as a renewable source of fairy bottles.
Gorons
One of the friendly races, Gorons are typically willing to trade a variety of goods and may be found mingling amongst regular villagers. Their large size, tough skin, and hardy nature are a welcome asset to any village, helping to protect against the hordes of enemies. Alone, however, a single Goron can quickly become overwhelmed, and they are too large to fit in traditional dwellings, making it crucial to provide backup or some other form of assistance. An angry Goron will not hesitate to fight back, but will not pursue conflict if the opponent ceases all aggression.
Chus
The lowly chu is typically easy to deal with in a few sword swipes, but in greater numbers or large size, they can be a force to be reckoned with. Rarer chu types are known to create an electrical aura when threatened, rendering them immune to damage and causing a significant amount of damage to and stunning any foolish enough to attack at that time.
All Chus are capable of merging together when their health is low and another chu is about, as well as split apart like slimes when killed, making them a sometimes surprising opponent.
Red Chu
This is the weakest chu. It is often found in swamps, and drops red chu jelly. Fairly resistant to fire.
Green Chu
Slightly stronger than the red chu, it is not resistant to any particular damage, but its attack may severely weaken any target struck. Drops green chu jelly and is most often found in plains.
Yellow Chu
This is the strongest chu, as well as a highly electrified one. Caution must be used in dealing with this chu whenever its electrical field is up, as striking it directly will instead both damage and stun the attacker. Stun effects, explosions, and waiting are all valid strategies for bringing down the electrical field, though magic damage can penetrate it directly. Yellow chus are of course immune to shock damage and drop yellow chu jelly; they are most often found in the dry deserts.
Blue Chu
The rarest chu type, blue chus are highly resistant to magic, fairly resistant to shock, and totally immune to cold damage, and are known to occasionally generate electric fields much like their yellow cousins. Blue chus cause cold damage, as well as weakening the target against cold. These are highly sought after for their blue chu jelly, and they are most often found in taiga biomes.
Keese
Keese are bat-like creatures common throughout the land. Weak individually, they can become a danger in swarms, especially to the unarmored.
Common
The common Keese has no real special abilities, but like all Keese is capable of evading attacks.
Fire
Fire Keese inhabit the Nether region; as such they are immune to fire and can ignite anyone they touch.
Ice
Ice Keese are native to all cold regions; they are immune to cold and their cold touch causes slowness.
Thunder
Thunder Keese can appear anywhere, albeit rarely. Beware, as they often become electrified.
Dark
Dark Keese are the rarest, and their cursed touch can cause any number of ill effects.
Octorok
This Zelda classic has the honor of being the first mob added. The Octorok spawns in most watery biomes and comes in two varieties: the regular purple version spits rocks, and the rarer pink version spits bombs and, when killed, may occasionally drop water bombs.
How to install:
- Download and install Minecraft Forge.
- Download Zelda Sword Skills+.
- Go to .minecraft/mods folder.
- If the “mods” folder does not exist you can create one.
- Drag and drop the downloaded jar (zip) file into it.
- Enjoy Zelda Sword Skills+.
Zelda Sword Skills+ Mod (1.8.9, 1.7.10) Download Links
For Minecraft 1.7.2
For Minecraft 1.7.10
For Minecraft 1.8.0
For Minecraft 1.8.9

