How To Download & Install Minecraft Client
 166,311
 1
1
 June 20, 2022
Minecraft clients offer players a modified version of Minecraft with many custom features of the game. With its handy and creative modifications, clients can take players’ gaming experiences to a whole new level. Let’s see how we can find and install Minecraft clients.
Quick Tutorial:
1. Access the client download page
2. Download your favorite client
3.1. Install Client with Jar file
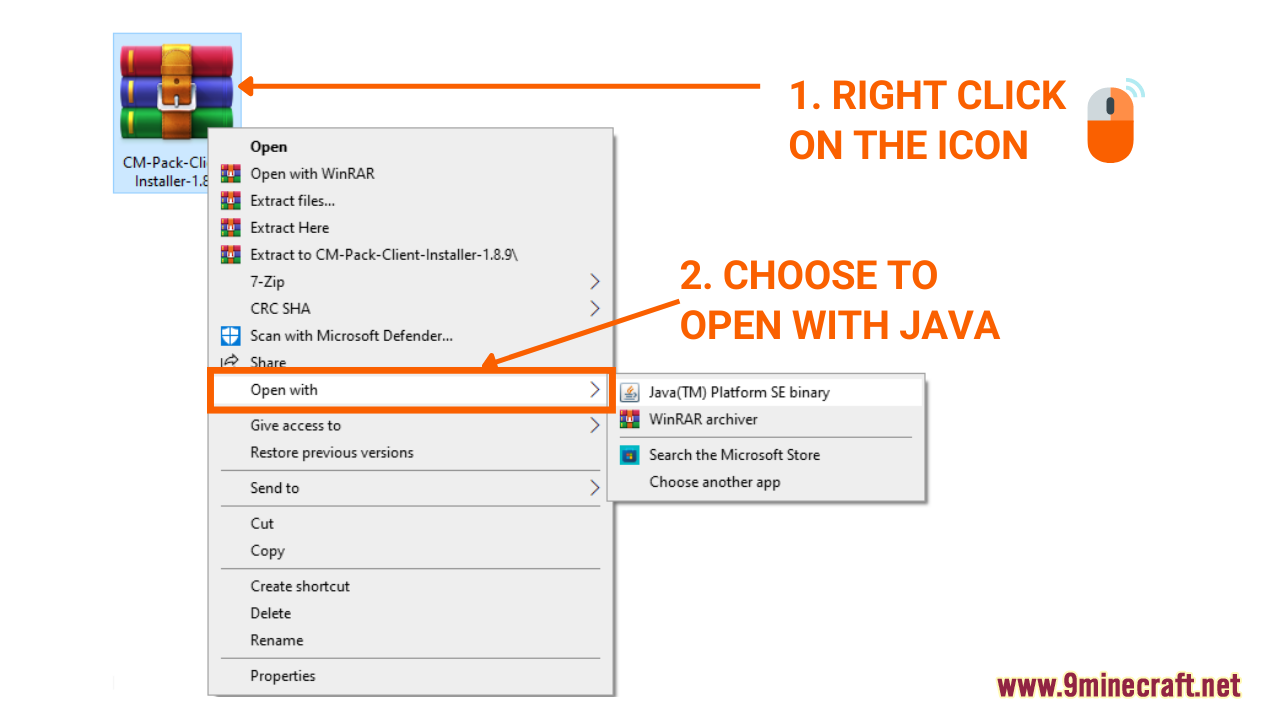
- Right-click on the client’s file then choose open with Java to install
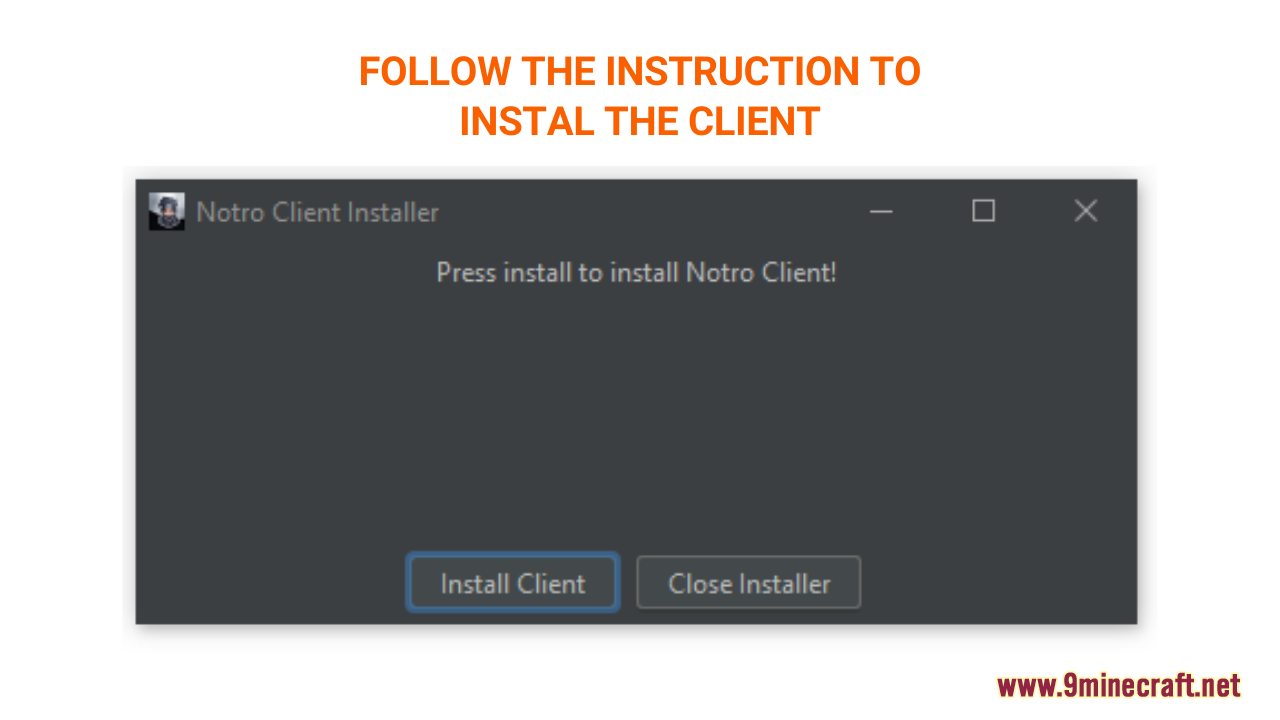
- Follow the instruction of the client installer to finish.
3.2. Install Client with Zip file
- Extract the client file.
- Press “Window+R” to open the Run command window, type “%appdata%” then press “Enter” to open The “Roaming folder”.
- Inside the “.minecraft” folder, you should see a folder named “versions”, place the extracted client file into this folder.
4. Start the game with the chosen client
Detailed Tutorial:
Step 1: Access the client download page
- There is a wide variety of clients that you can choose to experience, depending on your personal preference. By clicking on the following link, you are directed to a page where you can see the review and download links of all the latest clients there are: https://www.9minecraft.net/category/minecraft-clients/

Step 2: Download your favorite client
- As you scroll down the page, you should see a list of the latest clients. Each post contains example pictures and the main features of a specific client, making it easy for you to choose your favorite.
- After deciding on the client you want to install, click on the download link at the bottom of the post to download.
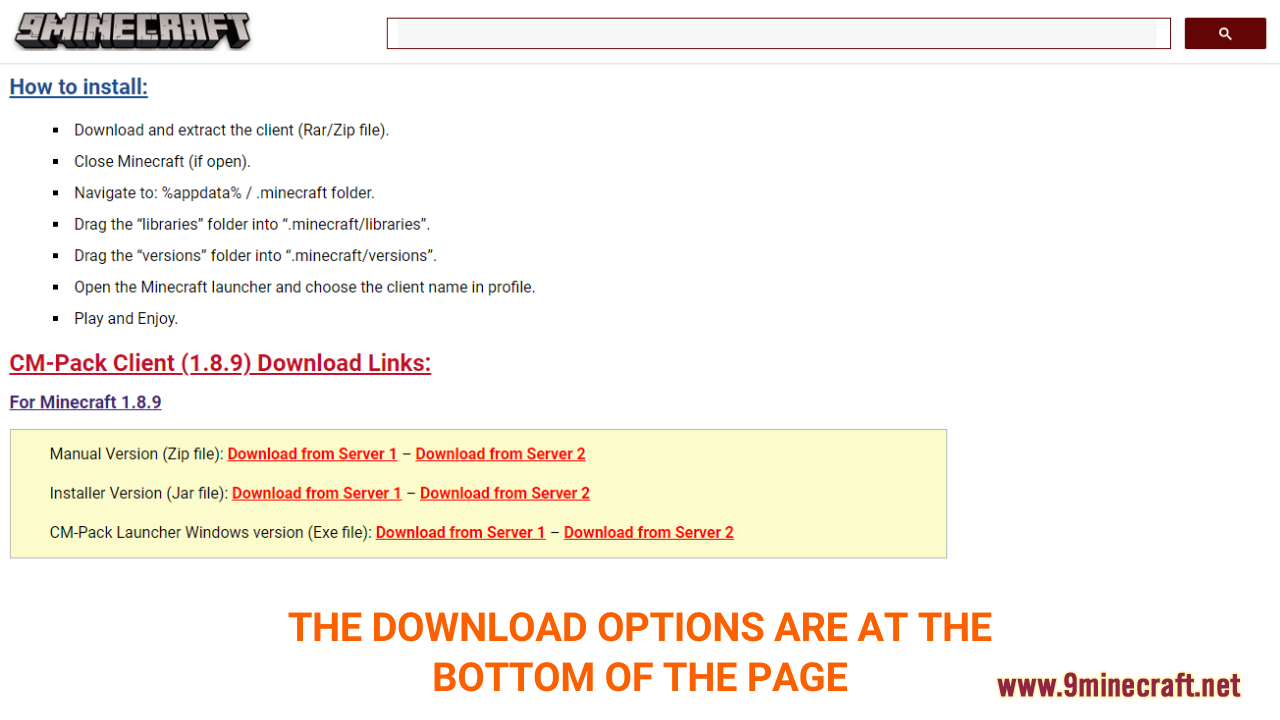
- A new tab should appear when you follow the download link, click on the DOWNLOAD button to start the downloading process.
Step 3: Install Client
- For most of the clients, the site will offer you two types of files to install, which are Jar file and Zip file. Here is how to install both of the files:
3.1. Installer Version (Jar file)
- When the version you downloaded comes in Jar file, it means that you can just install the client like a common app on your PC. First, right-click on the client’s file then choose open with Java to install.
- Some clients will automatically run the installation and take you to Minecraft launcher where you can just open it and play. Others will require one extra step, which is clicking the “install” button to finish the process. Just follow the instruction and you’re good.
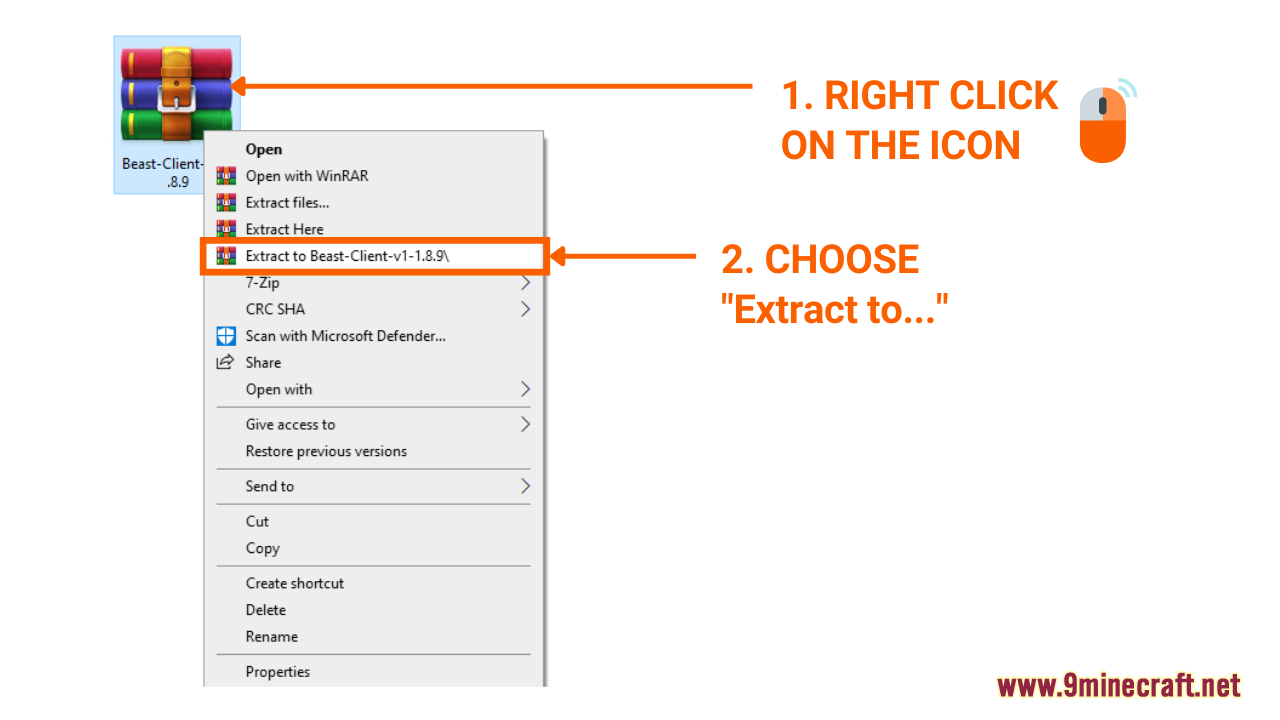
3.2. Manual Version (Zip file)
- With a zip file, you will need to install the client manually by placing the client’s file in the right place. First of all, you have to extract the file you have just downloaded. To do this, simply right-click on the client’s file and then choose to extract it.
- After receiving the extracted file, it’s time to put it in the correct folder in “.minecraft”. It should be placed inside a folder named “versions” within “.minecraft” fold
- er.
Here is how you can do it:
- Press the key combination “Window+R” to Open the Run command window
- Insert “%appdata%” and then press “Enter” to open The “Roaming folder”
- Now open the folder named “.minecraft”, you should see a subfolder named “versions” in it.

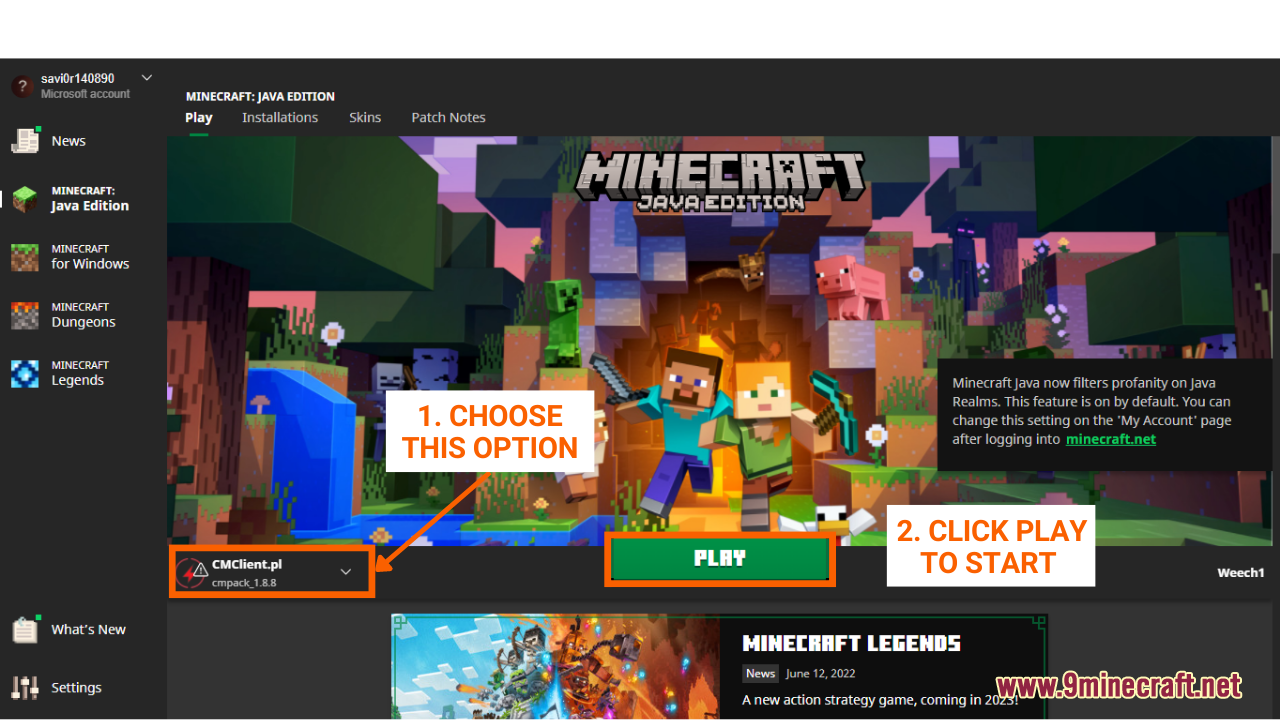
4. Start the game with the chosen client
- After successfully installing the client, you should see the option the start the game with that client in Minecraft launcher. Choose the client or version you want to play and click start to begin playing.
Click to rate this post!
[Total: 40 Average: 3.6]

1 Comment
What do you think?
Your opinion means a lot - we'd love to hear from you.
You May Also Like


Çit üreticiler tarafından yapılmıştır bu dünyada yok yaw burda ramantisni