How To Download & Install The Quilt Loader
 16,978
 0
0

The Quilt Project is a new mod loader that is free for the Minecraft community. This loader aims at fast loading and easy access with a modern interface modding ecosystem. Let’s see how we can install this Loader.
Quick Tutorial:
1. Access the Quilt Project download page.
2. Download the Quilt Loader.
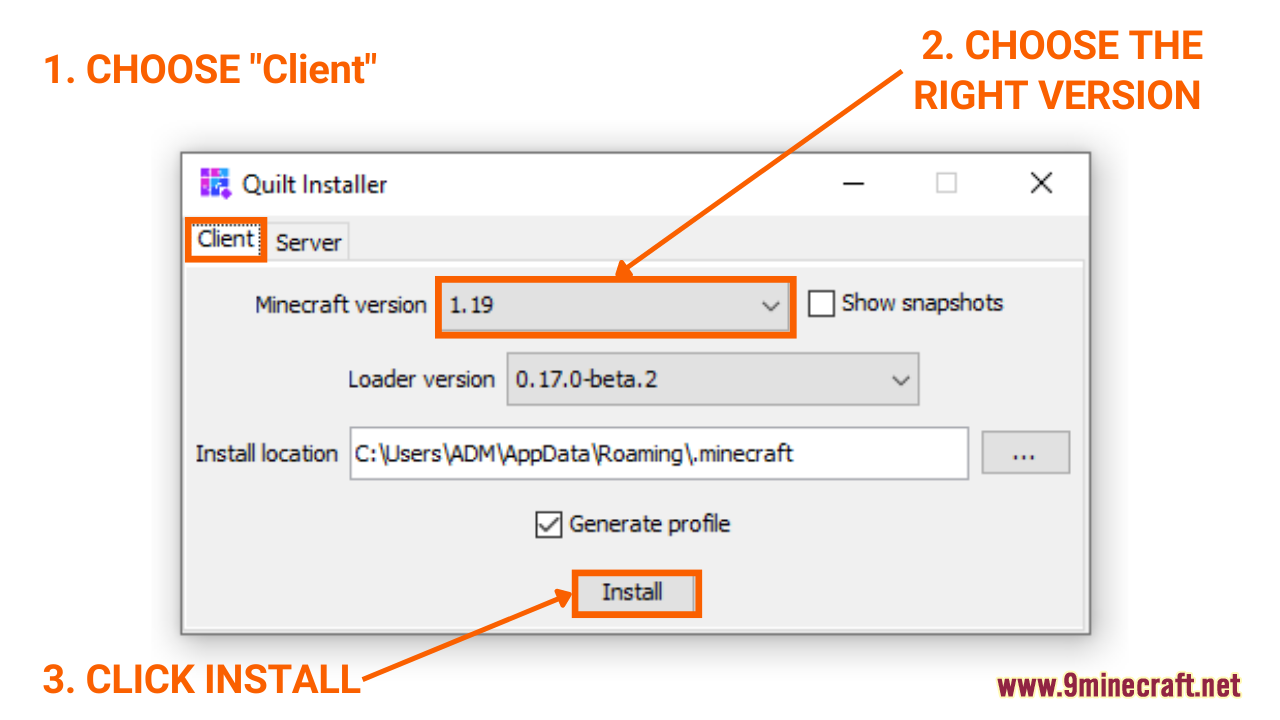
3. Open the Loader file to install it. When the Quilt shows up, choose the “client” tab and click “install” to finish.
4. Open the game with Quilt Loader and enjoy.
Detailed Tutorial:
Step 1: Access the Quilt Project download page
- By clicking on the following link, you are directed to a page where you can see the review and download links of The Quilt Project: https://www.9minecraft.net/the-quilt-project/
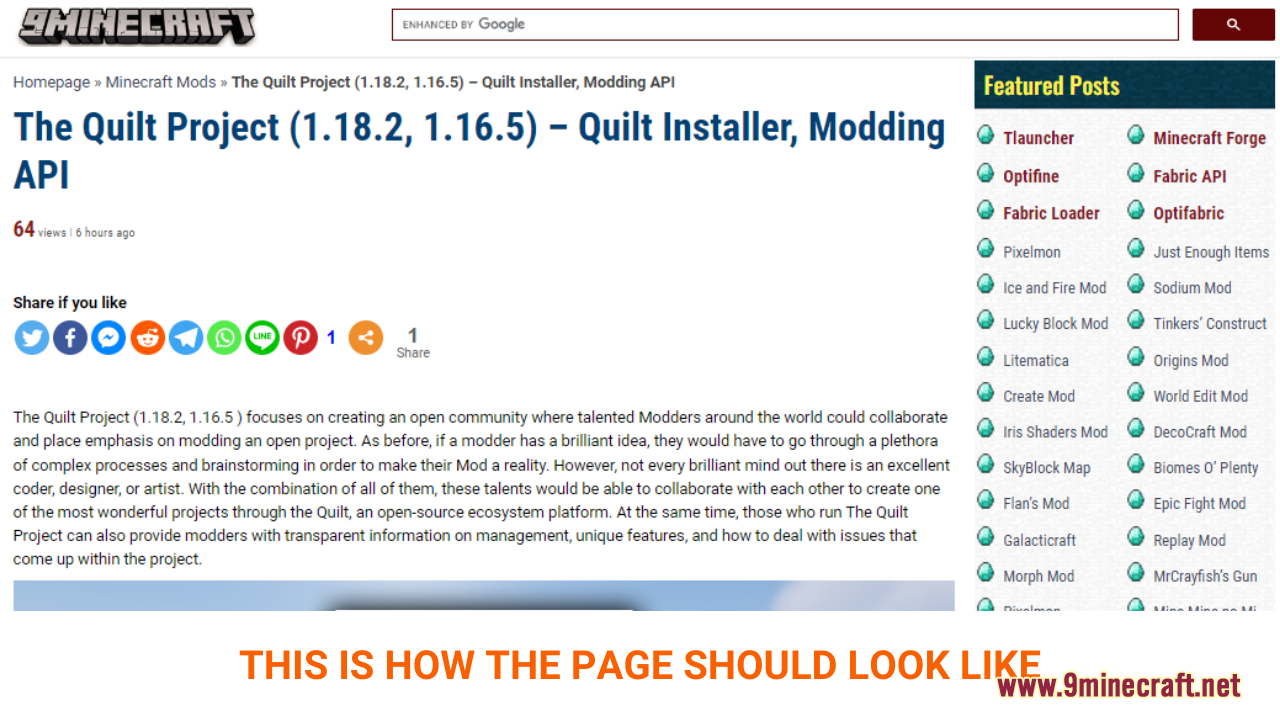
Step 2: Download the Quilt Loader
- As you scroll down the page, you should see a description of the Quilt Project, example pictures, and brief instructions on how to download and install the Quilt Loader.
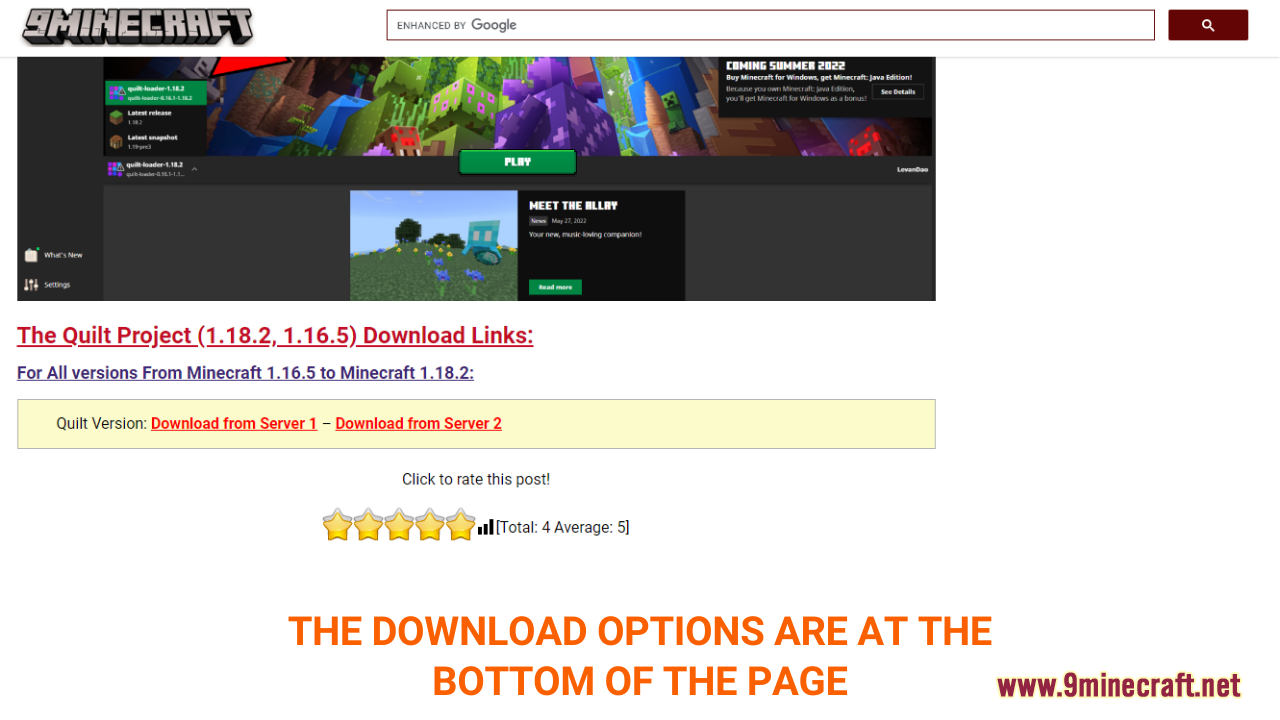
- The download section is at the bottom of the page. Here, you can see working download links for the Quilt Loader.
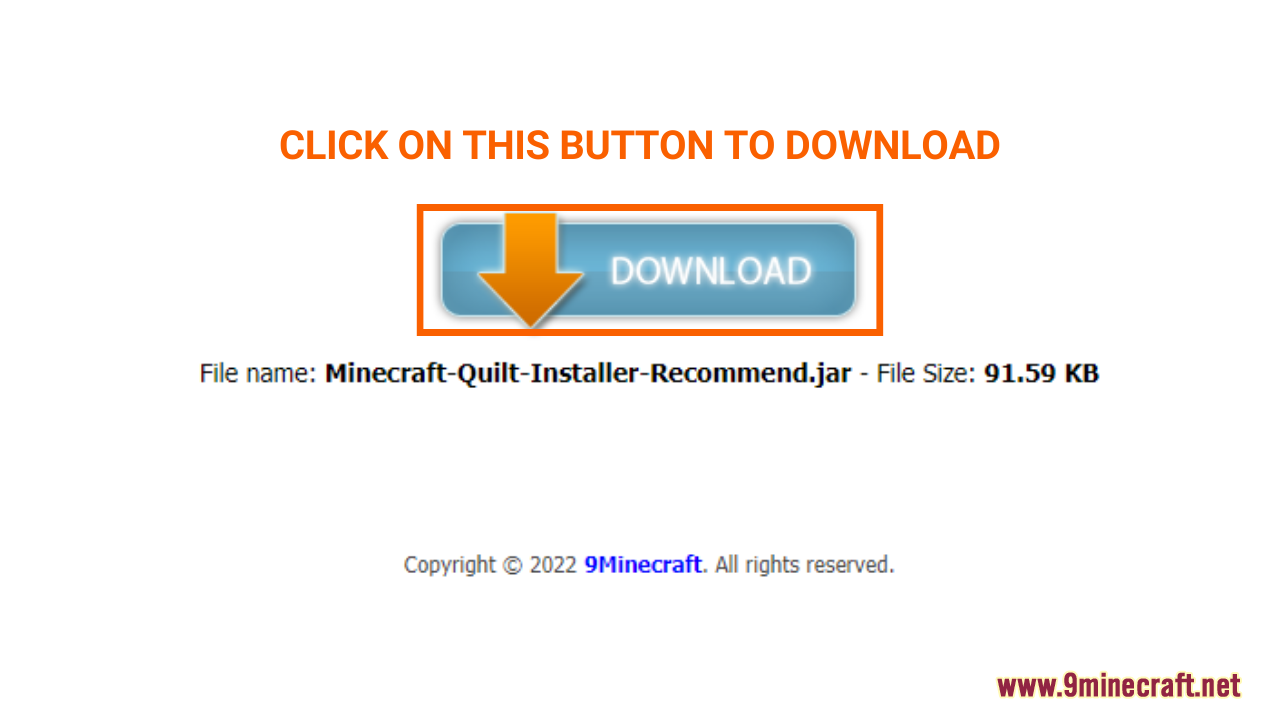
- A new tab should appear when you follow the download link, click on the DOWNLOAD button to start the downloading process.
Step 3: Install the Quilt Loader
- As you have downloaded the Quilt Loader file, open the file with Java to Install. You can open the file by simply clicking on the icon twice, or pressing “Right Mouse” on the icon -> “Open”.
- Once you have successfully opened the file, this window will show up. Choose “client” and “Install” to finish.
- A window will then show up to notify you that the Quilt Loader has been successfully installed
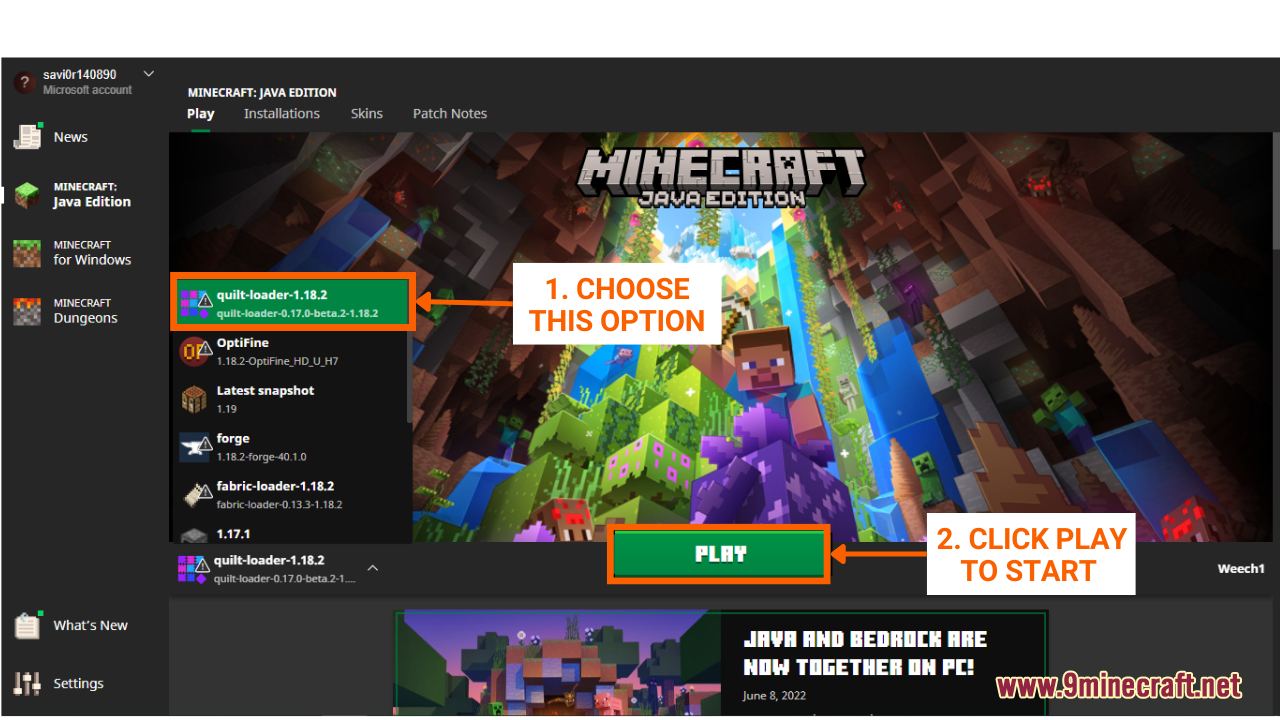
Step 4: Open Minecraft and Quilt Loader
- After installing Quilt Loader, it’s time to open the game and try it out.
- In the Minecraft Launcher Screen, you will need to click the arrow to the left of the “PLAY” button to see a list of available versions. Choose the version with the name “Quilt Loader” and simply click play to start the game! You are now ready to use mods in Minecraft with Quilt Loader.
Click to rate this post!
[Total: 10 Average: 3.6]
You May Also Like


This post has no comments yet. Be the first — your comment will appear here.