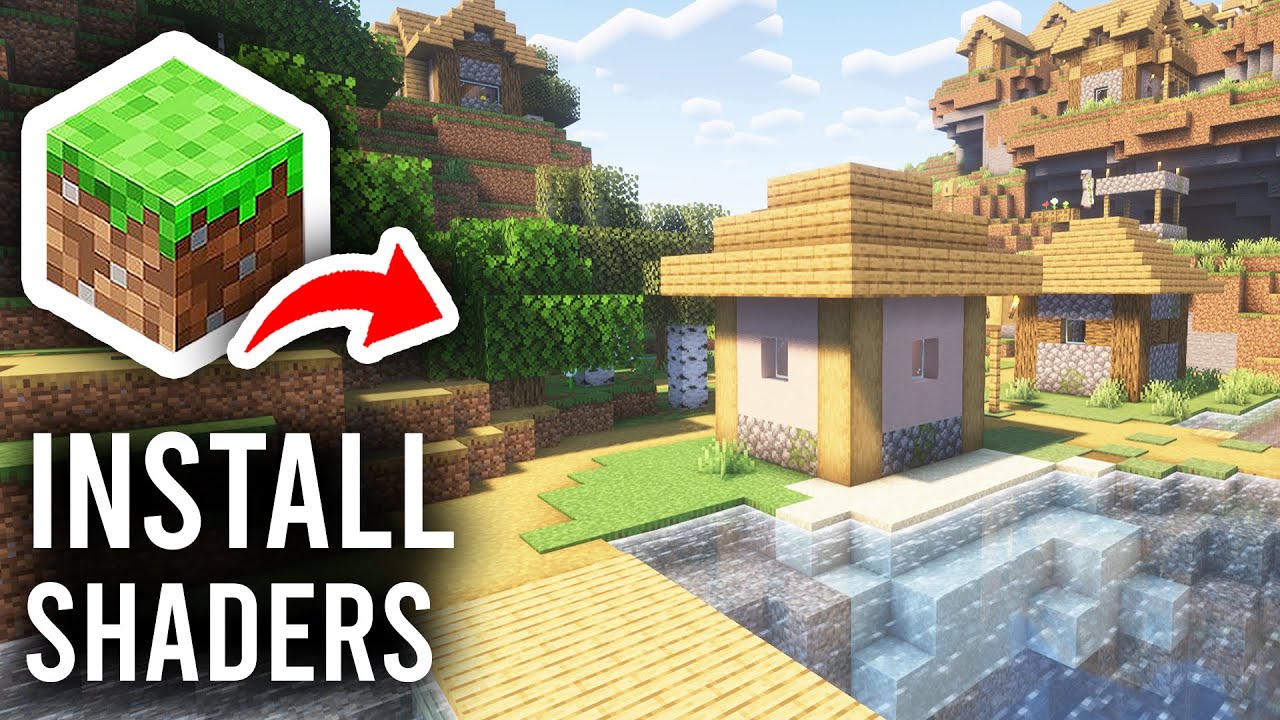
How to Install Shaders for Minecraft Java Edition on PC: A Beginner Guide
 3
3
 0
0
 2 hours ago
 9Minecraft Team
Shaders are visual enhancement packs that dramatically improve Minecraft’s graphics – adding realistic lighting, shadows, water reflections, and atmospheric effects. To install shaders, you need a shader loader like OptiFine or Iris. Below is a simple, step-by-step guide.
1. Preparation Before Installing Shaders
- Install Minecraft Officially: Ensure you have Minecraft Java Edition installed and have run the game at least once.
- Check Your PC Specs: Shaders are GPU-intensive. A dedicated graphics card (NVIDIA or AMD) is highly recommended. Integrated graphics may struggle with heavy shaders.
- Check Version: Determine the Minecraft version you want to play. Shader loaders and shader packs must match this version.
- Back Up Your World: Save your game worlds before making changes. The world folder is usually located at
C:\Users\[Your Name]\AppData\Roaming\.minecraft\saves.
2. Choose and Install a Shader Loader
A shader loader is software that allows Minecraft to run shader packs. The two popular options are OptiFine and Iris Shaders. Choose one – you do not need both.
Option A: OptiFine (Standalone or with Forge)
- Download OptiFine:
- Visit: https://www.9minecraft.net/optifine-hd/
- Select the version that matches your Minecraft version.
- Download the
.jarfile.
- Install OptiFine:
- Standalone: Double-click the
.jarfile → Select “Install” → Click OK. - With Forge: Simply place the OptiFine
.jarfile into themodsfolder.
- Standalone: Double-click the
- Verify: Open Minecraft Launcher → Select the “OptiFine” profile → Run the game. If you see Options → Video Settings → Shaders, the installation was successful.
Option B: Iris Shaders (with Fabric)
- Install Fabric Loader:
- Visit: https://www.9minecraft.net/fabric-loader/
- Download and run the installer → Select your Minecraft version → Click “Install”.
- Download Iris Shaders + Sodium:
- Visit: https://www.9minecraft.net/iris-shaders/
- Download the Iris
.jarfile (Sodium is usually bundled with Iris).
- Install: Place the Iris
.jarfile into themodsfolder (.minecraft/mods). - Verify: Run the game with Fabric profile. If you see Options → Video Settings → Shader Packs, the installation was successful.
3. Download and Install Shader Packs
- Find Shader Packs:
- Browse shaders at: https://www.9minecraft.net/category/minecraft-shaders/
- Popular choices for beginners: BSL Shaders, Complementary Shaders, Sildur’s Vibrant Shaders.
- Ensure the shader pack supports your Minecraft version and shader loader (OptiFine or Iris).
- Download: Download the shader pack file (usually a
.zipfile). Do not extract it. - Install the Shader Pack:
- Open Minecraft → Go to Options → Video Settings → Shaders (OptiFine) or Shader Packs (Iris).
- Click “Shaders Folder” to open the shaderpacks folder.
- Copy the downloaded
.zipfile into this folder. - Go back to the game – the shader pack will appear in the list.
- Activate the Shader: Click on the shader pack name in the list → Click “Done”. The game will reload with the new visuals.
4. Optimize Performance
If you experience low FPS after enabling shaders:
- Lower Render Distance: Reduce from 16 to 8–10 chunks.
- Turn Off Shadow: In shader settings, set Shadow Quality to Low or Off.
- Use a Lite Version: Many shader packs offer Lite/Low/Medium presets – choose one that fits your PC.
- Use Iris + Sodium: Iris with Sodium gives significantly better FPS than OptiFine for most users.
- Allocate More RAM: In the Launcher, edit your profile’s JVM arguments – change
-Xmx2Gto-Xmx4G(allocates 4GB RAM to Minecraft).
5. Important Notes
- OptiFine vs Iris: OptiFine is simpler to install but does not support Fabric mods. Iris works with Fabric and offers better performance with Sodium. Choose based on your needs.
- Do Not Use Both: Never install OptiFine and Iris at the same time – they will conflict.
- Shader Compatibility: Not all shaders work with both OptiFine and Iris. Check the shader page for supported loaders.
- Update Graphics Drivers: Outdated GPU drivers can cause visual glitches or crashes with shaders. Update from NVIDIA or AMD official sites.
- Troubleshooting: If the game crashes after enabling a shader, delete the shader
.zipfrom theshaderpacksfolder, or hold Shift while clicking “Shaders” to reset to default.
Click to rate this post!
[Total: 0 Average: 0]