TravelPortals Plugin (1.14.4, 1.13.2) – Bukkit, Spigot, Paper
 263
263
 0
0


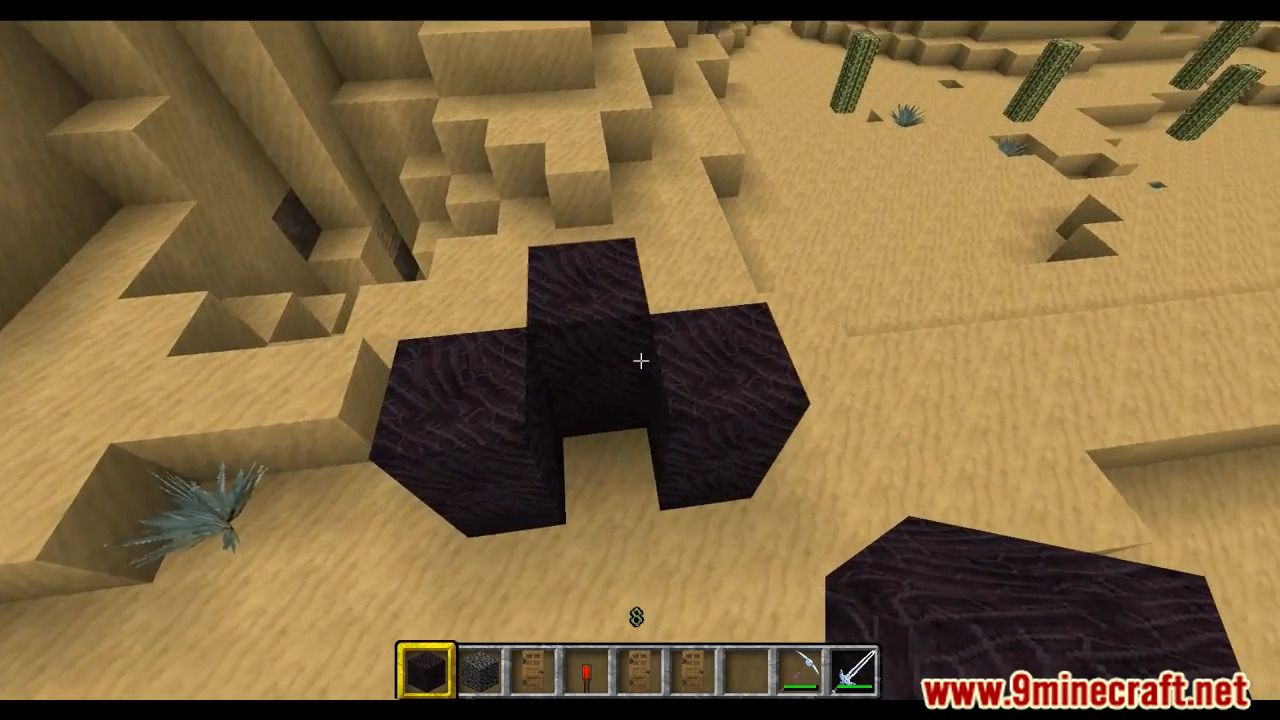
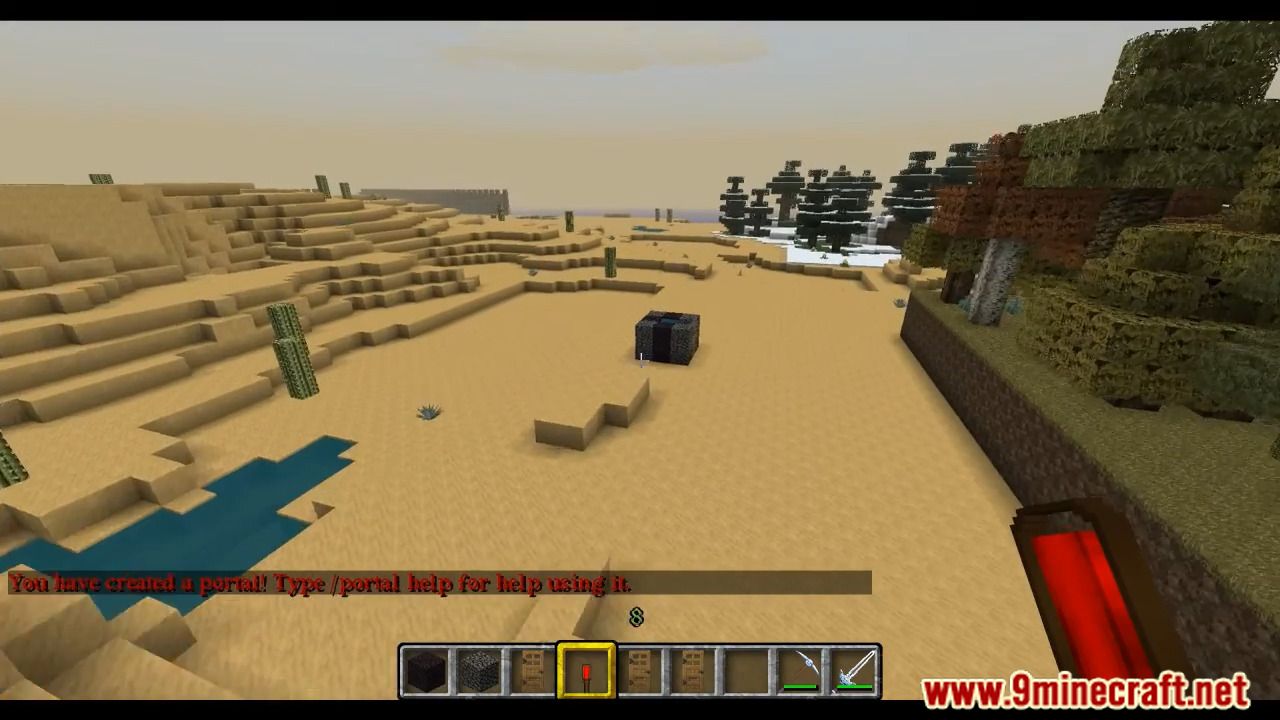
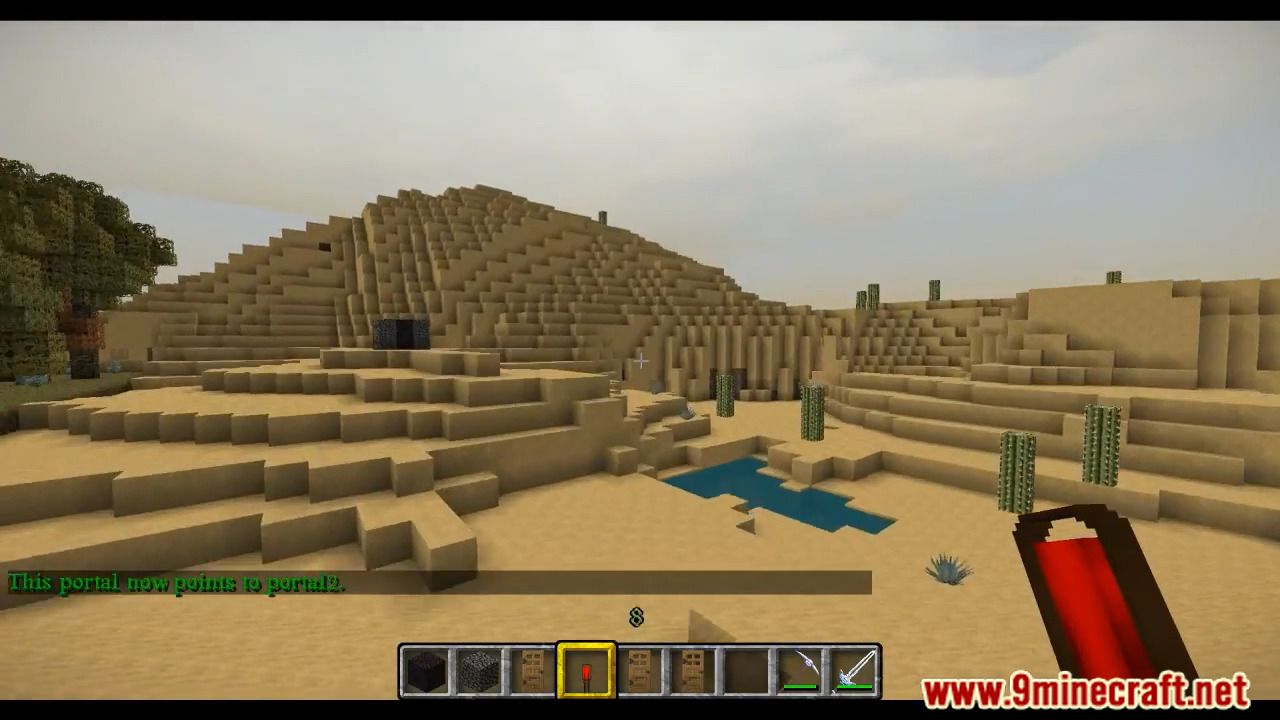
TravelPortals Plugin is a plugin that allows users to teleport between locations using structures made mainly of obsidian. The goal of this was to create a quick way to move users from place to place without making the method to do so completely free.

Configuration
This plugin now supports configuration options. They are in the standard config.yml format. The options are explained in the file, and it is found in the TravelPortals folder within the plugins folder. All of the options are explained in the comments, which are the lines that begin with a # symbol.
Usage
Using this plugin is fairly simple, and works from the /portal command. The usage of this command is explained in-game by typing /portal help. Instruct users to use this command using whatever help system you have in place.
The Commands:
- /portal help – Show info on how to use the plugin.
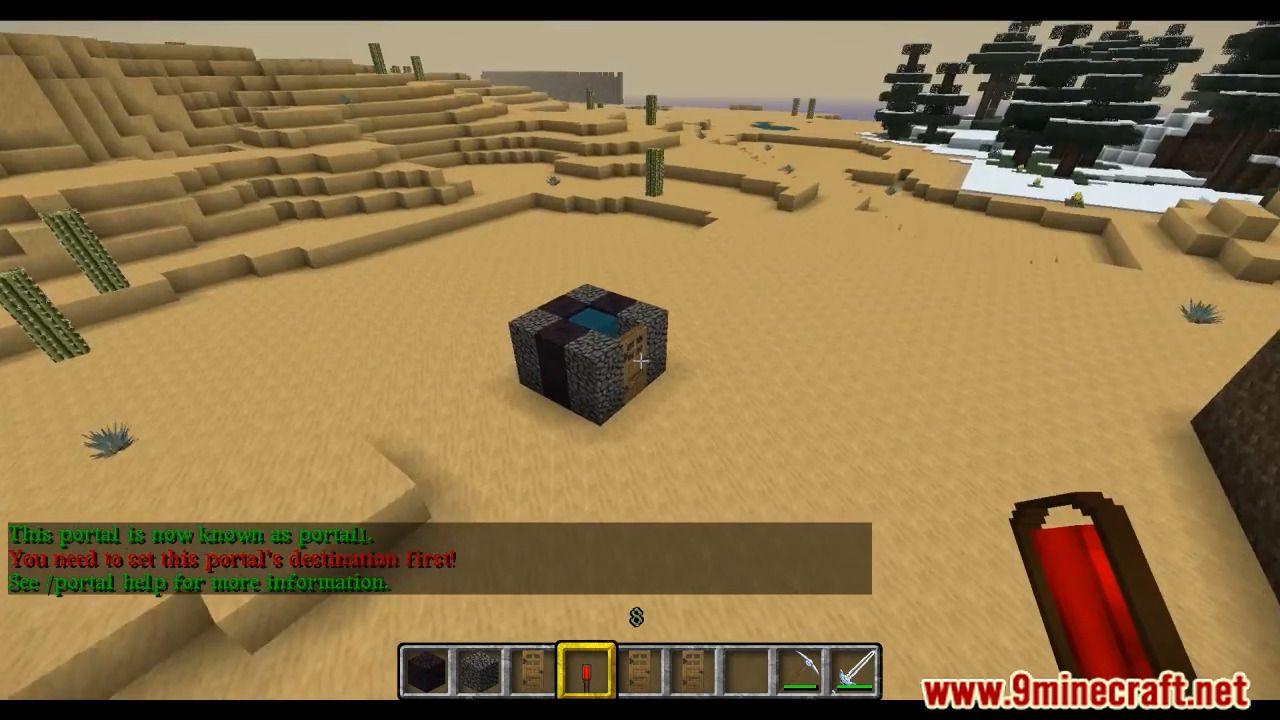
- /portal name [name] – Sets the name of the portal in front of you.
- /portal warp [name] – Sets the name of the portal that the portal in front of you warps to.
- /portal privacy [name] public|hidden|private – sets the portal’s privacy level.
- /portal hide [name] – Hides or unhides the portal with the name given.
- /portal info – Gives basic information about the portal in front of you.
- /portal info [name] – Gives basic information about the portal in front of you.
- /portal deactivate [name] – Deactivates a portal. (This is op-only. Breaking them manually is preferred)
- /portal list [page number] – Gives a list of existing portals.
- /portal export – Dumps the current portals to travelportals.txt in the data folder. Format: x,y,z,name,destination,hidden
- /portal reimport [file name] – Can import a list of portals dumped with /portal export.
- /portal claim – Claims a portal that does not currently have an owner. It will also unclaim an existing portal, if you own it. You can also include a name to claim a portal for someone else.
- /portal reload – Run this to make the plugin reload the config and portals from storage
- /portal renameworld [old world name] [new world name] – Run this after renaming a world or the portals in that world will not point to the right place.
- /portal deleteworld [old world name] – Run this after deleting a world to clean up any remaining portals.
- /portal fixworld [world name] – This will fix any portals that are not linked to a world to be linked to the world specified. You most likely do not need to run this command, unless you’ve been running this plugin since before multiworld was supported. If you do, you only need to run it once.
- /portal convert from|to legacy|yaml – Convert your current storage from or to another storage
Permissions
This plugin now supports Bukkit permissions on an optional basis. By default, it is turned off. To turn it on, you need to change a configuration option for it. See the section on configuration for that. The options for it are as follows:
Note: These permissions have changed with version 2.0. The default permissions limit the user to modifying their own created portals. If the user does not own a portal, this user will need admin permission (see below) to modify said portal.
- travelportals.portal.create
- travelportals.portal.create.nolimit
- travelportals.portal.create.250
- travelportals.portal.destroy
- travelportals.portal.use
- travelportals.command.help
- travelportals.command.hide
- travelportals.command.privacy
- travelportals.command.privacy.public
- travelportals.command.privacy.hidden
- travelportals.command.privacy.private
- travelportals.command.list
- travelportals.command.name
- travelportals.command.warp
- travelportals.command.info
- travelportals.command.claim
The plugin also has some admin-only stuff, which can be limited using the travelportals.admin permission nodes. In addition, users with admin permissions to commands will be able to use these commands on any portals; not just ones that they own.
-
travelportals.admin.command.reload
-
travelportals.admin.command.name
-
travelportals.admin.command.warp
-
travelportals.admin.command.claim
-
travelportals.admin.command.hide
-
travelportals.admin.command.renameworld
-
travelportals.admin.command.fixworld
-
travelportals.admin.portal.use
-
travelportals.admin.portal.destroy
-
travelportals.admin.command.deactivate
-
travelportals.admin.command.export
-
travelportals.admin.command.reimport
-
travelportals.admin.command.convert
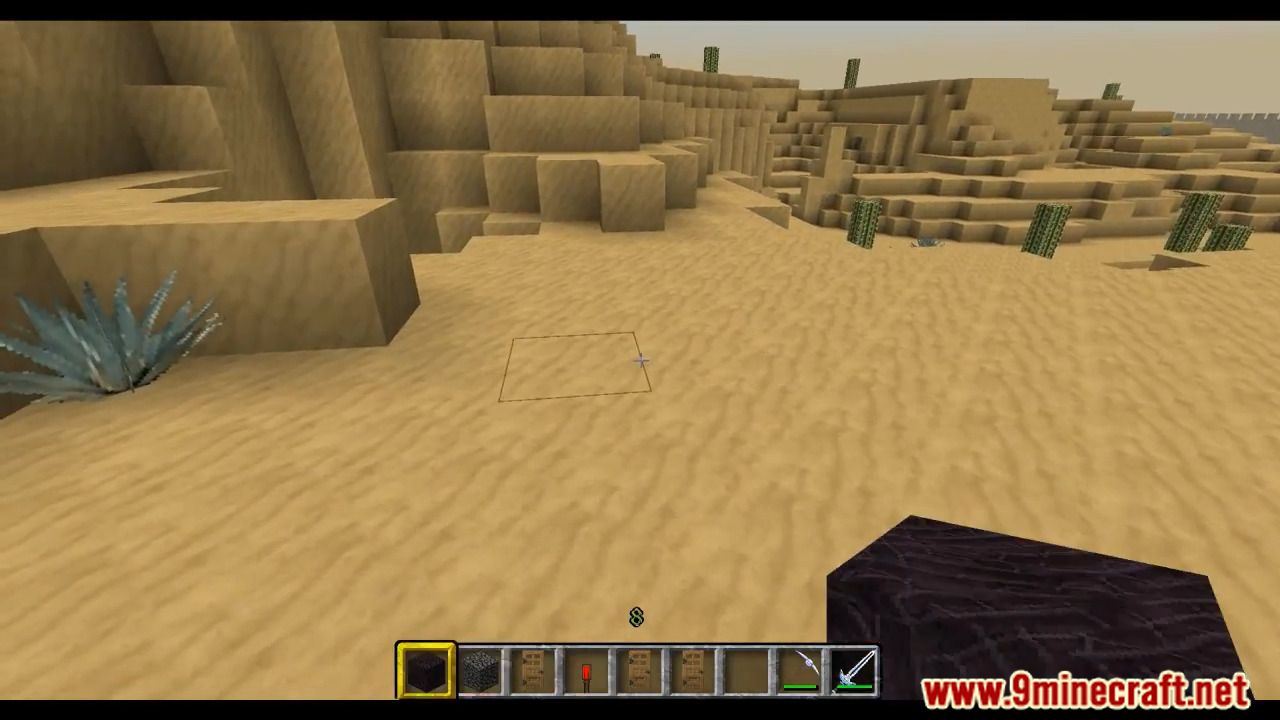
Screenshots:
How to Install:
New to Minecraft? Follow our step-by-step guide to install Plugins on your PC.View Guide
TravelPortals Plugin Download Links
For Minecraft Bukkit 1.13, 1.14
For Minecraft Bukkit 1.12
You May Also Like


This post has no comments yet. Be the first — your comment will appear here.