How To Download & Install Mods with Minecraft Forge
 1,415,962
 9
9
 April 25, 2022
How To Download & Install Mods with Minecraft Forge introduce players to an effective way to successfully install mods in the game with Minecraft Forge. Minecraft Mods (short for “modifications”) are installations that modify the way the Minecraft game appears and operates. For many players, these modifications are the best ways to enhance their experience within the game. To install any mods, you will need to have Minecraft Forge first, check out this post to learn how to download it: How To Download and Install Minecraft Forge. Now let’s start!
Quick Tutorial:
1. Access the mods download page.
2. Download your favorite mods.
3. Press “Window+R” to open the Run command window, type “%appdata%” then press “Enter” to open The “Roaming folder”.
4. Inside the “.minecraft” folder, you should see a folder named “mods”, place the mod pack you have just downloaded into this folder.
5. Open Minecraft launcher and choose to start the game with the “Forge version”.
6. At the Minecraft main menu, click on the “Mods” button. Then choose “Open mods folder”, the “mods” folder will appear.
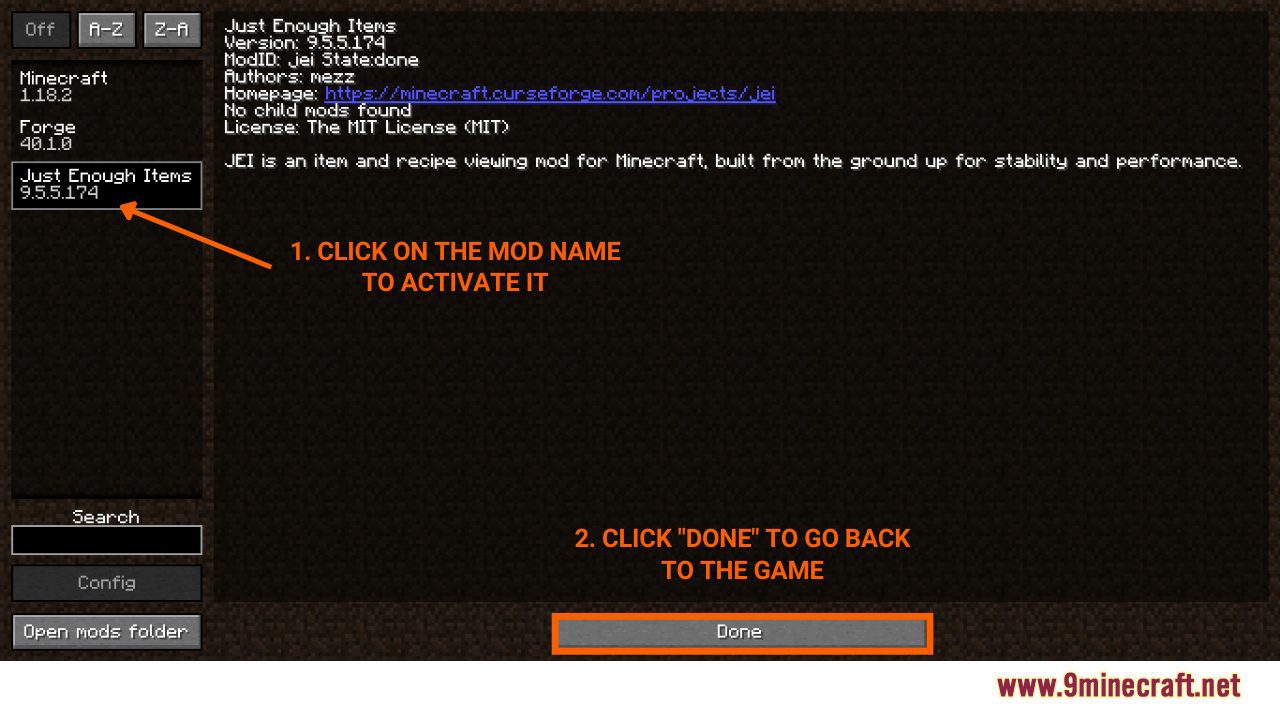
7. Click on the name of the mod you want to install to activate it. Click “Done” to go back to the game and enjoy.
Detailed Tutorial:
Step 1: Access the Mods download page
- There are a wide variety of mods that you can choose to install, depending on your personal preference. By clicking on the following link, you are directed to a page where you can see the review and download links of all the latest mods: https://www.9minecraft.net/category/minecraft-mods
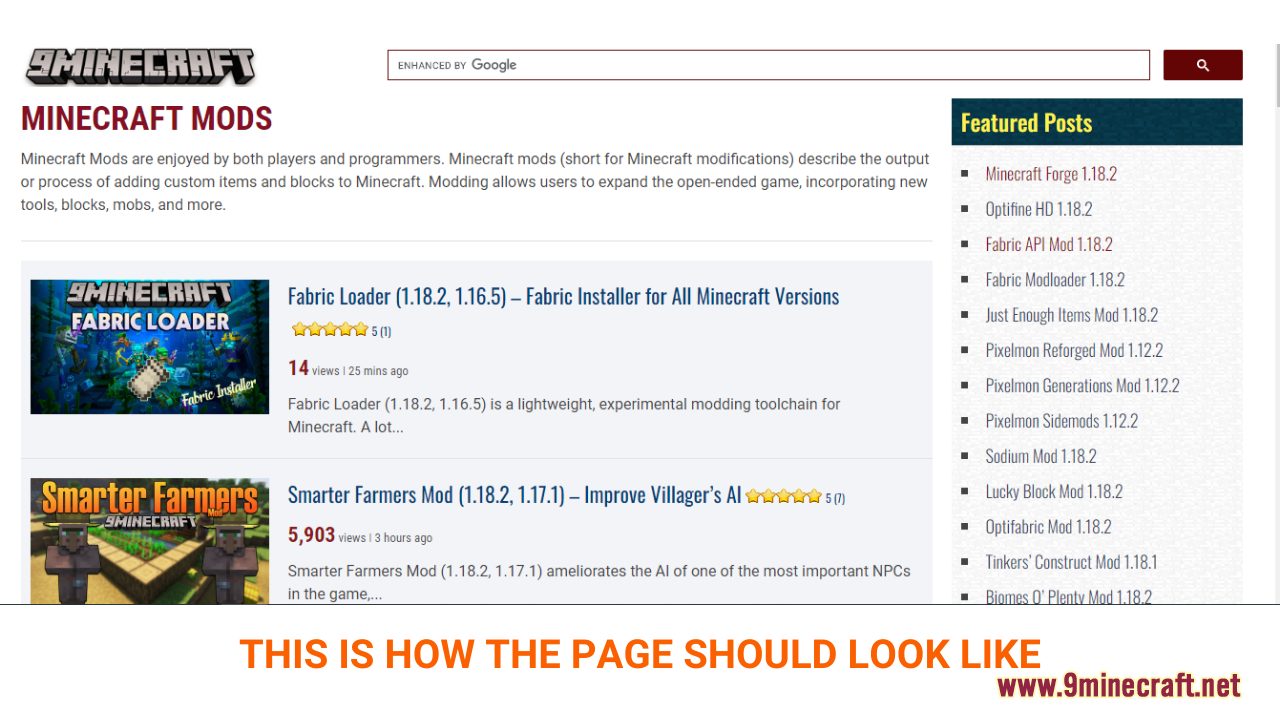
Step 2: Download your favorite mods
- As you scroll down the page, you should see a list of the latest mods. Each post will present example pictures and the main features of a specific mod, making it easy for you to choose your favorite.
- After deciding on the mod you want to install, click on the download link at the bottom of the post to download. Remember that you must choose a mod that is compatible with the current version of your Minecraft Forge.
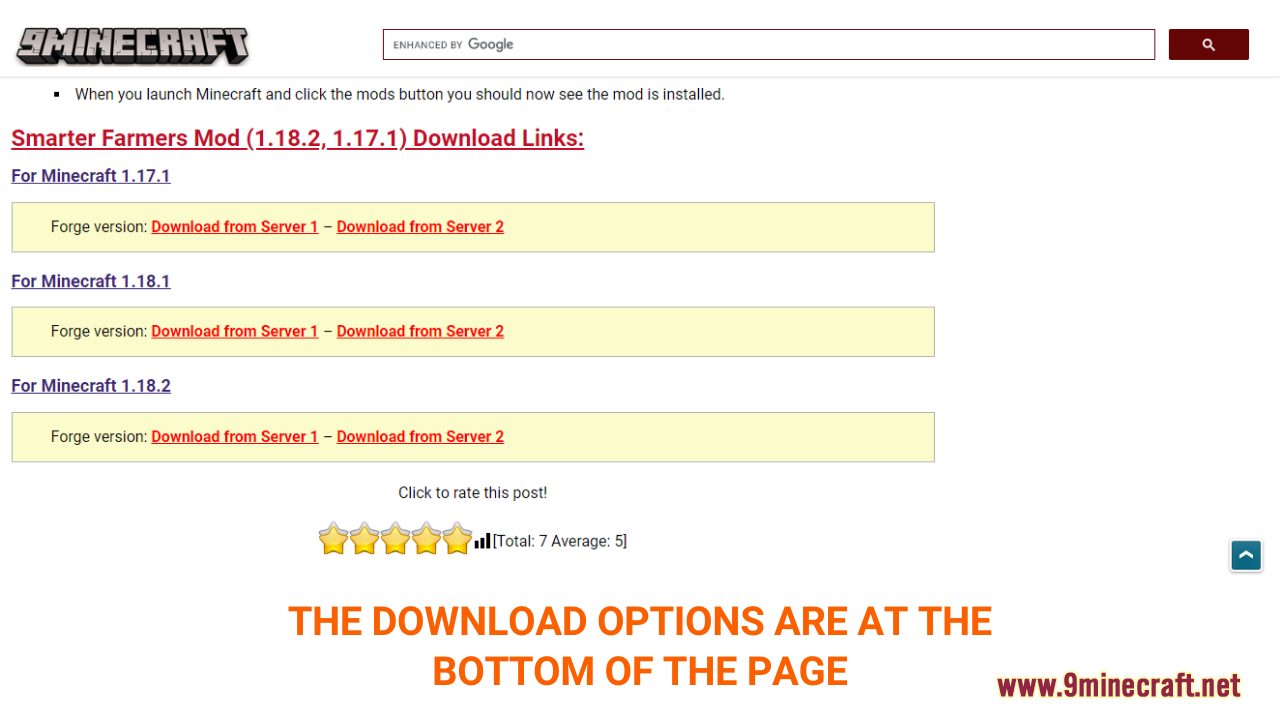
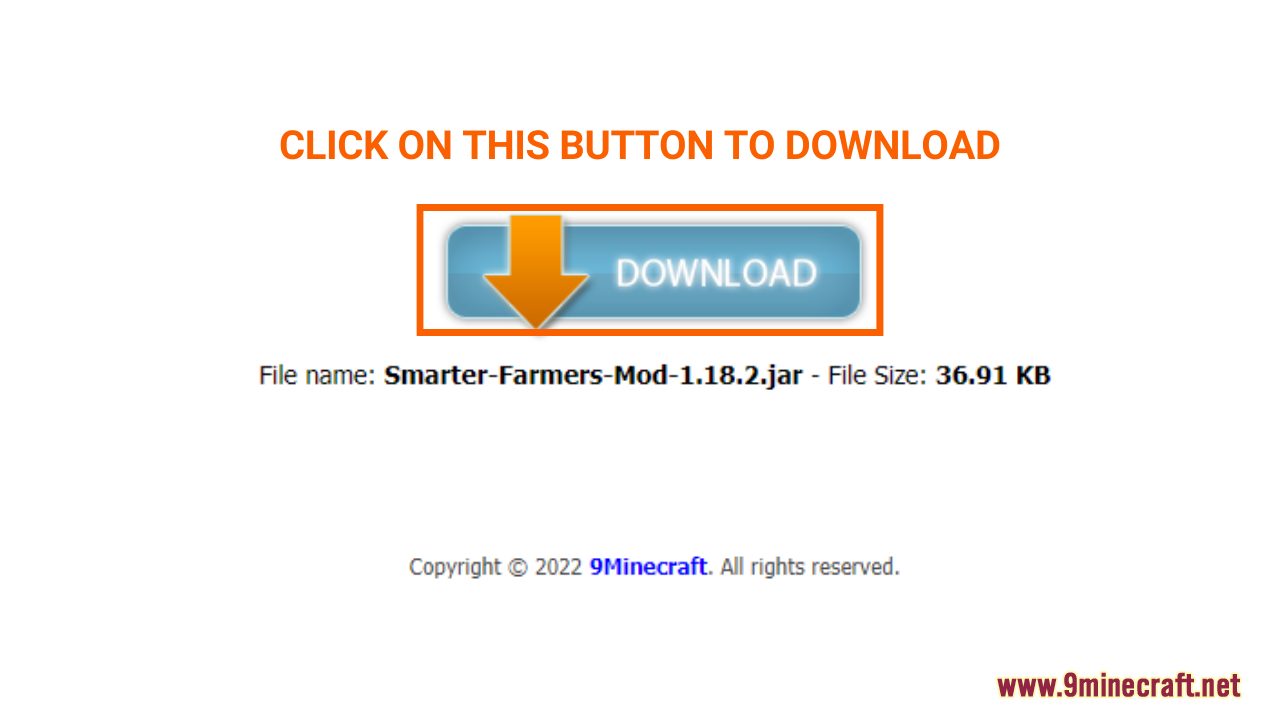
- A new tab should appear when you follow the download link, click on the DOWNLOAD button to start the downloading process.
Step 3: Open and/or create the mods folder
- Now that you have downloaded your favorite mod file, you will have to put it in the correct folder to activate it in the game. Normally, it should be a folder named “mods” in the “minecraft.” folder. Here is how you can reach it.
- There are 2 ways to open “minecraft.” folder:
1. Open with the Run Command
- Press the key combination “Window+R” to Open the Run command window
- Insert “%appdata%” and then press “Enter” to open The “Roaming folder”
- You should see a folder named “minecraft.”. If you see a folder named “mods”, simply open it.

- If you don’t see any “mods” folder in “minecraft.” folder, don’t worry! You can just create a new folder and name it “mods”. Right-click in the folder, choose “New” -> “Folder”, rename the folder to “mods” and you are done!
2. Open directly from the game
- Open Minecraft launcher and choose to start the game with the “Forge version”
- At the Minecraft main menu, click on the “Mods” button. Then choose “Open mods folder”, the “mods” folder will appear.
Step 4: Install and activate the Mod File
- Now that you have opened the “mods” folder, simple place the mod file you have downloaded in step 2 into this folder
- To activate the mod, click on the “Mods” button on the main menu. Inside “Mods”, you will see a list of the mod files that are ready to be used, simply click on the name of the pack you want to install. When the name of the chosen mod is in bold, it means that you have successfully activated it.
- Go back to the game and enjoy!


good really
sᴇʀᴜ ʙᴀɴɢᴇᴛ
sᴇʀᴜ ᴀɴᴊᴀɪ
Umm how to do it for mobile?
Não tenho mais vi no YouTube
Hay qua đi tôi rất thích mod này
Güzel
وای عجب برنامه
Wooow