Unleashing the Radiance: A Comprehensive Guide to Enhancing Minecraft with Shaders
 819
819
 0
0
 October 24, 2023
 Lucid Arthur
Embark on a visual journey as we unveil the secrets to transforming Minecraft into a dazzling spectacle using Shaders. With the advent of Minecraft 1.20, a plethora of novelties awaits eager gamers. Many are drawn to the game but find themselves hesitating due to its blocky graphics. Fear not, as this guide will assist you in metamorphosing Minecraft into a visually stunning experience that even Crysis would admire!
1. What is a Shader?
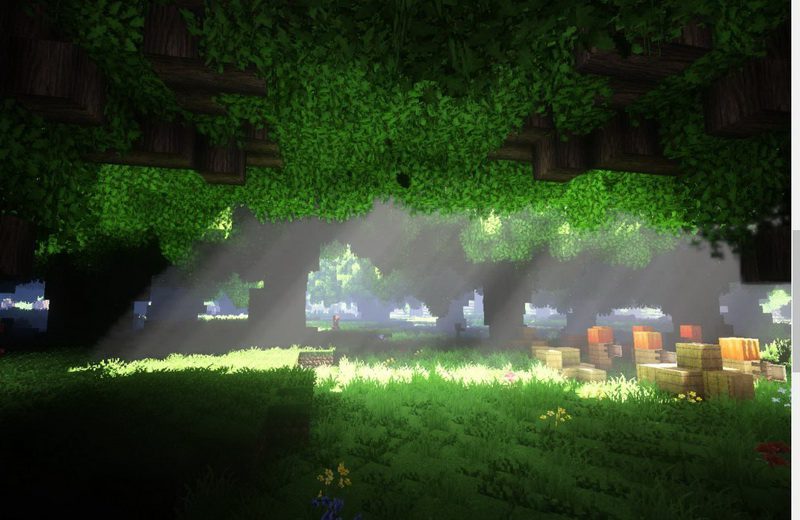
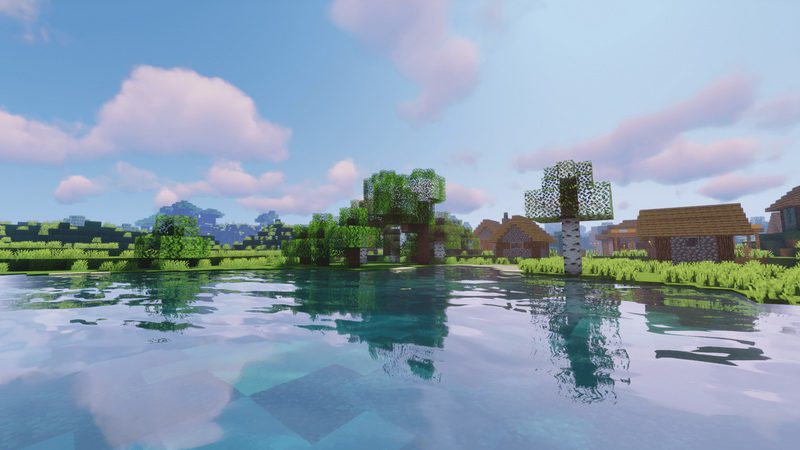
By downloading and installing Minecraft Shaders, gamers can elevate the visual appeal of Minecraft PC to unprecedented heights. Shaders are remarkable mods that truly revolutionize the entire visual experience of Minecraft. They introduce new lighting effects, and alter the game’s perspective and surface construction, essentially elevating Minecraft’s graphics to an entirely new level.
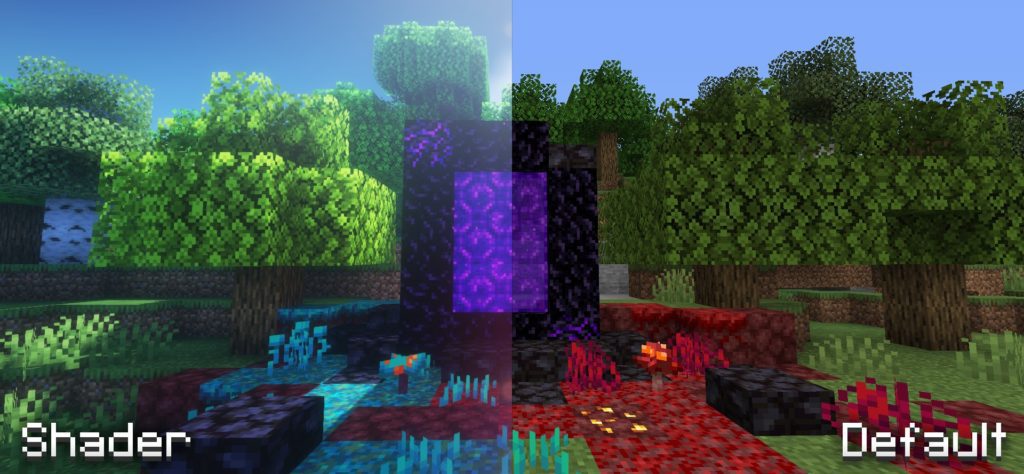
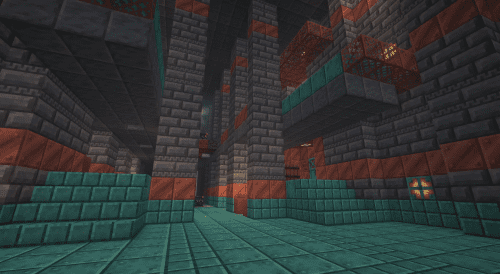
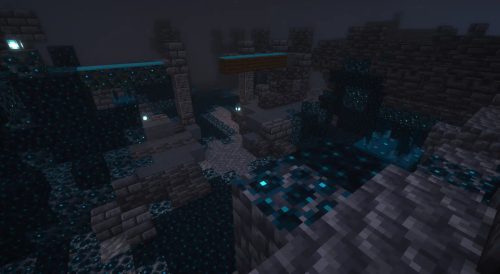
In the comparison image, the distinction between Minecraft with Shaders (left) and without Shaders (right) is evident. Unfortunately, Minecraft on consoles no longer supports Shaders after the 1.12 patch. Mobile gamers using Minecraft Pocket Edition have their own set of Shaders, with installation instructions to be covered in a separate article.
2. Installing OptiFine
Shaders aren’t mods themselves but rather packages containing graphic effects. Since Minecraft doesn’t inherently support Shaders, you need to install OptiFine to configure and run them.
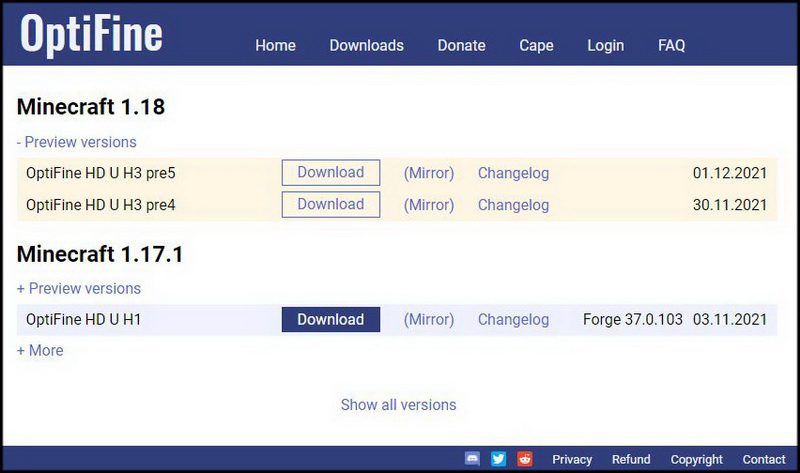
- Visit the OptiFine official website and download the corresponding version. As we’re playing Minecraft 1.20, click on “Preview Version” under Minecraft 1.20 to display the download links.
- After downloading, right-click the file, and choose Open With > Java Platform SE Binary. The OptiFine Installer window will appear; click the Install button. After a few minutes, you’ll receive a notification that OptiFine is successfully installed.
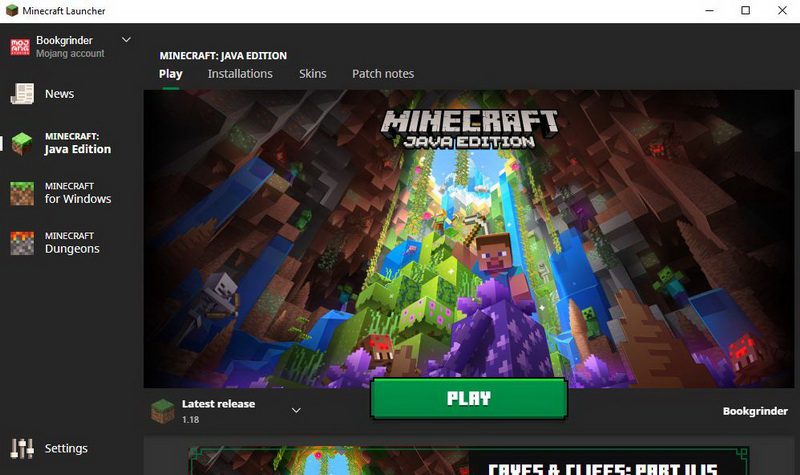
- Open the Minecraft Launcher, and click the small arrow to the left of the Play button. Locate “Optifine,” select it, and then click Play. OptiFine is now successfully integrated into Minecraft.
3. Top Recommended Shaders
With hundreds of Shaders to choose from, most of them free, each Shader offers a unique Minecraft experience-from making the game sparkle like a Disney fairyland to plunging it into darkness reminiscent of DC films. Switch between these Shaders anytime during the game!
- Here are some of our top recommendations for the most beautiful Minecraft Shaders to download. Note that Shader developers may not have updated them for Minecraft 1.18, so be patient or choose a newer Shader.
- 3.1 Continuum: For gamers seeking realistic graphics in Minecraft and willing to pay. It’s stunning and even supports Ray Tracing if your PC is powerful enough!
- 3.2 Sildur’s Vibrant Shaders: Our favourite version that supports Minecraft 1.18. Completely free.
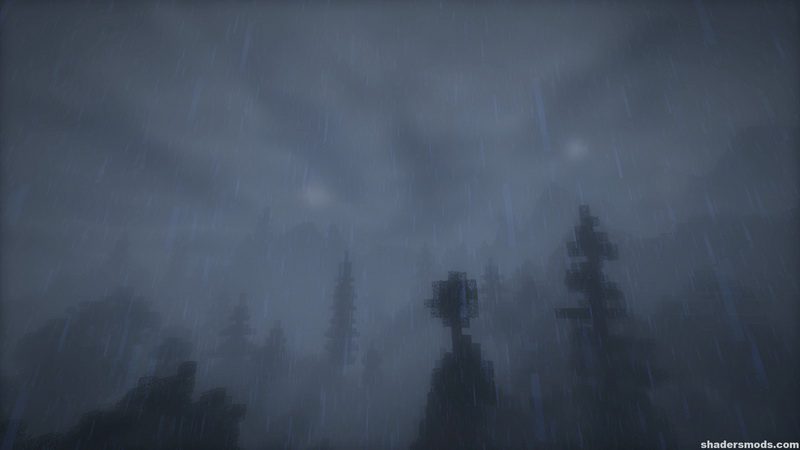
- 3.3 Chocapic13’s Shaders Pack: A balance between Continuum and Sildur, with extremely dark nights, giving gamers a daring nighttime experience.
- 3.4 Sonic Ether’s Unbelievable Shaders (SEUS): Famous for its vibrant sun and refreshing nights. Note that it hasn’t been updated for a while.
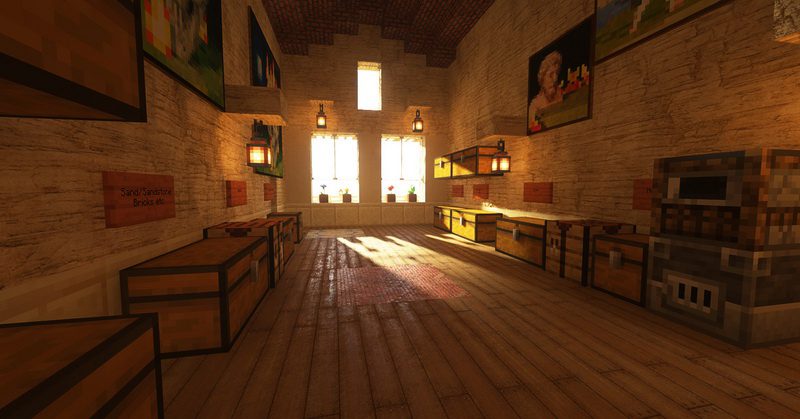
- 3.5 BSL Shaders: Offers incredibly beautiful lighting effects, allowing gamers to change the colour of clouds and water, and adds anti-aliasing effects. Additionally, gamers can activate Depth of Field, Motion Blur, Normal mapping, Celshading, and more.
- 3.1 Continuum: For gamers seeking realistic graphics in Minecraft and willing to pay. It’s stunning and even supports Ray Tracing if your PC is powerful enough!

4. Installing Shaders into OptiFine
Once you have the desired Shaders, installing them into OptiFine is the final step before enjoying the enhanced Minecraft experience. Installation steps may vary slightly depending on the chosen version; refer to the installation guide provided in the downloaded file.
- Generally, the installation process is simple: you’ll receive a .zip file, and you just need to place it into your Minecraft installation folder. The specific location is as follows:
- Windows: %appdata%.minecraft
- Mac OS X: ~/Library/Application Support/minecraft
- Linux: ~/.minecraft
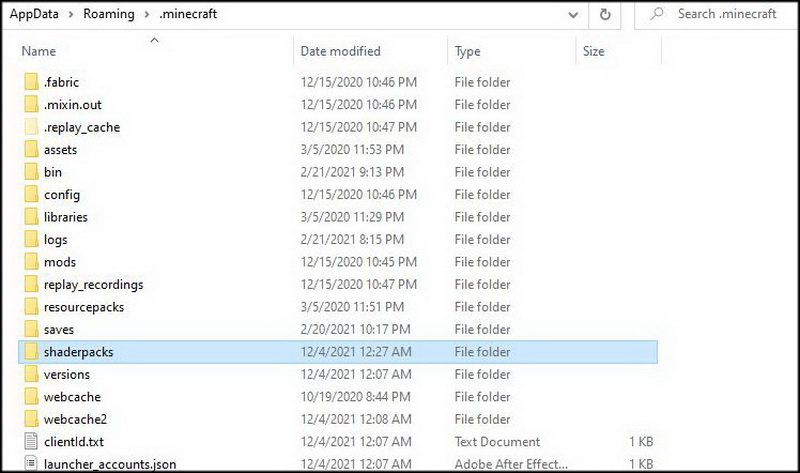
- Copy and paste the text after the colon into the Explorer window and press Enter to navigate to the Minecraft installation folder.
- Next, locate the “Shaderpacks” folder (create it if it doesn’t exist) and copy-paste the .zip file you downloaded into it.
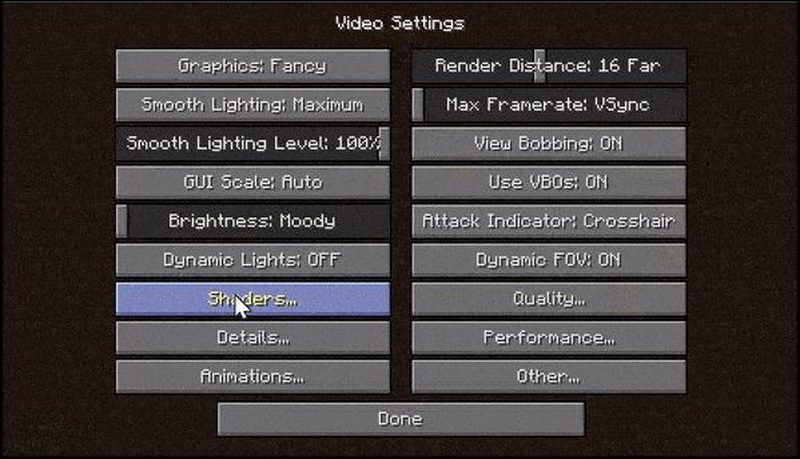
- Open Minecraft with OptiFine following the above instructions, go to Options > Video Settings > Shaders. You will see the Shaders you installed; select one and wait for the game to reload.
5. Conclusion: This concludes our guide on upgrading Minecraft graphics to a “dazzling” level through Shaders. We hope that this article, along with the newly launched Minecraft 1.20, helps you experience fresh wonders in Mojang’s legendary game. Until next time, see you in our upcoming articles!
You May Also Like


This post has no comments yet. Be the first — your comment will appear here.